

Sander Accessories in Power Tool Accessories

















About Sander Accessories in Power Tool Accessories - Walmart.com
Sander accessories help you match your tool to each project stage. You can compare discs, belts, sheets, and sponges by fit, grit, and backing style.
When you choose the right accessory, you get smoother prep and cleaner finishing. You can also reduce downtime by matching the pad shape and attachment style first.
How to choose sander accessories by accessory type
You should start with the accessory type your tool accepts. You can usually compare sanding discs, sanding belts, sanding sheets, and sanding sponges.
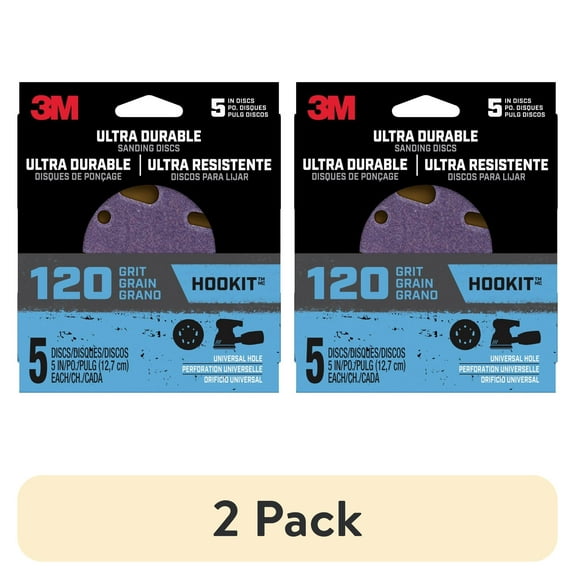
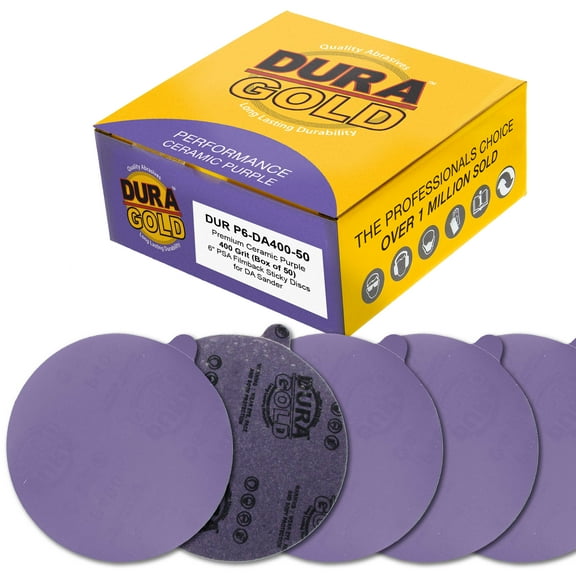
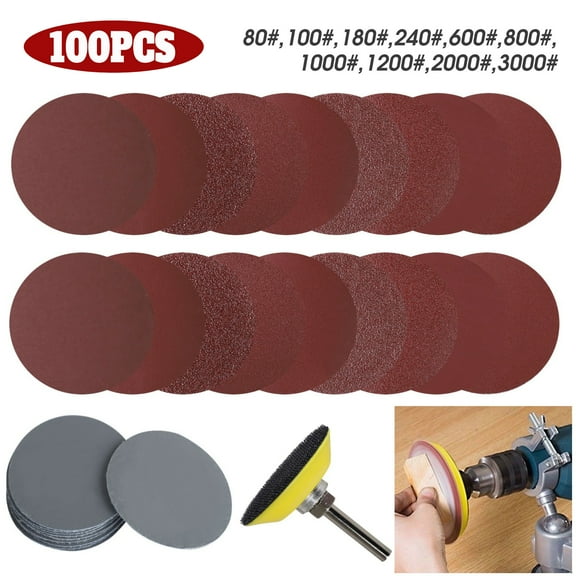
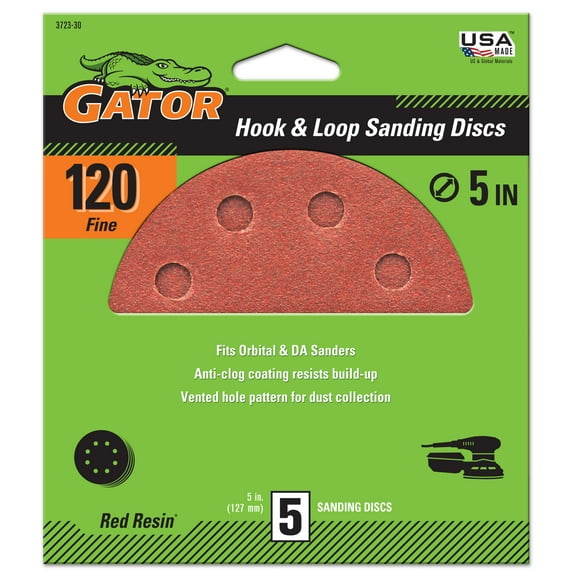
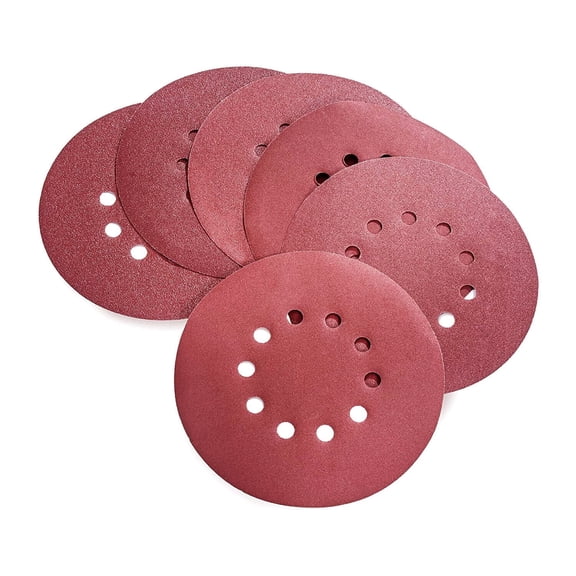
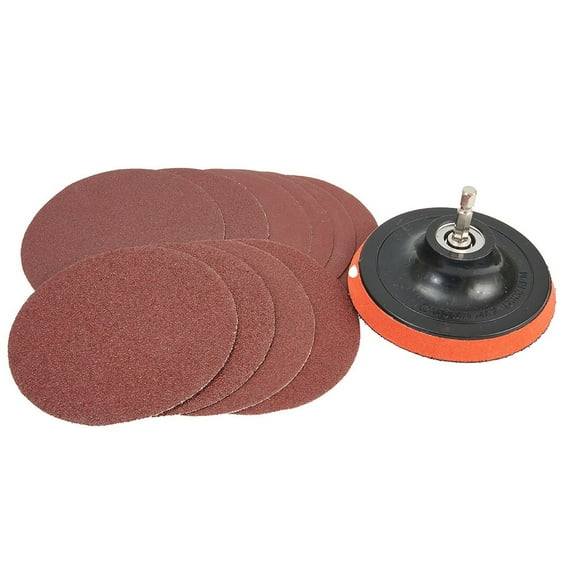
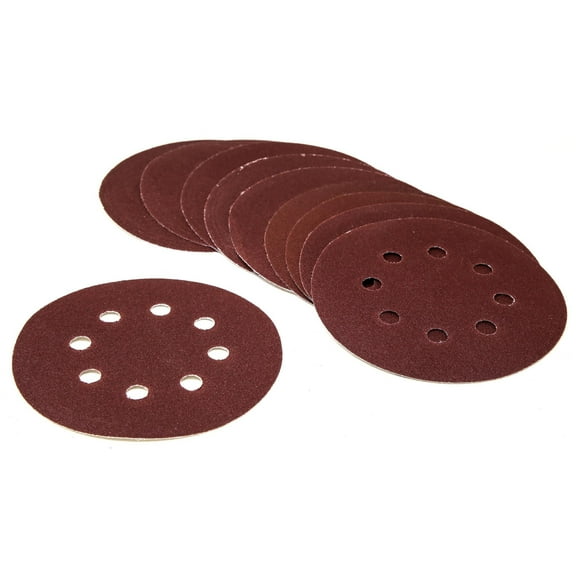
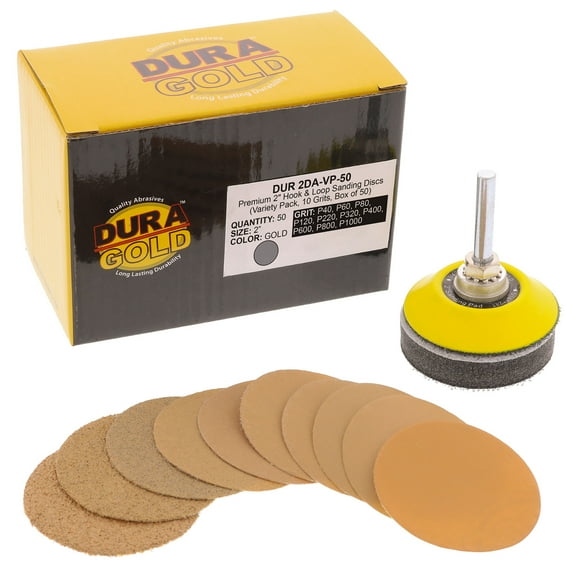
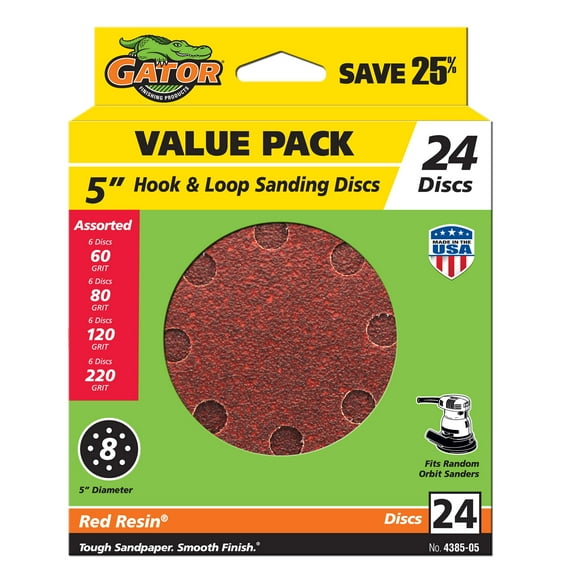
Sanding discs work with many orbital tools and round sanding pads. You can use hook and loop sanding discs for quick changes during multi-step sanding.
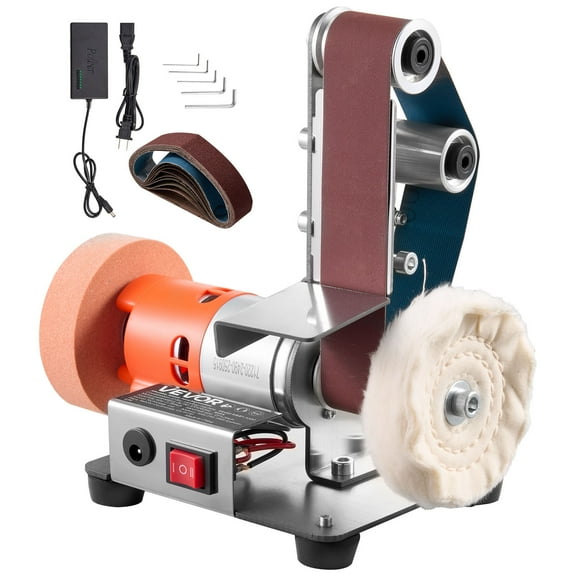
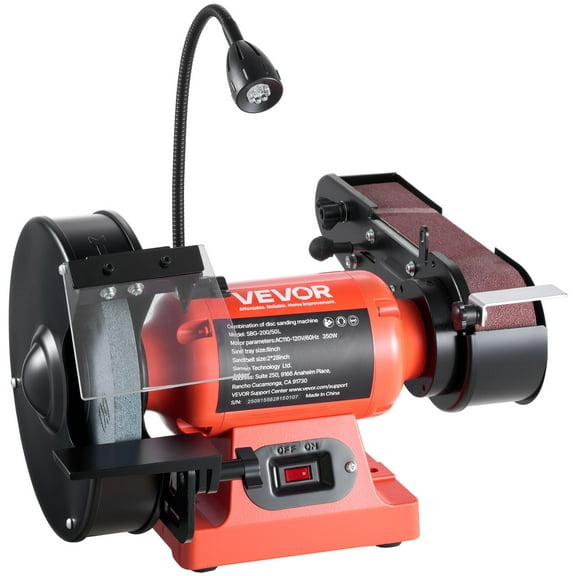
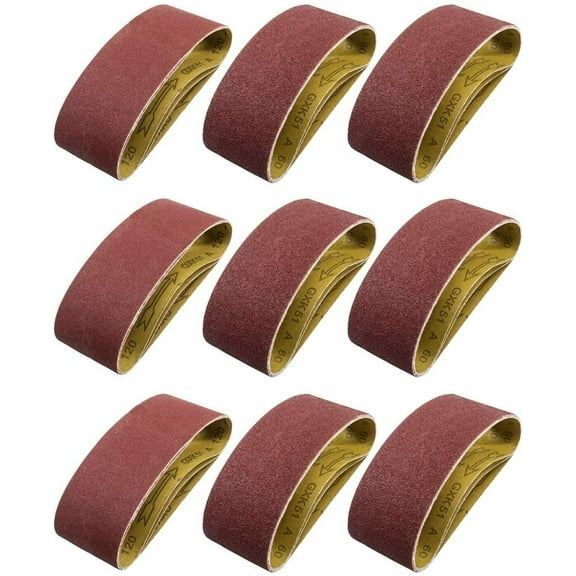
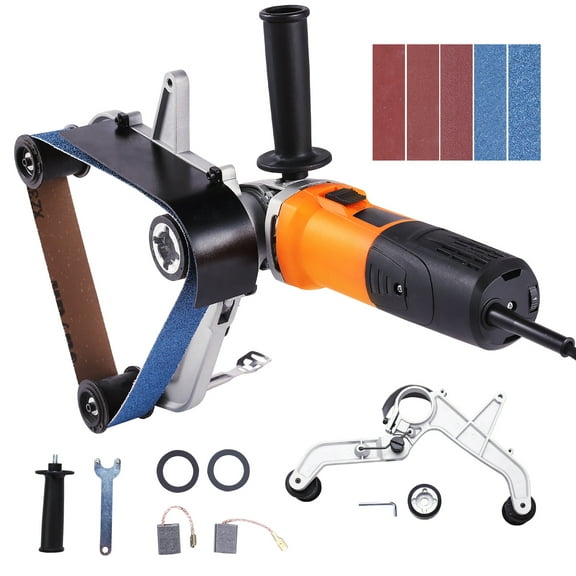
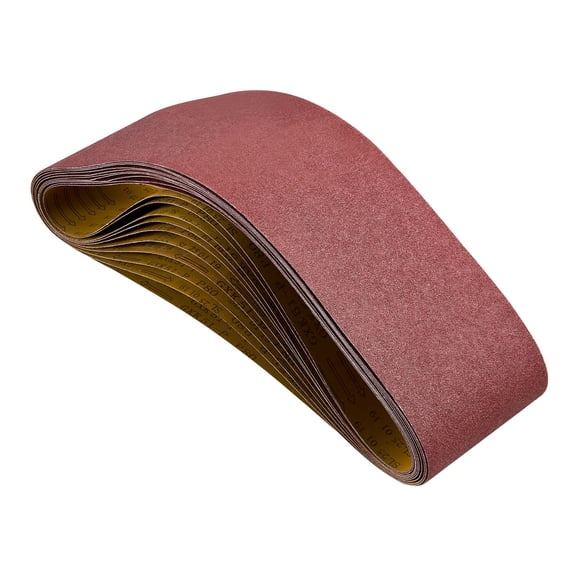
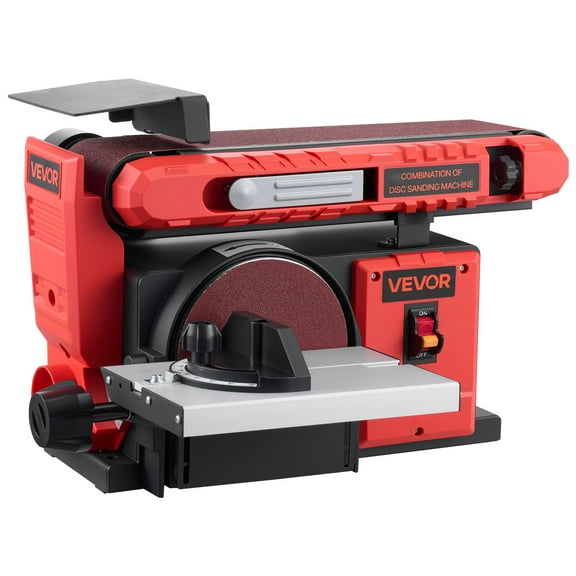
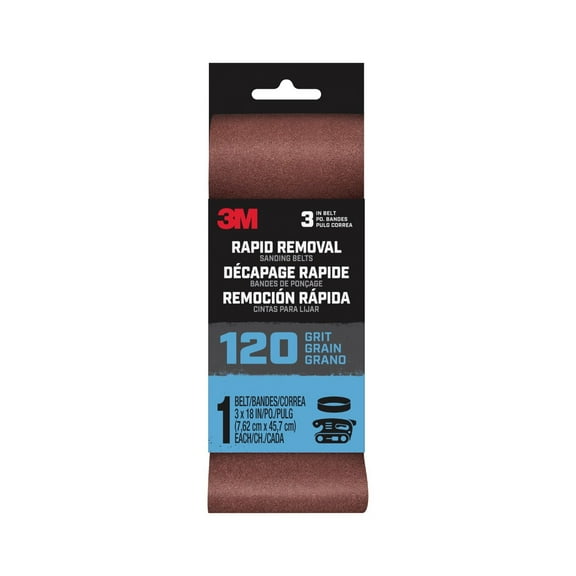
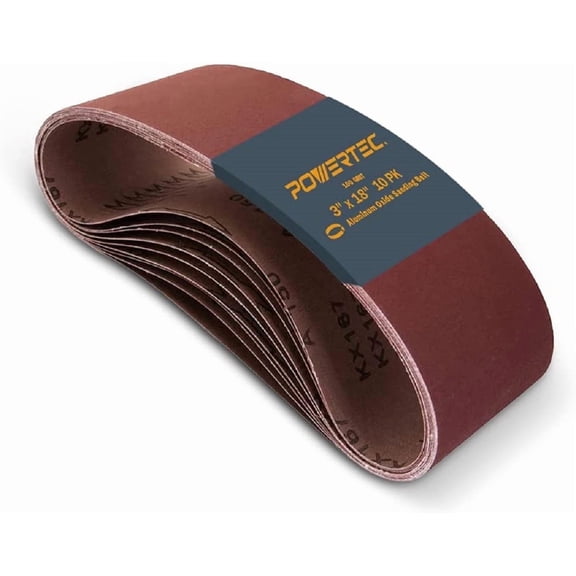
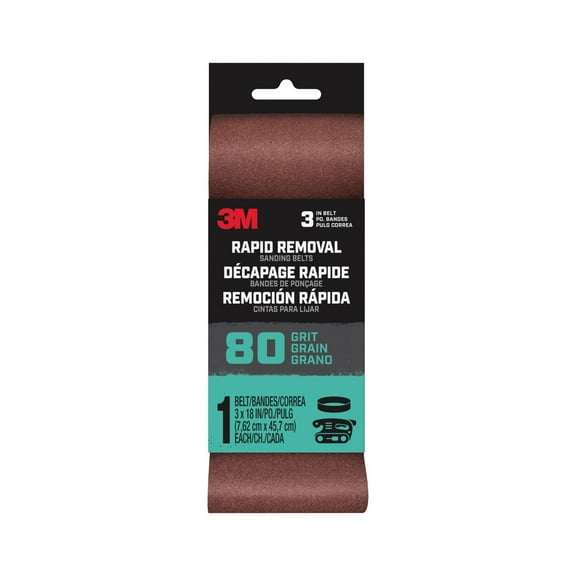
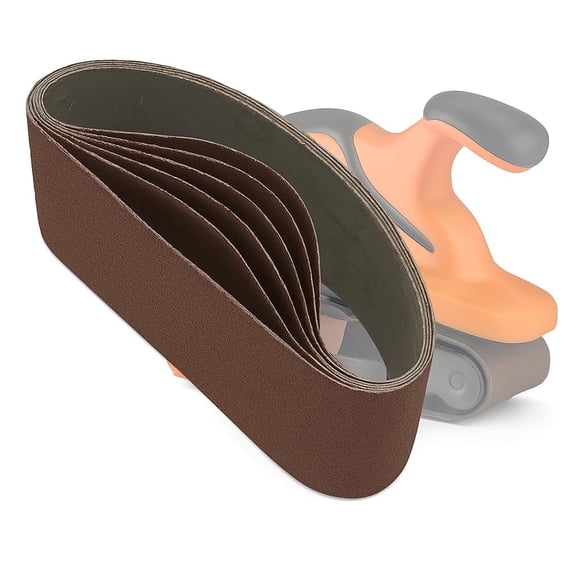
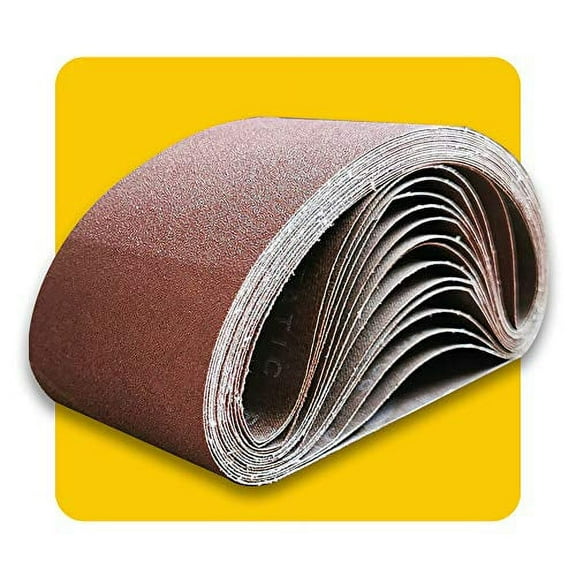
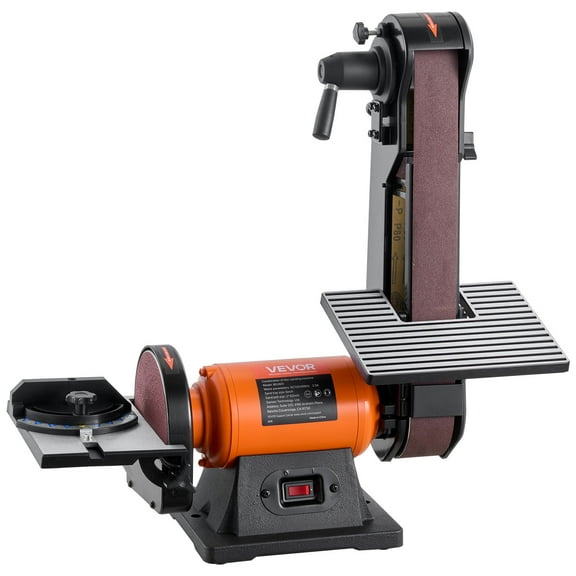
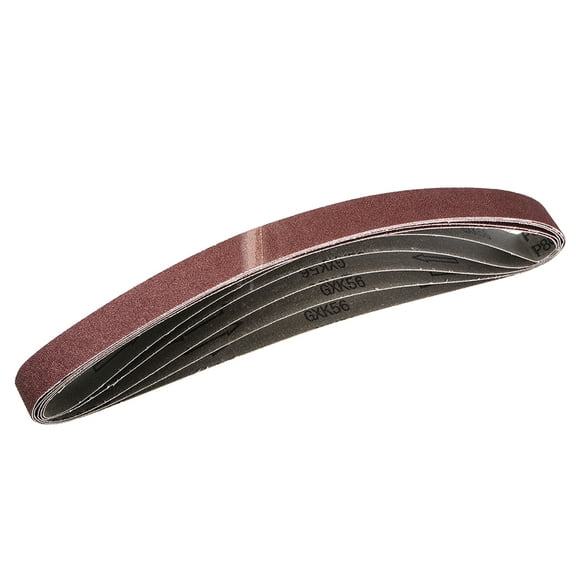
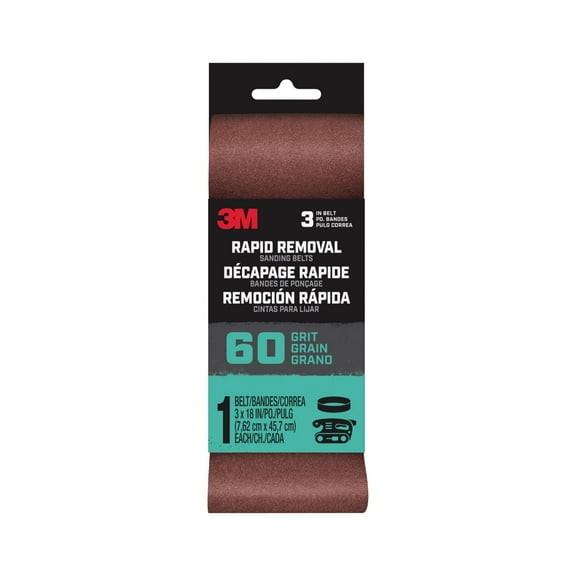
Sanding belts fit belt sanders and cover larger flat surfaces fast. You may prefer belts when your project needs steady stock removal on boards or panels.
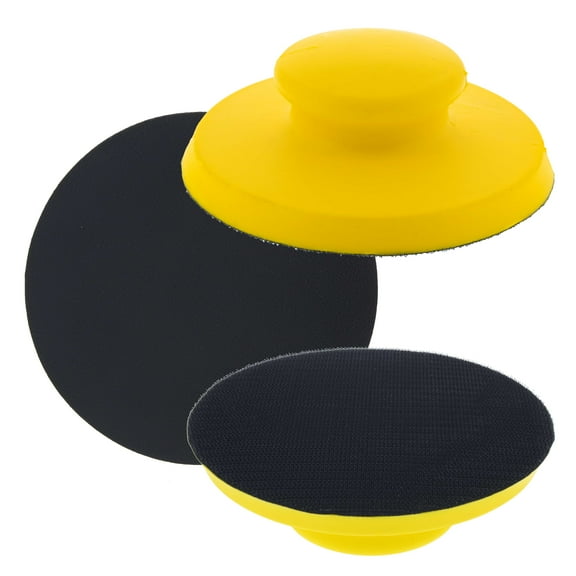
Sanding sheets fit sheet sanders and hand sanding blocks with a flat profile. You can trim many sheets to size when your tool uses clamp-style holders.
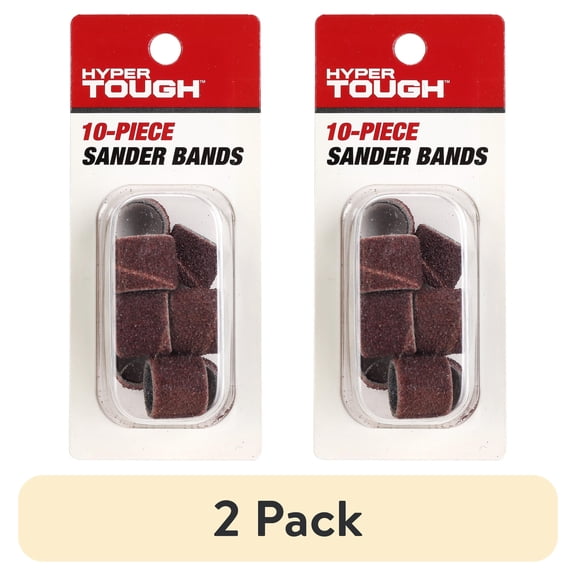
Sanding sponges flex around edges, corners, and curved trim. You can keep control on shaped surfaces where rigid sheets don’t follow the contour well.
Choosing sandpaper grits for each project stage
You should compare sandpaper grits before you start sanding. Your grit choice affects how quickly you remove material and how smooth your final surface looks.
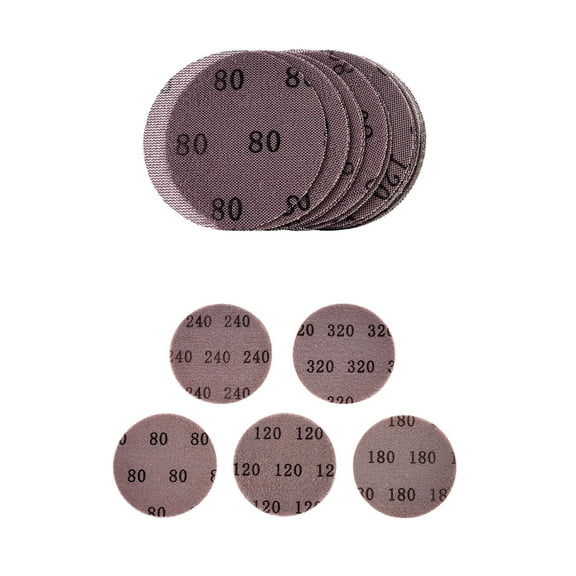
Coarse grits, usually 40 to 80, help you strip finishes and level rough stock. You can use them early when your surface has old paint, stain, or heavy marks.
Medium grits, usually 100 to 150, help you smooth surfaces after early passes. You can often use them to erase coarse scratches and prep for finishing coats.
Fine grits, usually 180 to 220, help you refine wood before stain or paint. You can choose these when your surface already feels even but needs a cleaner finish.
Extra fine grits, usually 240 and up, help you polish between coats or touch up details. You may want these when your project needs a more refined final feel.
- You can start coarse for removal, then move to medium for smoothing.
- You can finish with fine or extra fine for a cleaner surface.
- You should avoid skipping too many grit steps if you want fewer visible scratches.
- You can match grits to wood, metal, or drywall depending on the finish you want.
Comparing backing types and sander compatibility
You should check backing type before you choose any orbital sander sandpaper. Your tool may need hook and loop, adhesive PSA, or non-adhesive sheets.
Hook and loop backing lets you swap discs quickly between grit changes. You may like this style when your project moves from rough shaping to finish sanding.
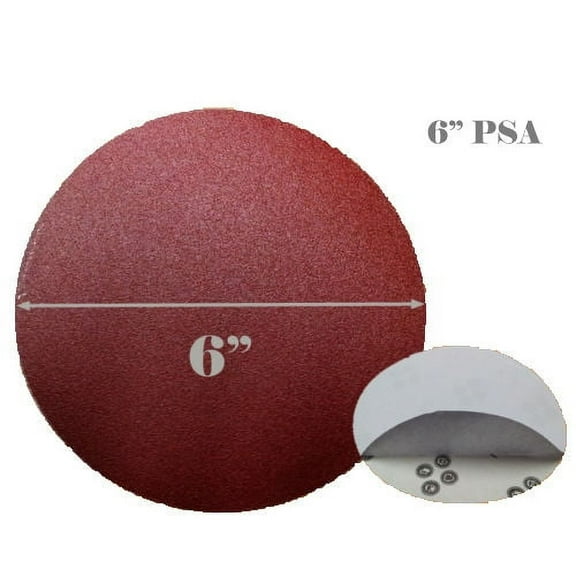
Adhesive PSA backing sticks directly to the sanding pad for a secure hold. You should confirm pad size and hole pattern so your sheets align correctly.
Non-adhesive sheets often work with clamp-style sheet sanders and sanding blocks. You can cut them to fit when your tool uses a rectangular pad.
Compatibility matters as much as grit because the wrong size won’t sit flat. You should compare disc diameter, sheet dimensions, belt length, and hole placement.
Detail sander pads fit pointed tools that reach corners and tight trim areas. You can use detail sander pads when broad round discs can’t reach narrow spaces.
Matching sander accessories to your material and task
You should also compare your work material before choosing sander accessories. Your wood, metal, or drywall surface can call for different grit steps and formats.
For wood projects, you may begin with medium or coarse grits on rough boards. You can move to fine grits before stain, paint, or clear finish.
For metal surfaces, you may want wet dry sandpaper for hand work or controlled finishing. You can use finer grits when your goal is a smoother surface appearance.
For drywall patching, you may prefer sanding sheets or sponges for broad walls and corners. You can use lighter grits to blend compound without overworking the area.
Cabinet updates often call for orbital sanding on door fronts and face frames. You can pair sanding discs with finer follow-up passes for a smoother painted finish.
Furniture refinishing often needs a clear grit sequence from removal to finishing. You should compare coarse, medium, and fine options before you start each step.
Trim, railings, and shaped moldings can be harder to sand with flat accessories alone. You may prefer sanding sponges or detail formats that follow curves and edges.
What to look for before you finish your choice
You should measure your sander pad and confirm the accessory shape first. You can then compare grit range, backing type, and material use with more confidence.
When your accessory matches your tool and project stage, this helps you achieve cleaner sanding progress and a finish that looks more even. You get more controlled surface prep with the right fit.