

Pastels in Drawing Supplies
















About Pastels in Drawing Supplies - Walmart.com
Art pastels give you direct, vivid color for sketching, layering, and finished artwork. You can compare soft pastels, oil pastels, chalk pastels, and hard pastels for the texture and control you want.
If you’re building a beginner kit or replacing studio staples, you can narrow your choice by pastel type, form factor, skill level, and set size. You’ll also find supplies that pair naturally with drawing paper, sketch pads, blending stumps, and fixative sprays.
Choosing the right art pastels
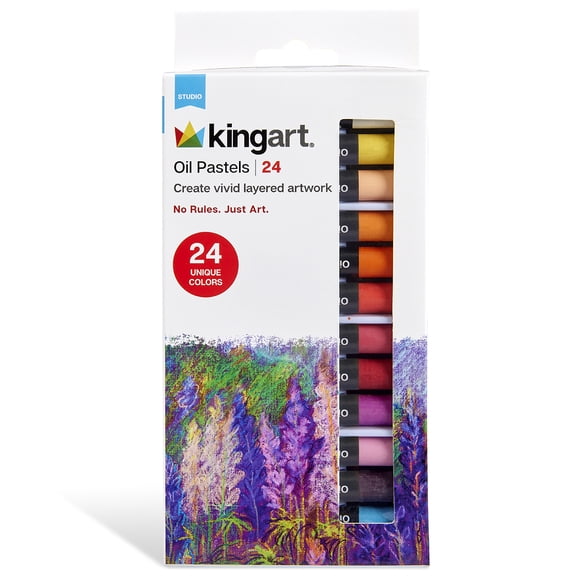
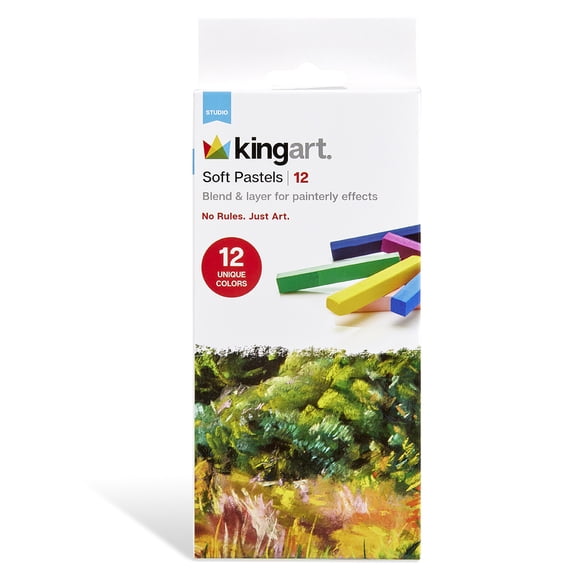
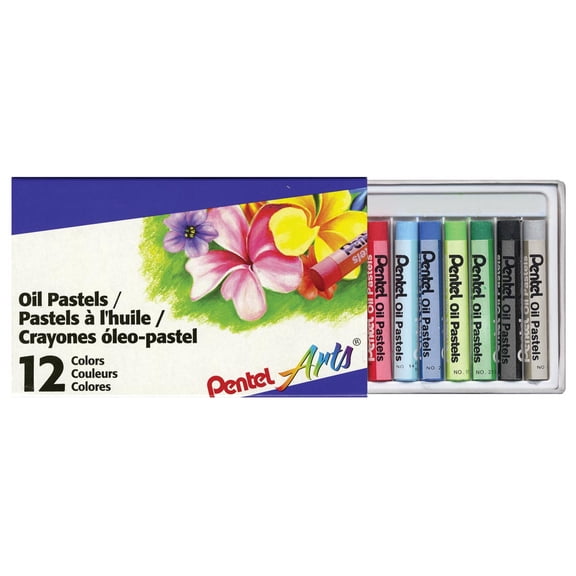
You’ll get a clear starting point by comparing pastel composition first. You can use soft pastels when you want high pigment payoff, while oil pastels suit bold marks and smoother layering.
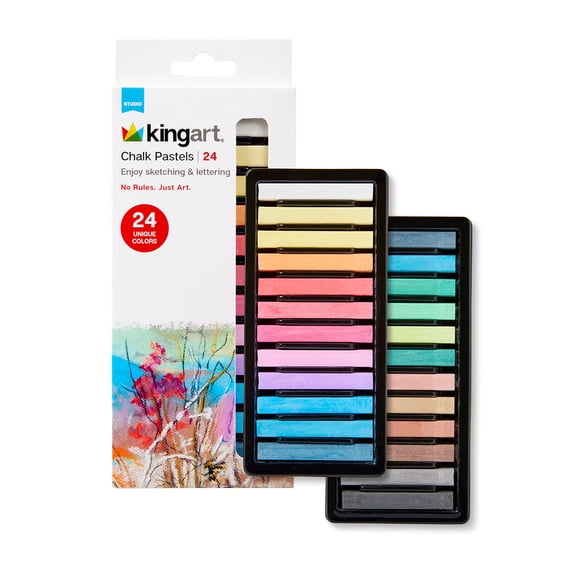
With chalk pastels, you can create a drier, dusty look that works well for classroom practice and quick studies. If you want firmer control, you may prefer hard pastels for sharper edges and early layout work.
You can use this quick guide to match pastel types to your project goals. You’ll make faster decisions when you compare feel, finish, and mark style side by side.
- You can choose soft pastels for rich blending and broad color coverage.
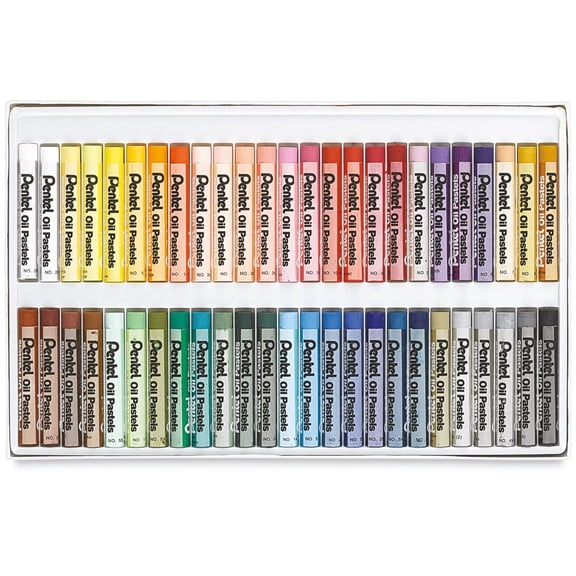
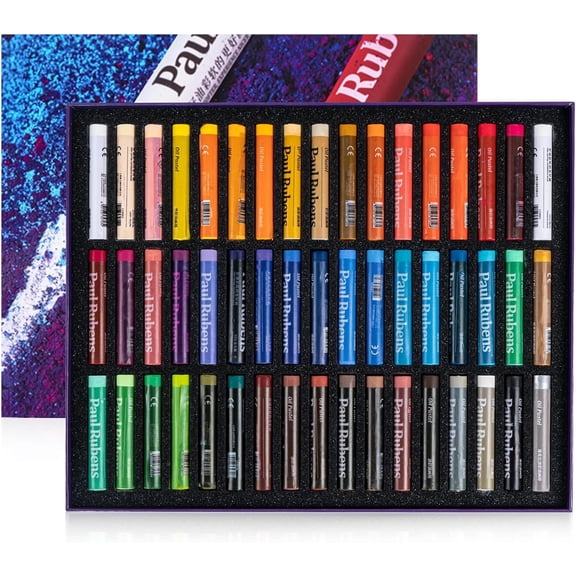
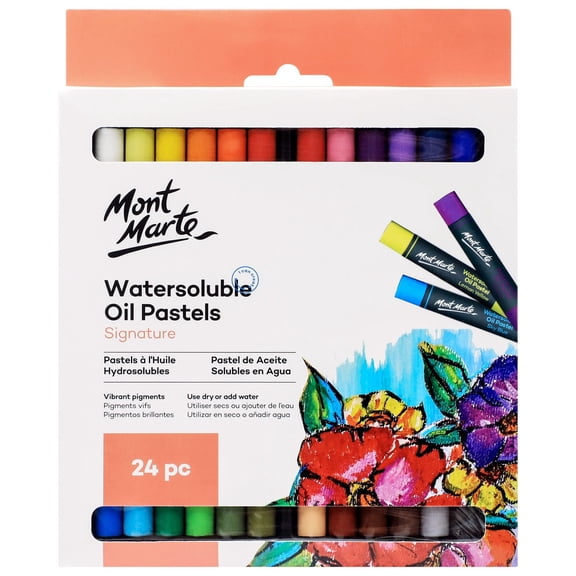
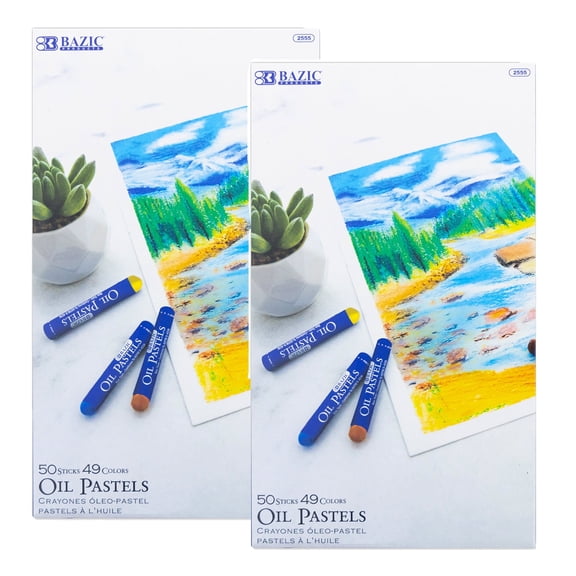
- You can pick oil pastels for dense strokes and a creamy, waxy feel.
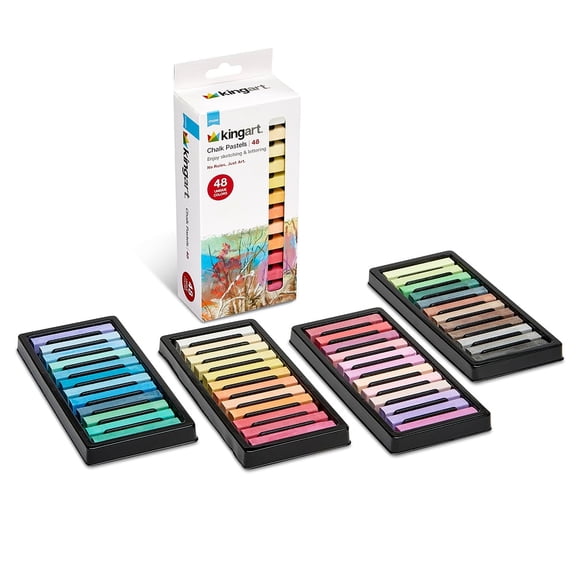
- You can select chalk pastels for practice work and matte-looking color.
- You can reach for hard pastels when your sketch needs cleaner lines.
- You can add pastel pencils when you want detail around eyes, hair, or edges.
How to compare soft pastels, oil pastels, and chalk pastels
You should compare binder and pigment balance because it changes how the pastel feels on paper. You’ll usually notice soft pastels feel more buttery, while harder options feel firmer and more controlled.
When you choose oil pastels, you’re choosing a different binder system than gum-based sticks. You’ll often get smoother drag and thicker coverage, which helps when you want layered color without a powdery finish.
If you’re choosing pastels for drawing faces, landscapes, or still lifes, texture matters just as much as color. You can blend velvety transitions with softer sticks, or build crisp accents with harder tools.
You may also want to check whether the pastel works with your paper tooth. You’ll usually need more texture on the paper when you plan to layer many strokes or blend several colors.
Choosing form factor and control
You can narrow your options quickly by deciding between sticks, pencils, and pans. Sticks give you wider marks, while pastel pencils help you place detail with more precision.
If you like blocking in backgrounds fast, you’ll appreciate full-size or half-size sticks. When you need eyelashes, lettering, or fine outlines, you’ll find pencils easier to guide.
You may prefer pans if you want a format that feels closer to dry color application with brushes or tools. You can compare each form factor based on your grip, workspace, and drawing style.
For mixed projects, you can combine broad sticks with pastel pencils for finishing touches. You’ll get flexible control when you start with loose shapes and end with refined details.
Choosing skill level, lightfastness, and set size
You can choose student grade sets when you’re practicing color mixing, layering, and basic shading. If you create finished pieces often, you may want artists pastels or professional assortments with broader color range.
When you compare grades, you should also look at lightfastness details where available. You may see ASTM information on some items, and that helps you judge long-term display suitability.
If you’re building a pastel set for class, travel, or casual drawing, a 12-pack or 24-pack may cover core shades. For portraits, landscapes, and nuanced blending, you’ll often want 36-pack or 72-pack options.
You can also think about replacement needs before you choose a larger set. If you use earth tones, skin tones, or sky colors often, you’ll benefit from a wider range on hand.
Using art pastels for real projects
You can use pastels for drawing quick gesture studies, layered portraits, colorful still lifes, and expressive landscapes. Soft pastels help you cover larger areas fast, while hard pastels help you refine shapes afterward.
If you’re working on classroom assignments, chalk pastels and smaller sets can support practice without overwhelming your workspace. You can keep a compact assortment nearby for color theory exercises and sketchbook studies.
For studio work, you may combine oil pastels with heavier paper when you want dense color and visible stroke character. You’ll likely appreciate a sturdy surface that holds repeated layers and stronger pressure.
You can also match your tools to the finish you want. If your artwork needs soft transitions, blending stumps and textured paper can help you smooth edges and merge tones.
When your project includes fine detail, pastel pencils can sharpen features that broad sticks can’t place cleanly. You can use them for hair strands, architectural lines, or small highlights near focal points.
If you’re assembling a complete setup, you should consider paper tooth, color range, and storage together. You’ll work more smoothly when your artists pastels, paper, and blending tools fit the same workflow.
What to look for in art pastels
You should look for the pastel type that matches your technique before you focus on pack count. You’ll get more useful results from the right texture than from extra colors alone.
As you compare art pastels, you can use pastel type, form factor, grade, and set size as your main filters. You’ll feel more confident choosing supplies that fit your artwork from the first sketch onward.