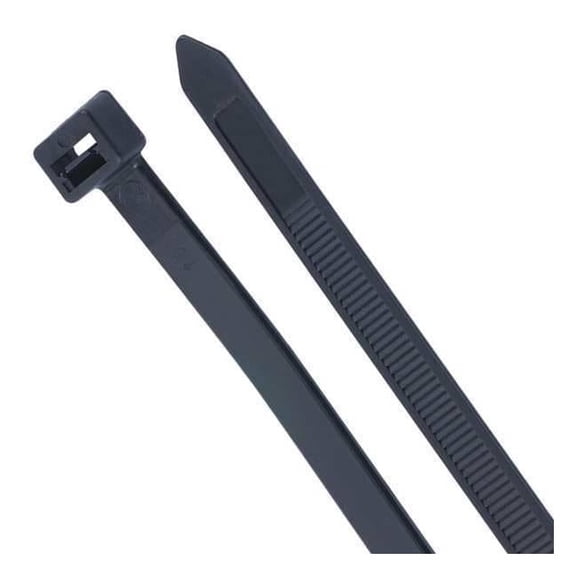

Zip Tie Labels(2)
50pcs Nylon Network Cable Cord Wire Label ID Tags Zip Ties Strap 4x200mm $9.89

50pcs Nylon Network Cable Cord Wire Label ID Tags Zip Ties Strap 4x200mm
111mm Length White Nylon Zip Ties Write on Label Mark Tags 40 Pcs $9.02

111mm Length White Nylon Zip Ties Write on Label Mark Tags 40 Pcs
FAQ
What size zip tie labels should I choose?
Think about the cables you’re bundling and how much writing you need on the tab. A good approach is to match tie length and label area to your setup:
- Bundle size: Use shorter ties for single cords and longer ties for thicker bundles or multiple cables.
- Tie width: Wider ties generally offer more hold for heavier bundles.
- Label area: If you want room for dates or device names, pick a larger write-on tab.
- Quantity: For bigger projects, multi-packs can make labeling consistent.
Check each item’s photos and specifications for the tie length, width, and label tab dimensions. Measuring your bundle diameter before you buy can help you choose a comfortable fit.
How do label zip ties handle outdoor use?
Outdoor performance can vary depending on material and exposure. Many write-on label zip ties are nylon, which is commonly used indoors. If you plan to use them outside or in hot areas, consider the following:
- Product details: Look for notes about UV resistance or suitability for outdoor environments on the item page.
- Heat and sun: If a tie isn’t rated for high heat or sun, placing it away from direct sunlight and heat sources can help.
- Writing durability: Use a permanent marker and let the ink dry before installation; a clear tape overlay may help protect writing.
Conditions vary by location and use, so checking specifications and customer feedback can provide helpful context.
How do I write on the labels cleanly?
Writing neatly on zip tie label tabs is easier with a few simple steps:
- Prep the surface: Make sure the tab is clean and dry.
- Write first: Fill in the label before tightening the tie so the tab stays steady.
- Use the right pen: A fine-tip permanent marker typically provides legible, smudge-resistant text.
- Let it dry: Give the ink time to dry fully before handling.
- Protect if needed: Adding a small piece of clear tape over the writing can help reduce smudging in busy areas.
If you’re unsure how a marker will behave, test on a spare tab. Results can vary based on ink and handling.
Can I reuse or remove label zip ties?
Many label zip ties are designed as single-use fasteners, meaning you typically cut them to remove. If you need to reposition or relabel, consider these tips:
- Removal: Cut the tie carefully with scissors or snips, aiming away from the cable to avoid nicking insulation.
- Reusability: If you prefer reusing, look for items described as “releasable” or “reusable” in the product details.
- Updating text: If you can’t erase permanent ink, you can cover old text with a small label sticker or replace the tie for a clean look.
Handle tools cautiously around cables and connectors to help prevent damage.
Tips for labeling home network cables with zip ties?
A little planning can make cable labels clear and consistent:
- Label both ends: Note the device and port at each end (e.g., “Router Port 3 → Office PC”).
- Write before installing: Fill in the tab, let it dry, then attach.
- Keep it loose: Tighten just enough to stay in place without compressing the cable.
- Stay consistent: Face all tabs the same direction and use a simple naming format.
- Group smartly: Bundle related cables and add a group label for quick ID.
For larger setups, consider multi-packs so every cable gets a matching write-on label. You can also check item pages for specs and take advantage of pickup or delivery for convenience.
Popular in Zip Tie Labels for Cable Management
Related Products
FindTape Hook-N-Loop Quick Tie Cable Ties: 3/4 in. x 8 in. (Black) 100 straps
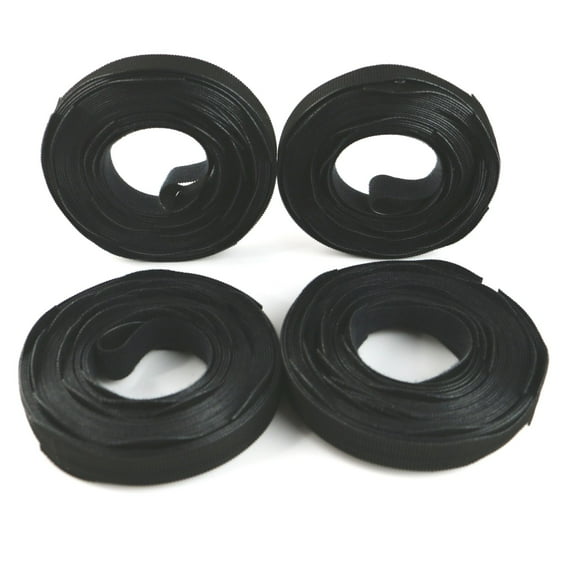 FindTape Hook-N-Loop Quick Tie Cable Ties: 3/4 in. x 8 in. (Black) 100 straps$23.98current price $23.98
Gardner Bender 50 Count 24in. Ultraviolet Black Heavy Duty Cable Ties 24in. Heavy Duty Cable Ties - Ultraviolet Black - 50 Count
 Gardner Bender 50 Count 24in. Ultraviolet Black Heavy Duty Cable Ties 24in. Heavy Duty Cable Ties - Ultraviolet Black - 50 Count$21.99current price $21.99
Uxcell 100PCS Cable Zip Ties 8 Inch, Self-Locking Nylon Wire Ties with 30 lbs Tensile Strength for Indoor and Outdoor, Black
 Uxcell 100PCS Cable Zip Ties 8 Inch, Self-Locking Nylon Wire Ties with 30 lbs Tensile Strength for Indoor and Outdoor, Black$12.99current price $12.99
Uxcell 100PCS Cable Zip Ties 8 Inch, Self-Locking Nylon Wire Ties with 50 lbs Tensile Strength for Indoor and Outdoor, Red
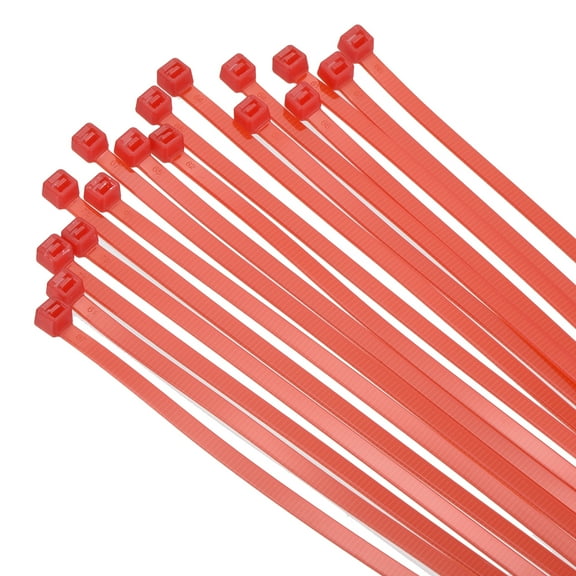 Uxcell 100PCS Cable Zip Ties 8 Inch, Self-Locking Nylon Wire Ties with 50 lbs Tensile Strength for Indoor and Outdoor, Red$11.99current price $11.99
NavePoint 8 Inch Hook and Loop Reusable Strap Cable Cord Wire Ties 75 Pack Red
 NavePoint 8 Inch Hook and Loop Reusable Strap Cable Cord Wire Ties 75 Pack Red$14.99current price $14.99
Cable Tie, Nylon 6/6, Black, Indoor/Outdoor, Tensile Strength: 50 lb. - 1000 Each
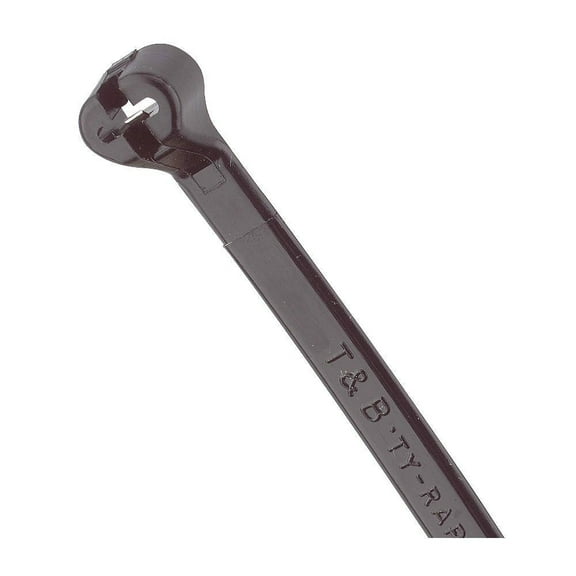 Cable Tie, Nylon 6/6, Black, Indoor/Outdoor, Tensile Strength: 50 lb. - 1000 Each$106.03current price $106.03
Cable Tie Strap, 18 in L, 4 in Max Bundle Dia., Black, Nylon, 90 lb Strength, 10 PK
 Cable Tie Strap, 18 in L, 4 in Max Bundle Dia., Black, Nylon, 90 lb Strength, 10 PK$125.36current price $125.36
GB Gardner Bender 45-312UVB 12" Black Heavy Duty UV Resistant Cable Ties 8 Count
 GB Gardner Bender 45-312UVB 12" Black Heavy Duty UV Resistant Cable Ties 8 Count$15.91current price $15.91
Ancor 199208 Marine Standard 75# Zip Cable Wire Ties 11" Natural/White 25 Pack
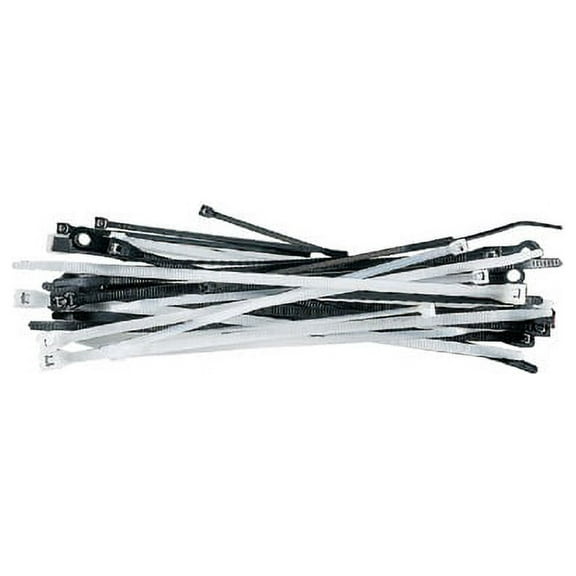 Ancor 199208 Marine Standard 75# Zip Cable Wire Ties 11" Natural/White 25 Pack$14.87current price $14.87
pro tie b4uld100 4-inch ultra light duty standard cable tie, uv black nylon, 100-pack
 pro tie b4uld100 4-inch ultra light duty standard cable tie, uv black nylon, 100-pack$9.17current price $9.17
Gardner Bender UV Resistant Cable Ties - Lockable, Nylon, 75 lb - 100 Pack, 14-Inch, Black
 Gardner Bender UV Resistant Cable Ties - Lockable, Nylon, 75 lb - 100 Pack, 14-Inch, Black$16.82current price $16.82