

Welding Helmets in Protective Metal Working Gear





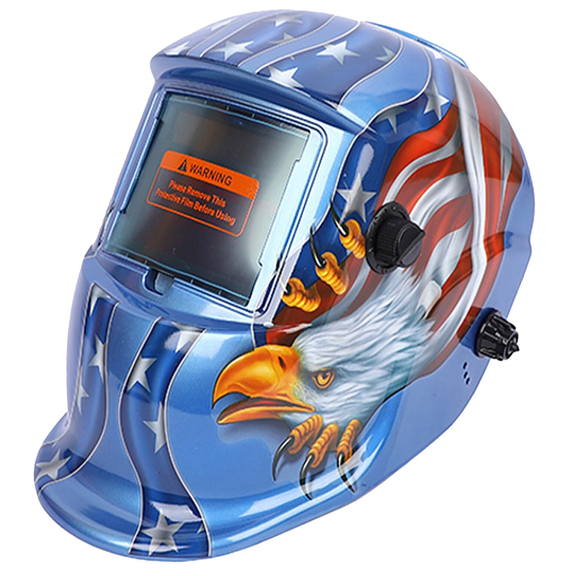


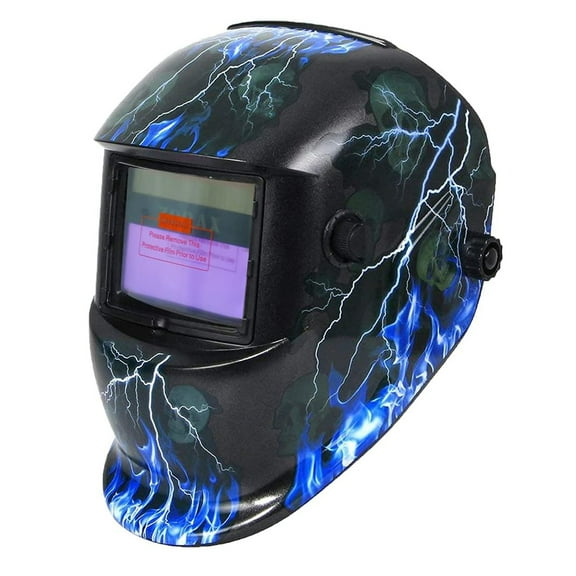

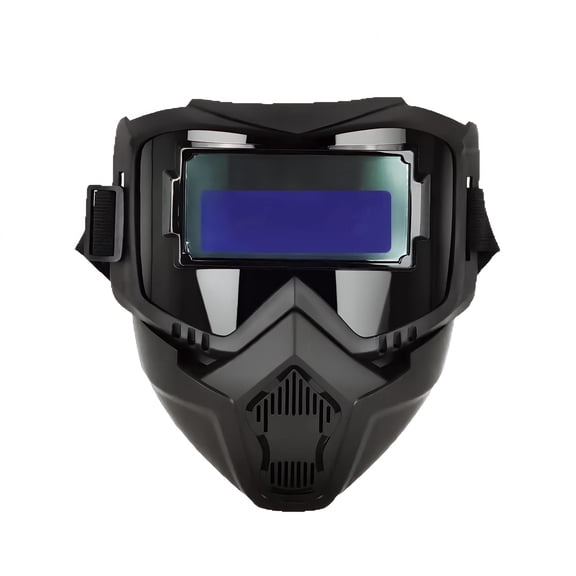

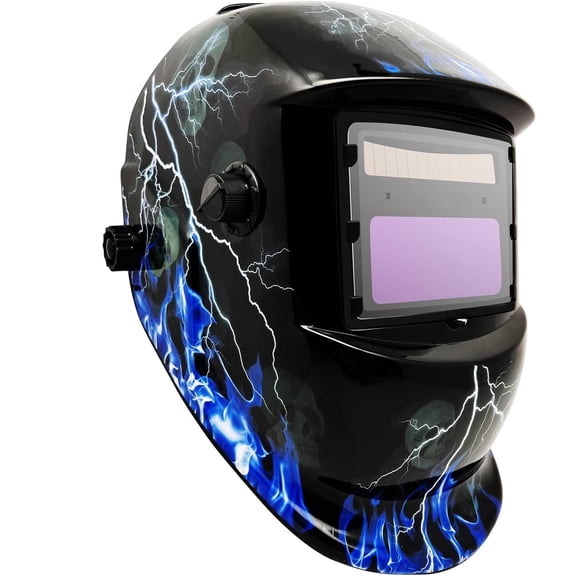






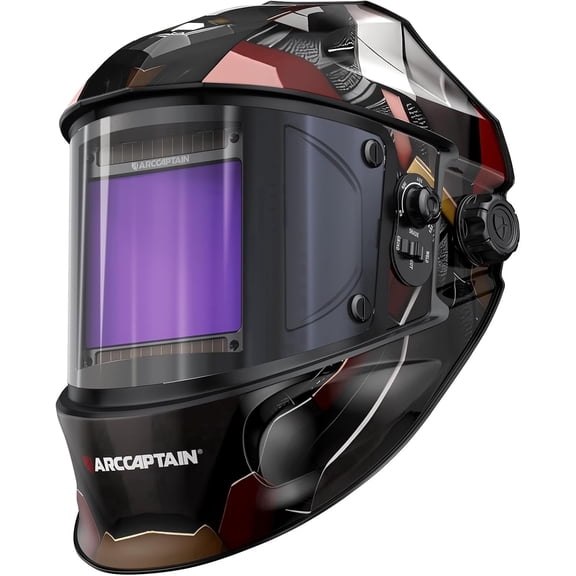


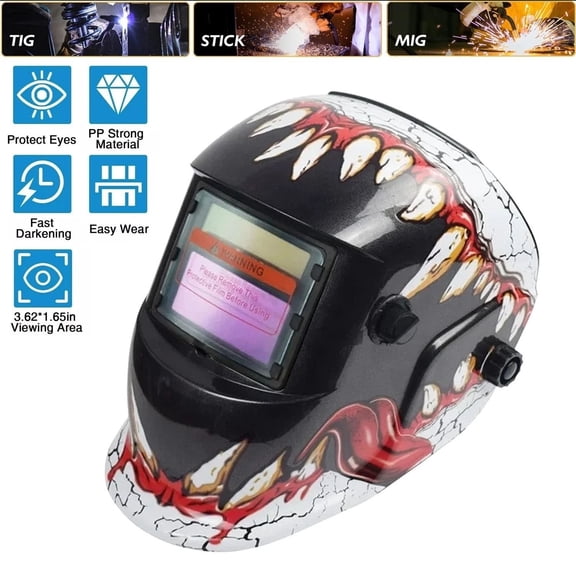


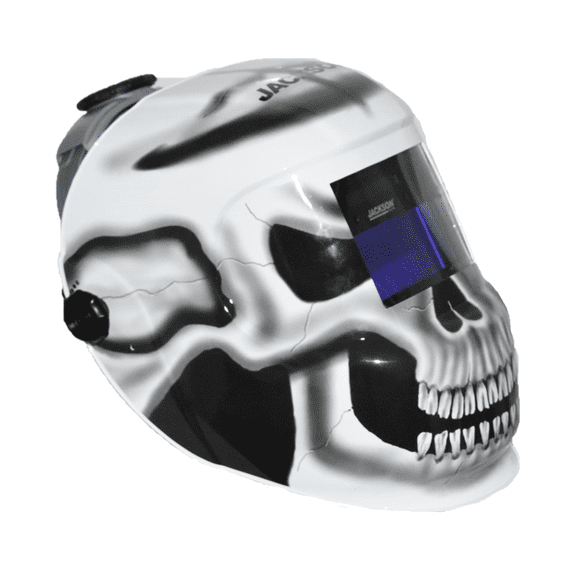


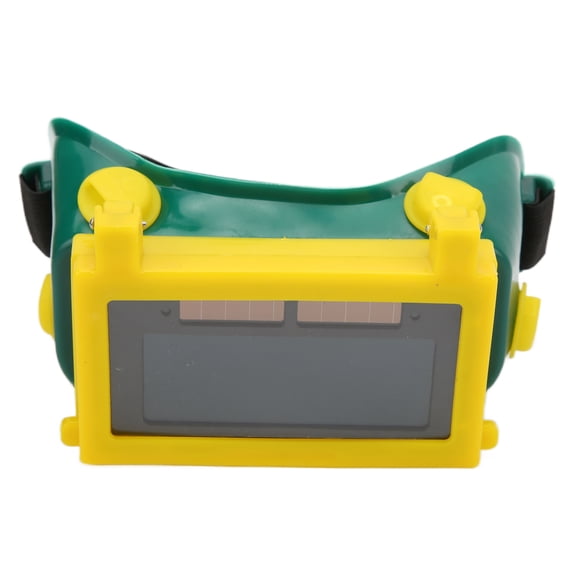




About Welding Helmets in Protective Metal Working Gear - Walmart.com
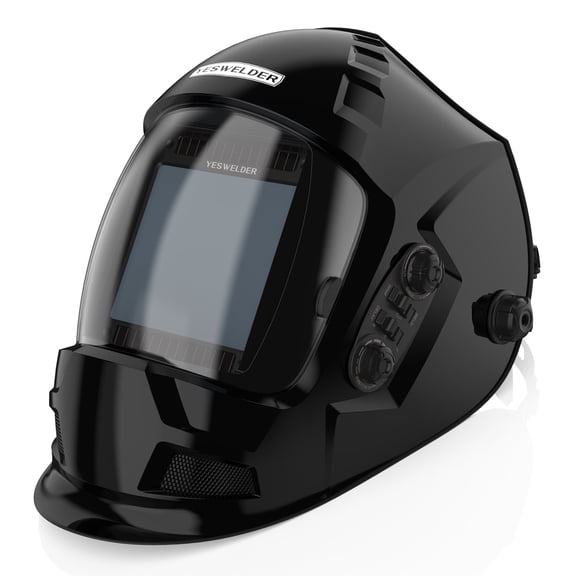
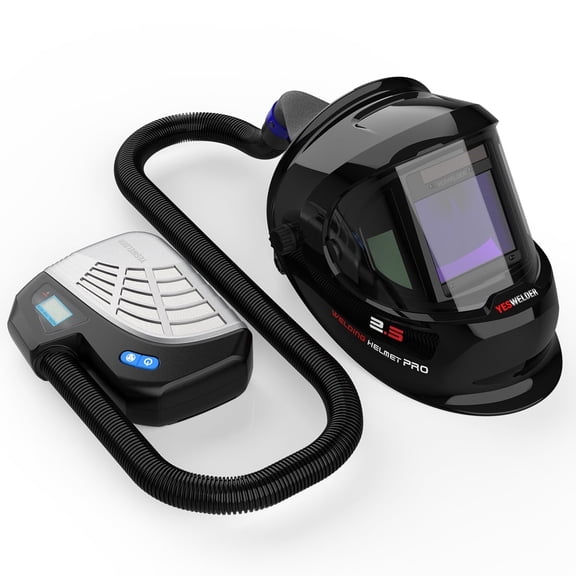
You can compare welding helmets by lens type, shade control, and headgear fit, so your setup matches your process and your project pace. You’ll also find guidance on auto-darkening response, ANSI Z87.1 compliance, and comfort details that matter during longer jobs.
How to choose welding helmets for your work
When you choose welding helmets, you’ll want to start with your welding process and your usual work position. You may need a different view, shade range, or shell profile for bench work, overhead tasks, or grinding prep.
If you switch between projects, you should compare passive lenses and auto-darkening options before anything else. You’ll notice that the right lens style can make setup smoother and help you keep your focus on the weld puddle.
Choosing an auto darkening welding helmet
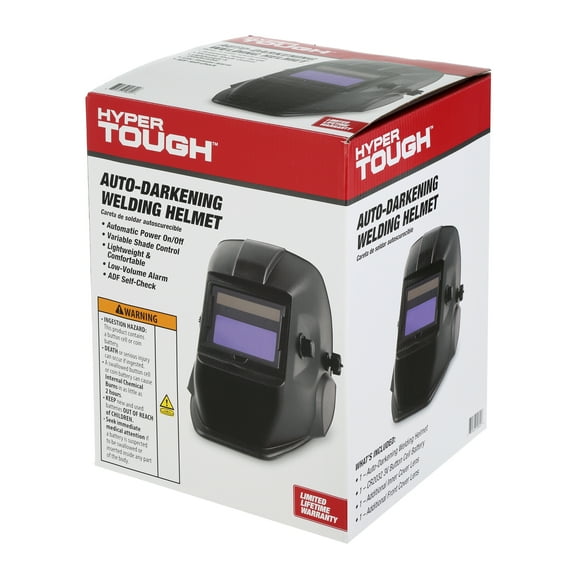
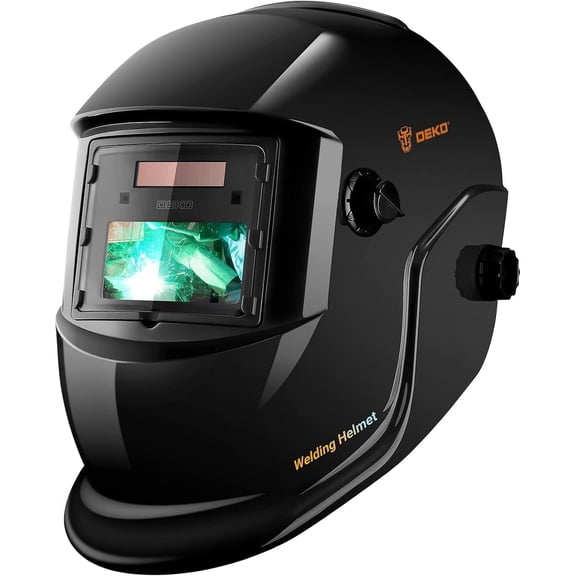
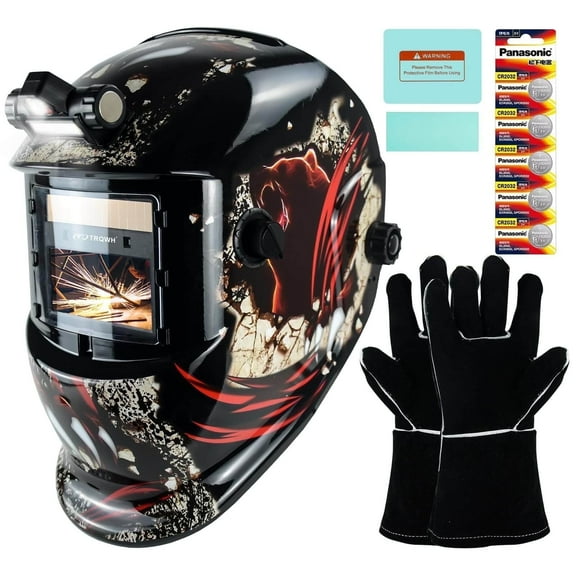
If you want quicker transitions between setup and arc time, you should consider an auto darkening welding helmet. You’ll keep your hood down while you position your torch, which helps you line up starts with less interruption.
You should also compare switching speed in seconds, such as 1/25,000 second, because faster changes feel more seamless during active work. You’ll want that quick response when you tack, stop, and restart often.
Optical clarity matters too, so you should look for details like a 1/1/1/1 optical class rating. You’ll usually get a cleaner view with less distortion, which helps when your bead placement needs steady visual control.
- You can keep your hood in position while you place your torch or electrode.
- You can compare variable shade settings when your projects change from one material thickness to another.
- You can check grind mode options if your prep and cleanup happen in the same helmet.
- You can look for dual-power, solar-powered, or battery-operated designs based on how you work.
Comparing welding hoods by lens type and shade range
When you compare welding hoods, you should first decide whether you want passive or auto-darkening viewing. You may prefer passive lenses if your setup stays consistent and your shade needs rarely change.
If your work varies, you should look at variable shade 9-13 models for broader flexibility across common welding tasks. You’ll gain room to adjust darkness as your arc brightness and material demands change.
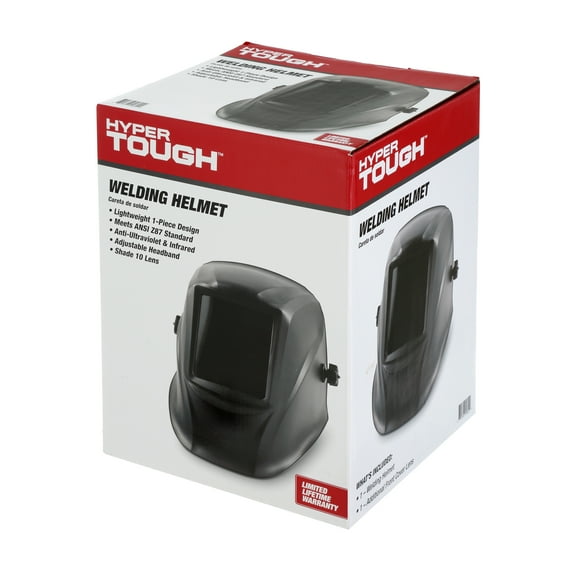
You can also compare fixed shade 10 options when your routine stays more predictable. You’ll often appreciate that straightforward setup if you want fewer adjustments before you begin.
For safety screening, you should check whether your helmet meets ANSI Z87.1 requirements. You’ll want that standard listed clearly because it helps confirm the helmet is designed for this category’s expected protection needs.
Matching your helmet to MIG, TIG, stick, and grinding
If you run wire feed equipment, you may look for a mig welding helmet with a broad viewing area. You’ll often want clear side awareness when you track longer seams and repeat passes.
For detailed torch control, you may prefer a tig welding mask with strong optical clarity and dependable low-amp arc detection. You’ll notice that clean visibility helps when your puddle is smaller and your movements are precise.
If you handle stick welding, you should compare shell coverage and shade flexibility for brighter arcs and outdoor conditions. You’ll want a helmet that supports steady visibility while you work through changing jobsite positions.
When grinding is part of your routine, you should check for grind mode and easy control access. You can move between prep and weld stages with less interruption when your controls are simple to reach.
Checking power source, fit, and comfort details
You should compare solar-powered, battery-operated, and dual-power designs based on how often you weld and where you work. You may like dual-power options if you want backup support across longer shop sessions.
Headgear fit matters every time you wear your helmet, so you should check adjustment points and balance. You’ll feel the difference when your helmet sits evenly and doesn’t shift during repeated nod-down movements.
Weight distribution is another key detail because your neck notices poor balance long before your project ends. You should look for cushioning, dial adjustments, and a stable crown fit if you wear your helmet for extended stretches.
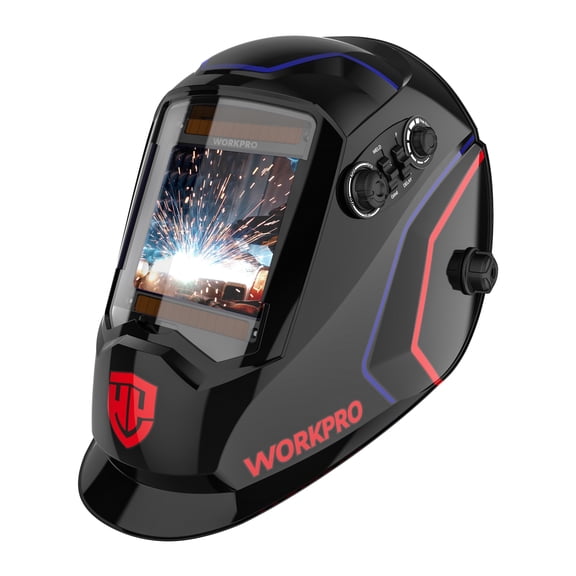
You can also compare shell shape, viewing window size, and exterior controls for day-to-day convenience. You’ll benefit from design details that make adjustments easier with gloves on or between passes.
What to look for before you decide
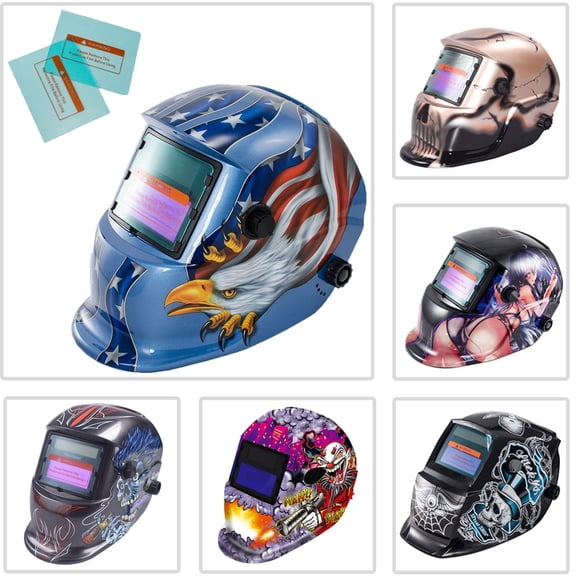
You should measure your needs by process, lens behavior, and comfort instead of choosing on appearance alone. You’ll make a more informed pick when you compare switching speed, optical class, shade range, and certification together.
Whether you need simple passive coverage or adaptable auto-darkening performance, you can narrow the field faster with category-specific details. You’ll end up with welding helmets that support clearer visibility, steadier fit, and smoother workflow from setup through final pass.