


Carpentry Squares in Measurement Tools












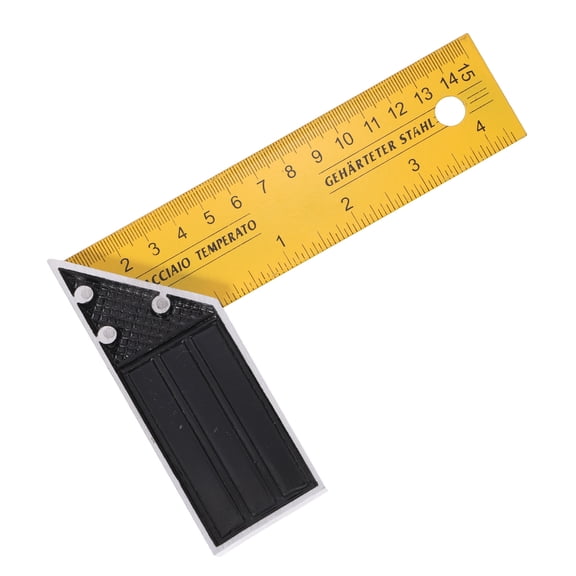
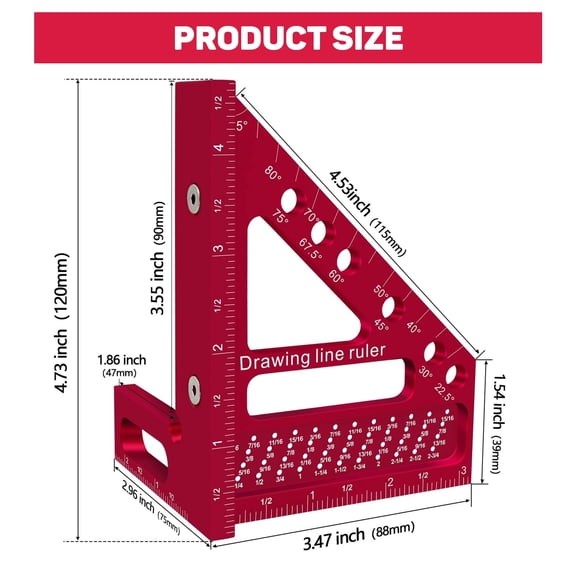


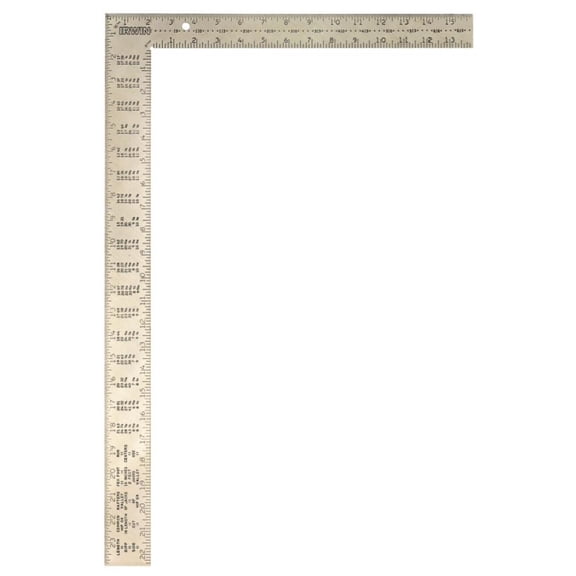

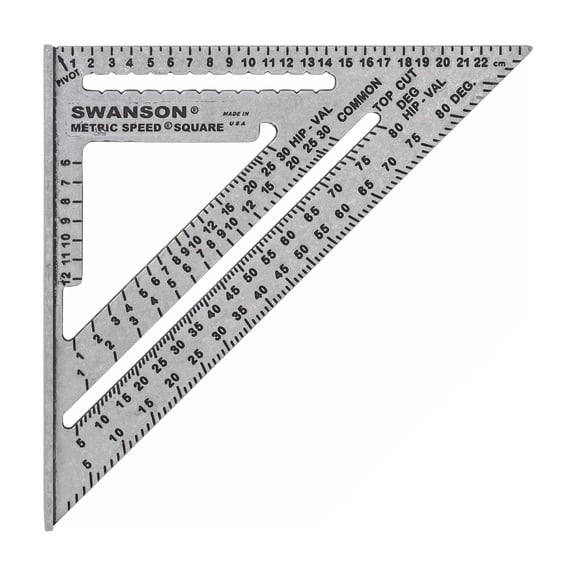
About Carpentry Squares in Measurement Tools - Walmart.com
You can compare carpentry squares here by type, size, material, and markings, so your layout work stays accurate from the first line. You’ll find options for framing, rafters, trim, and workshop measuring, with guidance that matches real carpentry tasks.
Choosing the right carpentry squares
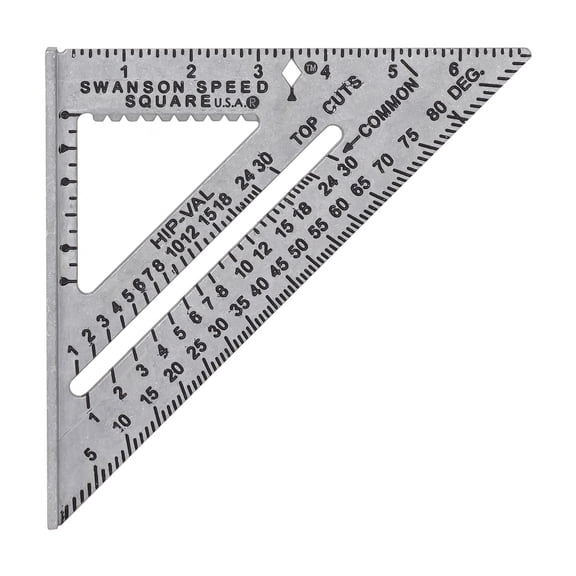
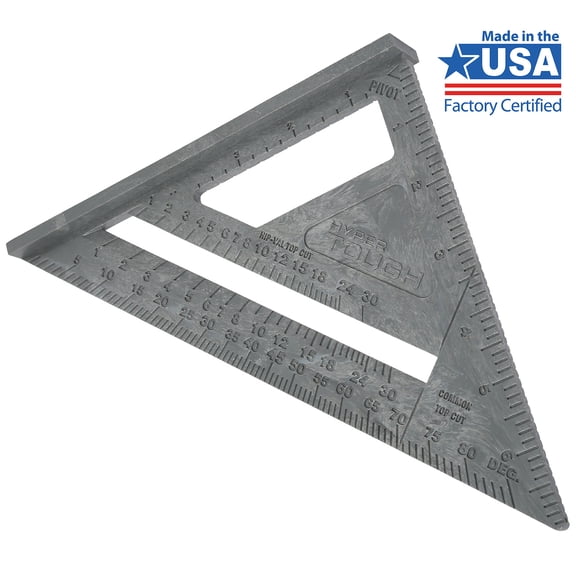
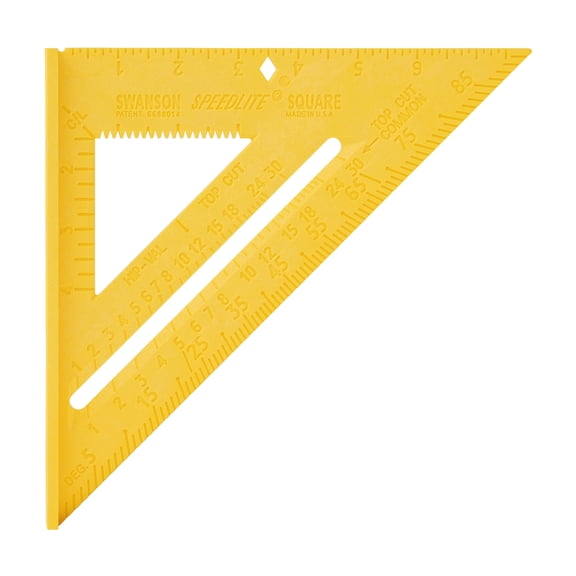
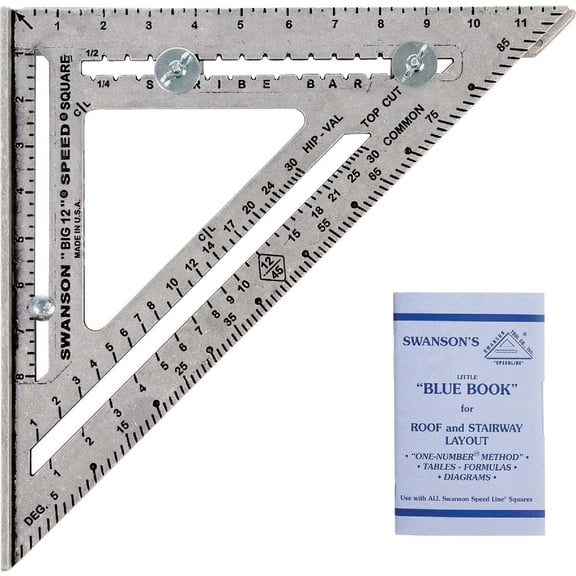
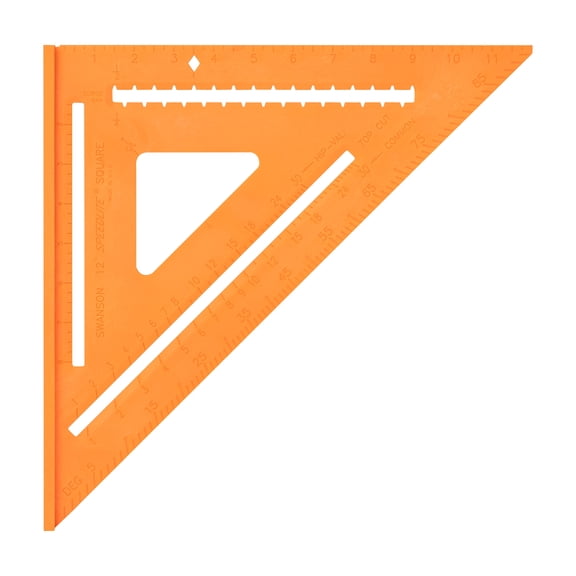
When you compare square types, you should start with the job in front of you. You’ll usually reach for speed squares when you need quick angle marks, common cuts, and fast saw guides.
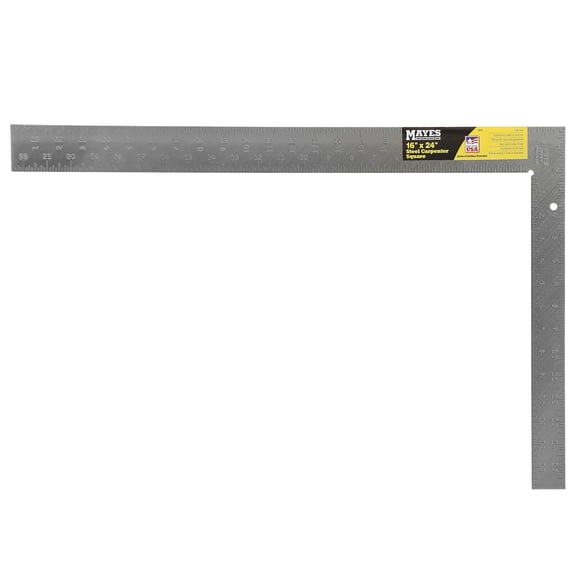
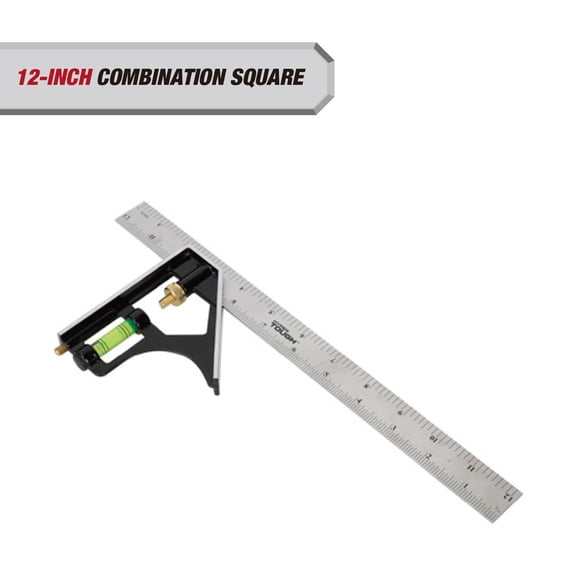
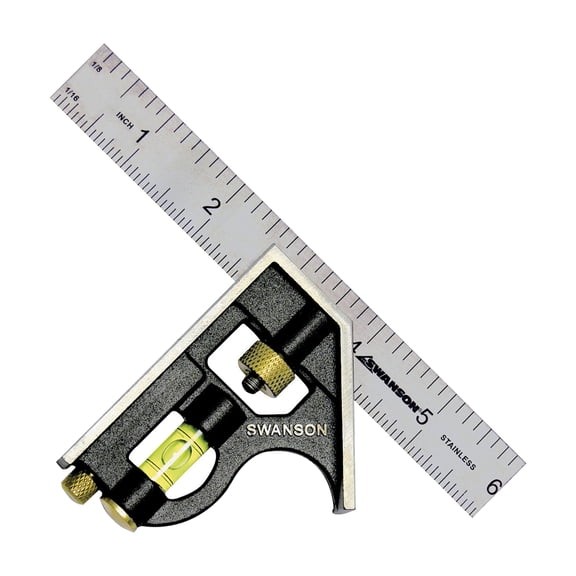
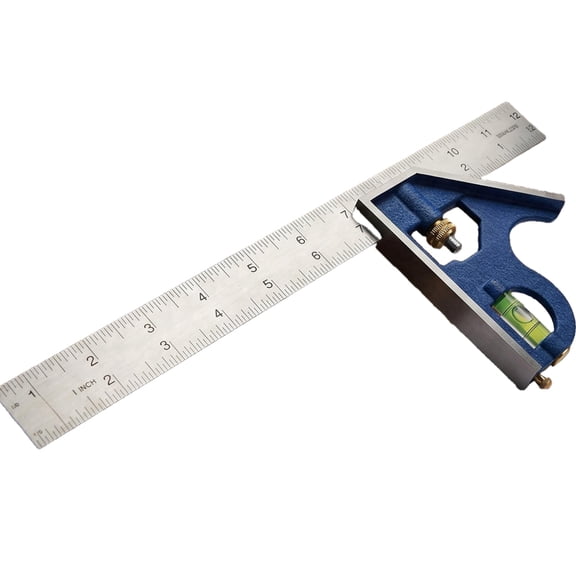
For larger layout work, you may prefer framing squares because your longer legs help with stairs, walls, and rafter planning. If your work needs depth checks and repeat marking, you’ll want combination squares close at hand.
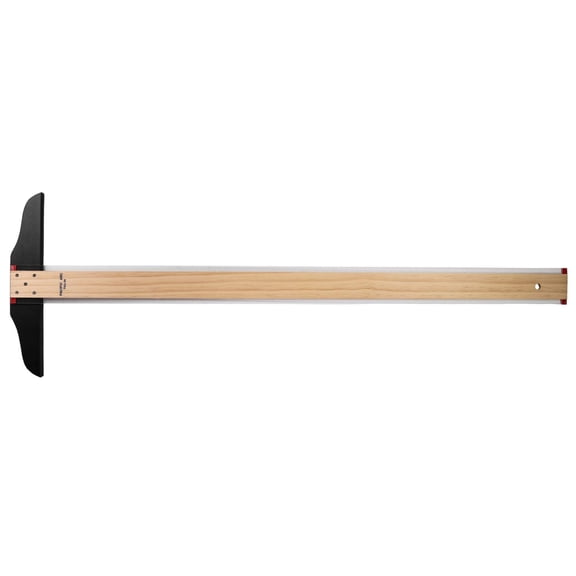
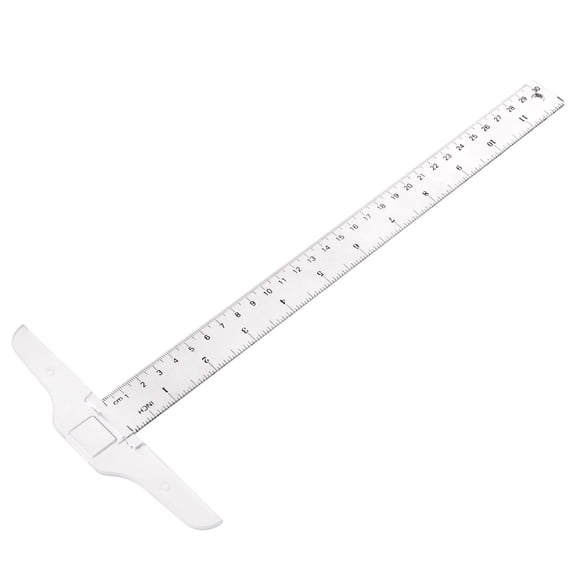
You may also look at try squares when your focus is squareness on edges and smaller woodworking tasks. If your bench work involves broad sheet layout, you can compare T-squares for straight guiding across wider surfaces.
- You can use speed squares for quick crosscuts, angle marking, and compact tool bags.
- You can use framing squares for wall layout, stair work, and larger rafter measurements.
- You can use combination squares for depth checks, marking, and adjustable measuring tasks.
- You can use try squares for cabinet parts, edge checks, and precise ninety-degree lines.
Comparing speed squares and framing squares
If you’re choosing between speed squares and framing squares, you should think about reach and workflow. You’ll get faster one-handed marking from a smaller triangular square, while longer bodies support larger construction layouts.
A 7-inch speed square can suit you when portability matters and your cuts happen on ladders or around tight spaces. A 12-inch or 16-inch framing square can suit you when your project needs wider spans and longer reference edges.
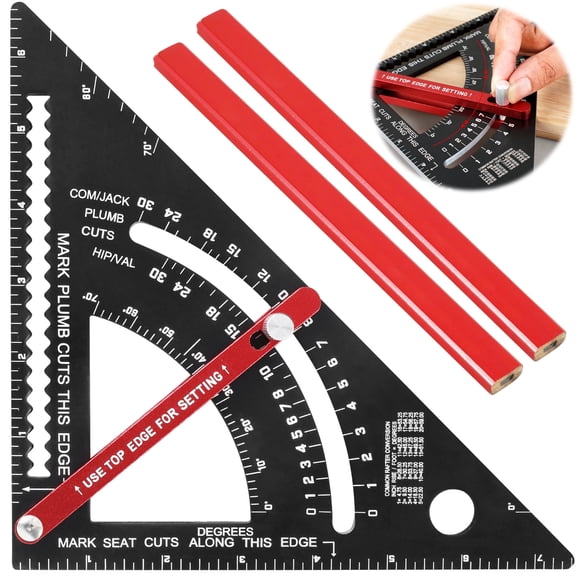
You may know rafter squares as a variation of the speed-square style, and you’ll often use them for roof pitch work. When you need fast seat cuts or angle checks, your triangular layout tool can keep marks consistent.
How to choose size and measurement system
When you choose size, you should match the square to your material and your workspace. You’ll often like 7-inch and 8-inch tools for portability, while 12-inch and 16-inch tools support broader layout tasks.
If you work across dimensional lumber, sheathing, and framing members, you may want more edge length for stable reference lines. When your tool has more reach, you can extend marks with fewer resets.
You should also compare measurement systems before you commit to a square. If your plans vary by project, your dual-scale markings can help you switch between inches and millimeters without slowing down.
What to look for in material and markings
When you compare materials, you should weigh durability, weight, and jobsite conditions. You’ll often choose aluminum for lighter handling, while stainless steel or cast iron can feel steadier during repeated layout work.
Heavy-duty plastic can make sense when you want a lighter tool for frequent carrying. If your projects move between garage benches and outdoor cuts, you may appreciate a tool that feels easy to handle.
You should check whether your markings are laser-etched or deeply stamped before you decide. You’ll usually read those marks more easily over time, especially when your work starts early or continues in dim spaces.
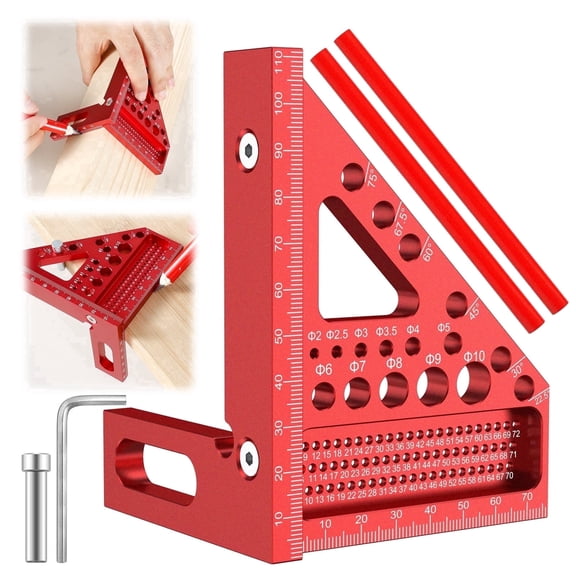
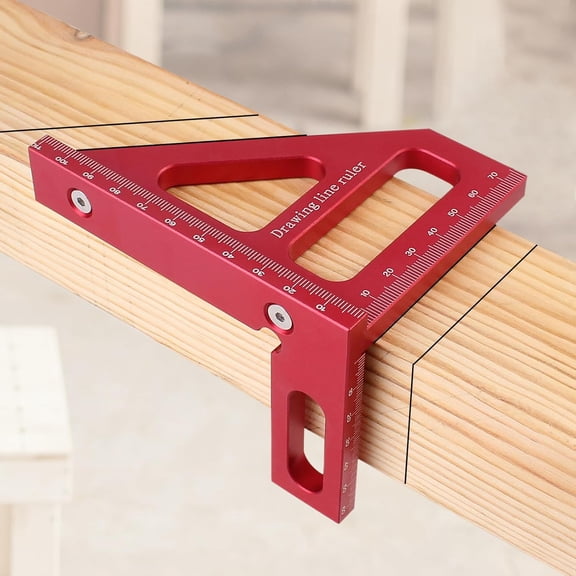
An anodized finish can matter when you want reduced glare and a cleaner reading surface. If your square includes scribing notches, you can mark repeated lines quickly across boards and sheet goods.
You may also compare built-in bubble level features if your layout overlaps with quick alignment checks. When your square combines measuring and reference functions, you can keep your setup moving with fewer tool changes.
Matching carpentry squares to your projects
If you’re framing walls or laying out roof parts, you’ll likely compare framing squares, rafter squares, and longer sizes first. You can use those formats when your project depends on repeatable angles and longer reference lines.
For trim work, cabinet tasks, or bench builds, you may prefer try squares or combination squares. You’ll usually benefit from their compact control when your lines need careful placement on smaller stock.
If your work shifts between indoor remodeling and outdoor construction, you should compare material and marking style together. You can choose readable laser-etched scales and durable bodies that support frequent measuring, marking, and checking.
You may also pair your square with measuring tapes, hand levels, and marking tools for a more complete setup. When your tools work together, you can move from measuring to marking to cutting with fewer interruptions.
With the right carpentry squares, you can keep cuts, corners, and layout lines consistent across framing, roofing, trim, and workshop projects. When your square matches your tasks, you’ll work with clearer marks and steadier accuracy.