




Vlogger


















About
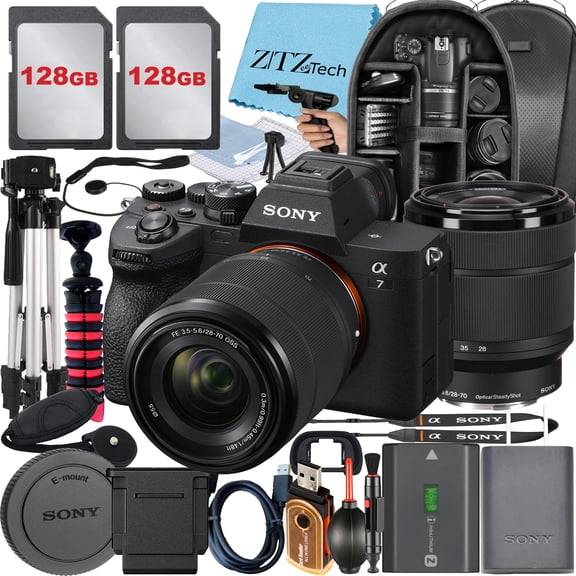
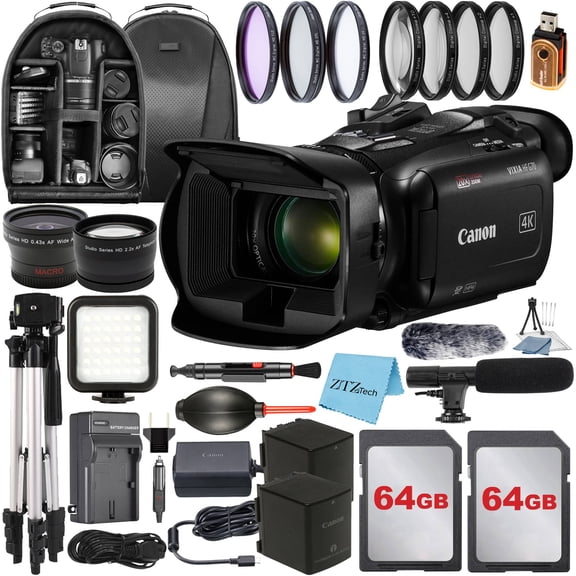
Vlogging gear helps you build a clear, reliable content setup for filming at home or on the go. You can compare cameras, microphones, ring lights, tripods, and gimbals in one place.
If you’re starting a channel or refining your workflow, you may want equipment that matches your device and filming style. You can narrow choices by compatibility, power source, connectivity, and skill level.
How to choose vlogging gear by equipment type
When you compare equipment type first, you can shape a setup around how you record each clip. You may want a camera for image control, or you may prefer a phone-based rig.
A tripod helps you frame steady talking videos, while a gimbal supports smoother walking shots. A ring light helps you brighten faces evenly, and a vlogging microphone helps your voice come through clearly.
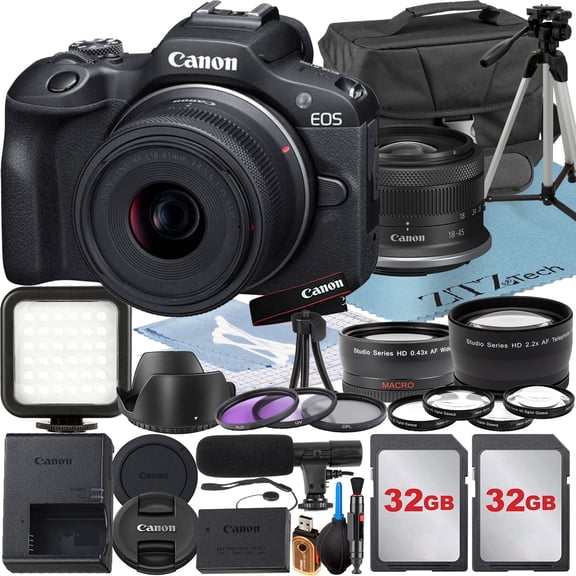
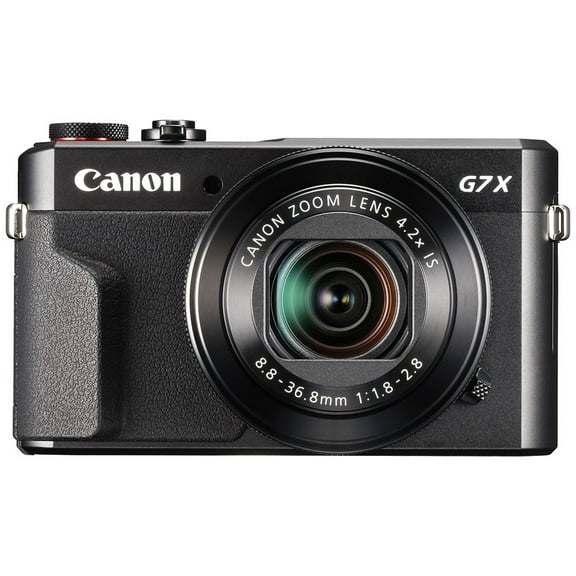
- You can use a camera when you want lens flexibility and manual controls.
- You can choose a microphone when your room sound matters as much as your picture.
- You can add a ring light when you film indoors or after daylight fades.
- You can rely on a tripod for sit-down videos and hands-free recording.
- You can pick a gimbal when your vlogging setup includes movement and travel clips.
As you build a vlogging kit, you can often combine several pieces instead of choosing only one. You can start with the gear that changes your recording quality quickly.
Choosing the right vlogging kit for your platform
Device compatibility is one of the first details you should check before you commit to any bundle. You can look for connectors and mounts that fit your iPhone, Android, DSLR, or mirrorless camera.
If you record on a phone, you should check whether your setup uses Lightning or USB-C connections. If you record on a camera, you should compare input ports, mounting points, and battery needs.
For microphones, you may need to compare 3.5mm TRS and TRRS connections before you choose. You can prevent setup issues when your cable type matches your camera or phone input.
Mounting matters too, especially when your rig includes a light and microphone on one frame. You should measure your device width and check whether your holder supports your case.
What to look for in vlogger accessories for light and sound
Lighting adjustability helps you control how your videos look in different rooms and at different times. You can compare warm and cool light tones to match daylight, lamps, or evening scenes.
Brightness levels matter when you switch between close-up tutorials and wider desk shots. You can get more flexibility when your vlogging light lets you dim or increase output gradually.
Audio choices deserve the same attention because clear speech shapes how polished your content feels. You can compare directional pickup and omnidirectional pickup based on where you film.
Directional pickup focuses more on the sound in front of the mic during solo recording. Omnidirectional pickup works well when you want room sound or multiple voices in one take.
Connectivity also affects convenience during setup and editing. You can choose wireless options for movement, Bluetooth for quick pairing, USB-C for newer devices, or a 3.5mm jack for classic inputs.
Comparing power sources and portability in a vlogging setup
Power source affects where and how long you can film without interrupting your session. You can choose rechargeable battery models for travel or USB powered gear for desk setups.
An AC adapter can make sense when your content stays in one room for longer recordings. You may prefer fixed power when you stream, film tutorials, or batch several videos together.
Portability matters when your day includes commuting, travel clips, or quick social posts between stops. You may prefer compact gear that folds down easily and fits into a small carrying case.
Studio-focused setups can include larger lights, full-size tripods, and mounted microphones for repeatable framing. You can keep your angles and sound more consistent when your recording spot stays unchanged.
Matching skill level to your vlogging setup
Skill level can guide you toward simpler controls or more detailed customization. If you’re a beginner, you may want easy mounting, simple buttons, and all-in-one accessories.
If you’re at an intermediate level, you might compare expandability for extra lights, external mics, or phone monitors. You can build in stages as your content style becomes more specific.
If you create professional video, you may look for advanced audio inputs, stronger stabilization, and flexible mounting options. You can support interviews, product demos, and location shoots with fewer workflow changes.
Your filming goals should shape each choice, not just the size of the kit. You can make a more informed decision when your gear matches your platform, space, and production routine.
How you can use vlogging gear in real recording scenarios
For desk tutorials, you can pair a tripod, ring light, and USB microphone for stable framing. This helps you get a clean look for unboxings, classes, or close-up product demos.
For travel clips, you can use a compact phone mount, rechargeable light, and wireless microphone. This helps you move more freely while keeping your setup small enough for a backpack.
For beauty or streaming content, you can choose adjustable lighting with warm and cool settings. You can tune brightness to match skin tones, background lights, and screen glow.
For interviews or dual-person clips, you can compare microphone pickup patterns and connection types carefully. You can keep your sound source, cable, and camera input working together from the start.
When you need a complete vlogging kit, you can focus on compatibility, power, and portability first. This helps you build a setup that records smoothly and fits your content routine.