
Hero image 0 of For 2016 to 2018 Honda CRV Pair OE Style Aluminum Roof Rail Cross Bar Baggage Carrier, 0 of 5
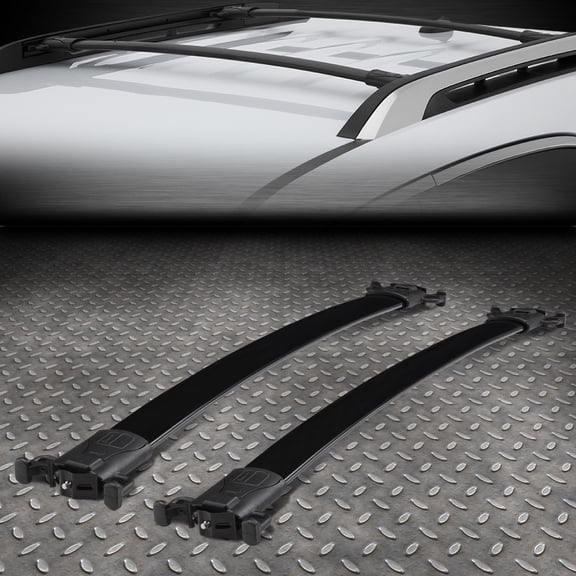
For 2016 to 2018 Honda CRV Pair OE Style Aluminum Roof Rail Cross Bar Baggage Carrier
Check if this fits your vehicle
Current price is USD$71.99
Price when purchased online
- Free shipping
- Free 30-day returns
How do you want your item?
Columbus, 43215
Arrives by Thu, Apr 9
|Sold and shipped by DNA Motor Inc.
4.1208080808080805 stars out of 5, based on 2475 seller reviews(4.1)
Free 30-day returns
About this item


Customer ratings & reviews
2.8 out of 5 stars
How item rating is calculated
Sort by |
Showing 1-3 of 5 reviews
Jul 26, 2020
Glenn
5 out of 5 stars review
Verified Purchase
Helpful?
Mar 2, 2021
Alexander
4 out of 5 stars review
Verified Purchase
Good value, poor instruction.
Helpful?
Apr 15, 2020
michael
3 out of 5 stars review
Need to pay attention to details
Helpful?
