


Subway
Achieve a fresh, classic look with minimalistic flair.
Your white tile kitchen backsplash can brighten cooking spaces and make everyday cleanup feel simpler. You’ll also find wall and floor tile options that support DIY updates or larger remodel plans.
When you compare tile for your kitchen, you’ll want to start with material, installation type, and intended surface. You’ll make a clearer choice when you match each option to heat, moisture, and cleaning needs.
For backsplash projects, you’ll often focus on white finishes, grout lines, and pattern scale. You’ll notice subway tile, mosaic sheets, hexagon shapes, and square formats create very different visual effects.
Ceramic tile works well when you want a classic backsplash look and straightforward maintenance. You’ll often like ceramic for white kitchen walls because it pairs easily with many cabinet colors.
Porcelain gives you a denser option for spaces that need extra durability. You’ll want porcelain when your project may extend from a backsplash to floor tile areas.
Glass tile can reflect light and help your kitchen look brighter around sinks and counters. You’ll often choose glass mosaics when you want a smooth surface and a more decorative accent.
Stone tile gives you natural variation in tone and texture for a more organic look. You’ll want to check sealing needs before you choose stone for splash zones.
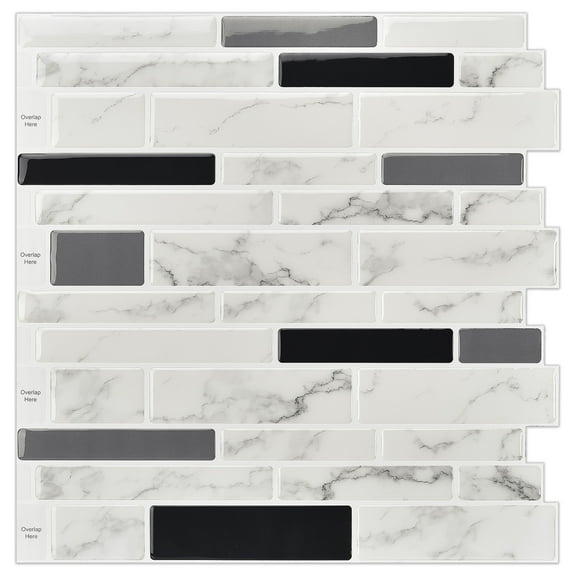
Vinyl tile, including peel-and-stick styles, can simplify smaller DIY updates. You’ll appreciate vinyl when you want lighter materials and a quicker refresh without traditional mortar.
Peel-and-stick tile works well when you want a simpler project with fewer tools and less prep. You’ll usually apply it faster on smooth, clean walls in apartments, condos, or quick remodels.
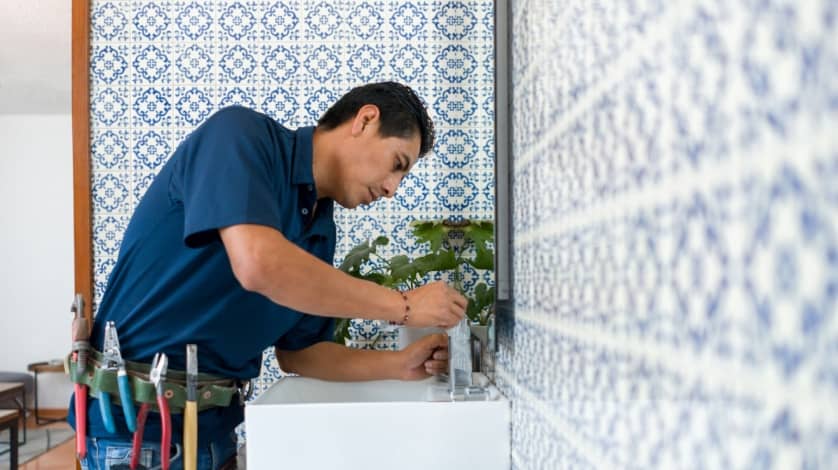
Traditional grout and mortar installation gives you a more permanent finish for long-term projects. You’ll need thinset, spacers, grout, and a little more planning before you begin.
When you estimate how much tile you need, you’ll measure height and width in feet first. You’ll multiply those numbers for area coverage, then add overage for waste and future touch-ups.
You’ll want to separate backsplash tile from floor tile before you decide on style alone. You’ll usually need different performance levels for splashes on walls and foot traffic under shoes.
For floors, you’ll want to check the PEI wear rating because it helps you compare surface durability. You’ll generally use higher PEI ratings where your household needs tile that handles repeated walking.
For wet zones, you’ll also want to compare water absorption rate across materials. You’ll find lower absorption especially useful when your tile sits near sinks, cooktops, or other moisture-prone areas.
If you’re planning commercial tile flooring, you’ll need to look closely at wear, traction, and cleaning demands. You’ll usually reserve lighter decorative wall tiles for vertical surfaces instead of busy floors.
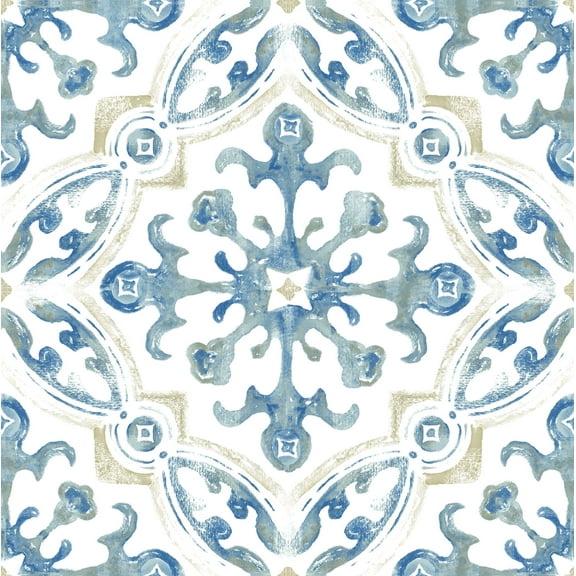
Subway tile gives you a familiar layout that suits modern, farmhouse, and transitional kitchens. You’ll often use white subway patterns when you want clean lines and easy-to-plan spacing.
Mosaic tile sheets help you cover smaller areas and curves with less cutting. You’ll like mosaics when you want texture, mixed finishes, or a detailed focal strip behind a range.
Hexagon tile creates geometric movement that stands out on backsplashes and bath walls. You’ll choose square tile when you want a balanced grid that looks neat and simple.
Pattern size affects how your room feels after you install the tile. You’ll usually use smaller shapes for detail and larger pieces for a calmer, less busy look.
If you’re updating a rental kitchen, you’ll likely consider peel-and-stick white tile for a quicker wall refresh. You’ll get a cleaner backdrop for counters, shelves, and everyday cooking spaces.
If you’re remodeling a family kitchen, you’ll often compare ceramic and porcelain for a lasting backsplash. You’ll want surfaces that wipe clean easily after splatters from sauces, oils, and drinks.
When your project includes both walls and floors, you’ll benefit from comparing matching collections across applications. You’ll create a more connected look when your backsplash and floor tile share color or shape.
For stores, offices, or shared buildings, you’ll likely focus on commercial tile flooring with stronger wear specs. You’ll also want finishes that support frequent cleaning and a polished appearance.
If your kitchen gets limited natural light, you’ll often prefer white glass or glossy ceramic surfaces. You’ll notice those finishes bounce light around the room and help compact spaces feel more open.
You’ll want to check material, installation method, pattern, coverage, and application before you commit. You’ll make a smarter choice when each detail matches your room, tools, and timeline.
With the right white tile kitchen backsplash or coordinating tiles, you’ll create a cleaner-looking space with style that fits your project. You’ll also feel more prepared for measuring, installing, and maintaining your finished surface.