Safety in Bike Accessories


About Safety in Bike Accessories - Walmart.com
Bike safety accessories help you ride with clearer visibility and stronger awareness from your first commute to your weekend trail loop. You can compare lights, reflectors, bells, horns, and mirrors by mounting style, power source, and visibility needs.
How to choose bike safety accessories
You’ll want bike safety equipment that matches when you ride, where you ride, and how visible you need to be. You can narrow your options faster when you compare accessory type, mounting location, and power setup first.
For daily streets, you may focus on bicycle safety gear that installs quickly and stays secure over bumps. For mixed paths, you may prefer pieces that add visibility from the front, rear, and side.
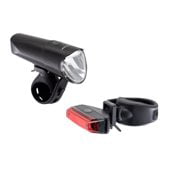
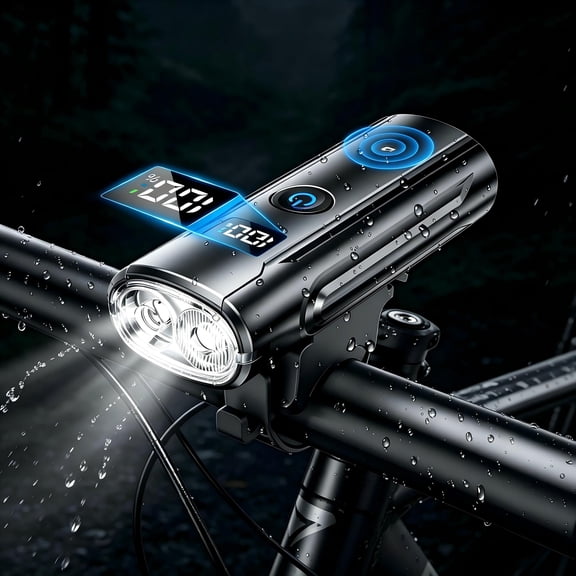
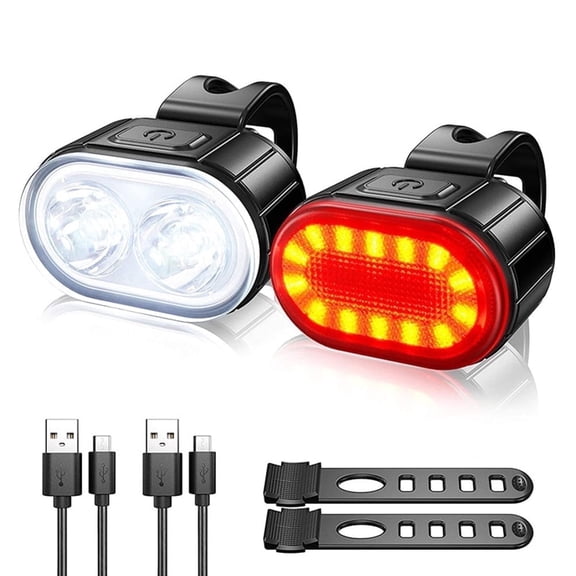
- You can use front lights to brighten your path and help others notice your bike sooner.
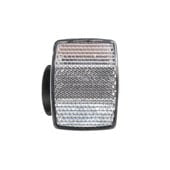
- You can add rear lights and reflectors to increase visibility from behind in lower light.
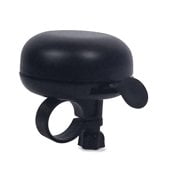
- You can choose bike bells and horns when you want a simple way to signal on shared paths.
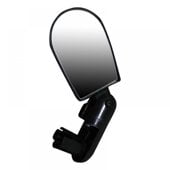
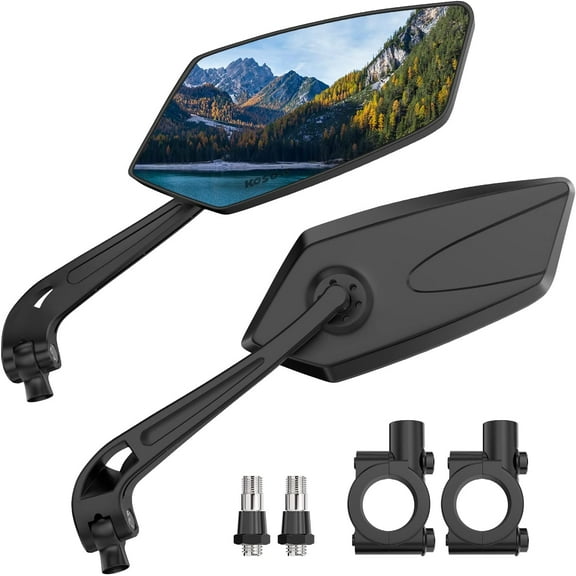
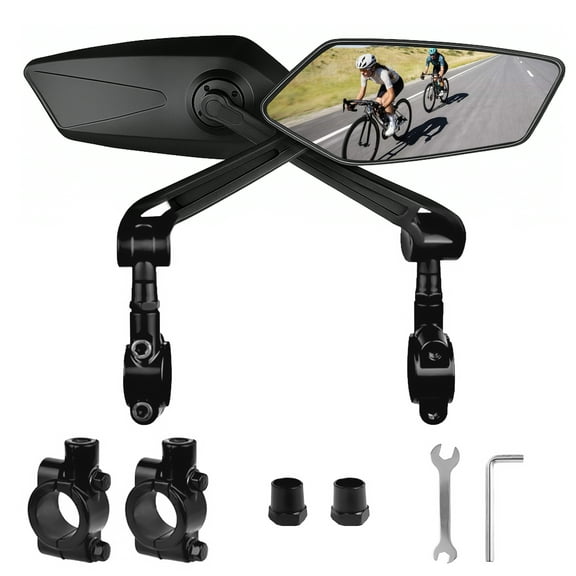
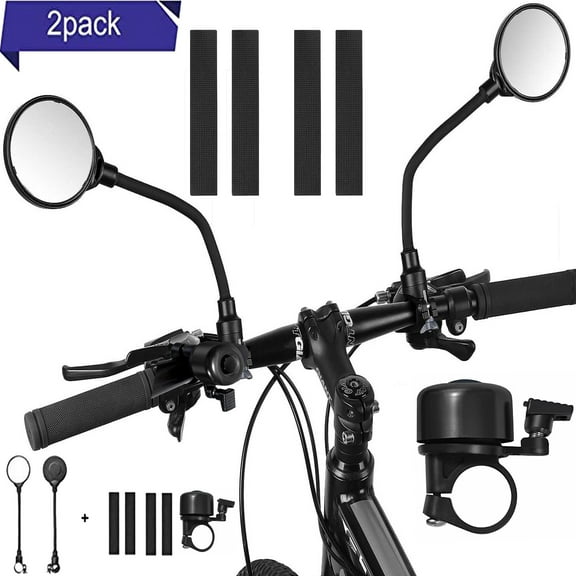
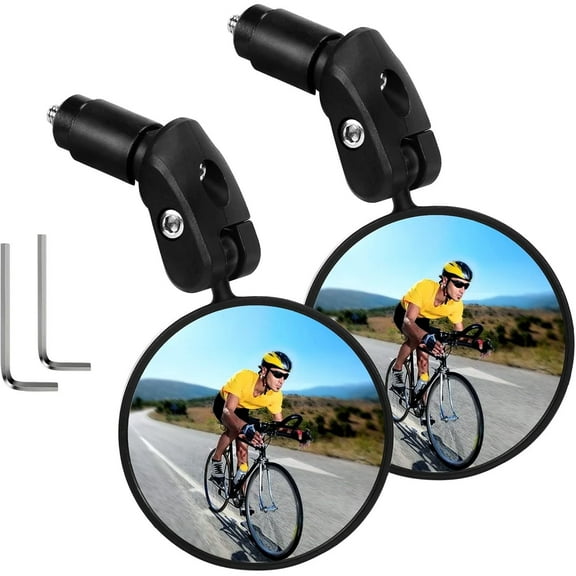
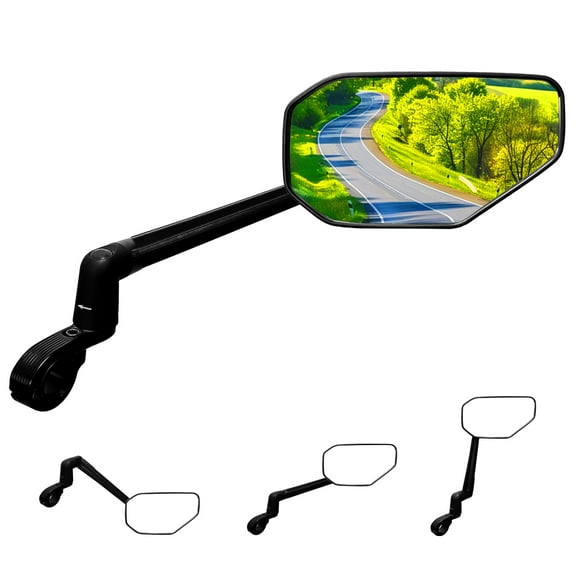
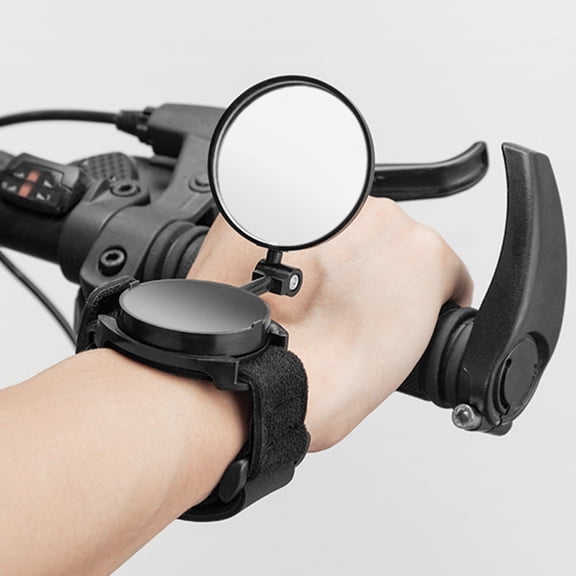
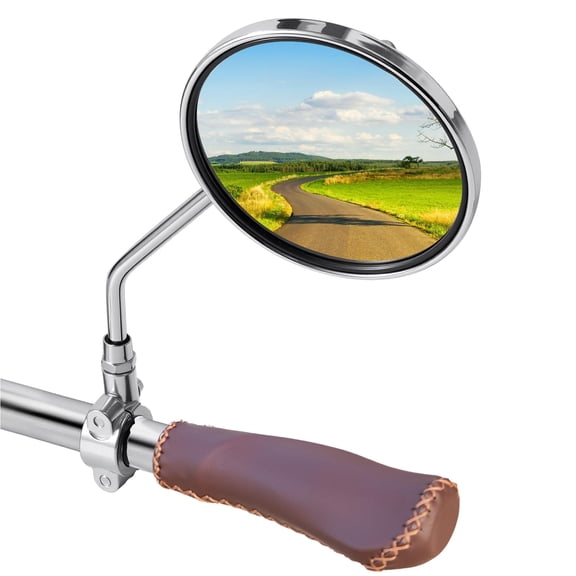
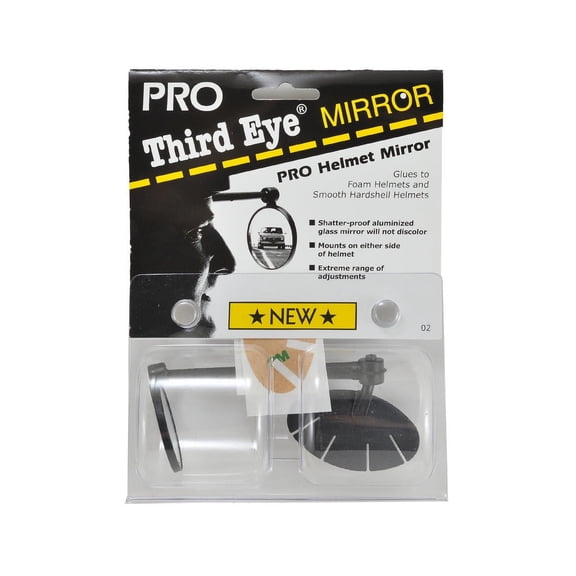
- You can use mirrors to check traffic movement without turning your head as often.
When you combine several accessory types, you create coverage that a single item can’t provide on its own. You’ll notice that layered visibility matters more during early mornings, evening rides, and changing weather.
Choosing accessory type and mounting location
You should start with the accessory type that solves your biggest riding challenge. You may need lights for darker routes, a bell for crowded paths, or mirrors for commuting near traffic.
Mounting location changes how useful your gear feels on every ride. You can compare handlebar, seatpost, helmet, and wheel spoke options based on your bike setup.
Handlebar mounts usually place controls within easy reach while keeping a front light aimed ahead. Seatpost mounts help you add rear visibility without crowding your frame or rack area.
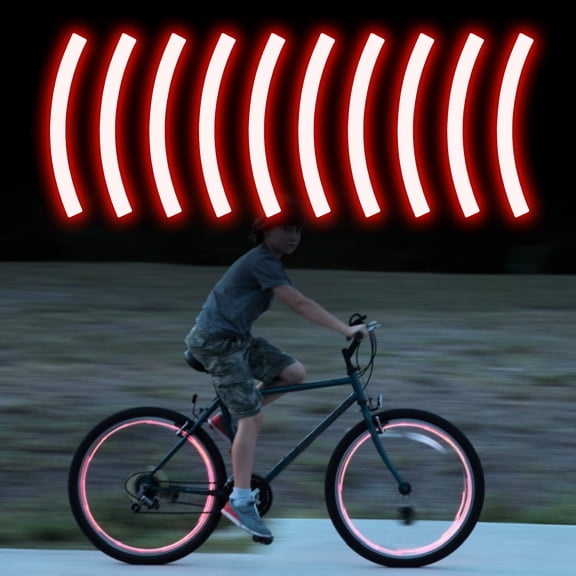
Helmet mounts can follow your line of sight, which helps when you look through turns or scan intersections. Wheel spoke reflectors add side visibility that stands out when your bike is moving.
You should also check clamp size and strap design before choosing commuter bike accessories. You’ll avoid fit issues when you measure your handlebar diameter and seatpost width first.
Comparing power source, brightness, and weather resistance
You can sort bike lights and reflectors by power source to match your routine. USB rechargeable models suit frequent riders, while battery operated options work well when you want quick replacement power.
Solar and kinetic designs can appeal when you prefer fewer charging steps during casual riding. You should still check run time, charging method, and replacement convenience before deciding.
Lumens matter when you compare brightness for darker roads and early commutes. You’ll usually want a higher lumen output for night riding, while daytime visibility may need flashing modes instead.
Reflective bike gear supports visibility without depending on battery life or charging cables. You can pair reflective, LED, high visibility, and neon details to create stronger coverage from several angles.
Weather resistance also deserves a close look if you ride in changing conditions. You should check waterproof ratings or water-resistant construction so your gear keeps working through wet commutes.
Using bicycle safety gear for real riding situations
You can build a smarter setup when you match your gear to your route and riding time. A short city commute may call for a handlebar light, seatpost light, bell, and compact mirror.
For school runs or neighborhood rides, you may want simple mounting and easy controls. You’ll appreciate battery indicators, tool-free straps, and quick removal when you store your bike indoors.
If you ride before sunrise or after sunset, you should compare lumen ratings and beam patterns closely. You can use front lighting for forward visibility and rear lighting for stronger noticeability behind you.
On shared greenways, bike bells and horns can make passing more predictable and less awkward. You can choose compact bells for everyday signaling or louder horns for busier routes.
For road bikes with limited frame space, you may prefer low-profile mounts that don’t interfere with cables. You should check whether a light fits narrow handlebars, aero bars, or smaller seatposts.
For family rides, reflective bike gear can add visibility without adding much weight or setup time. You can clip, strap, or mount pieces in minutes when you need flexible coverage.
During rainy commutes, you’ll want secure mounts and weather-resistant housings that stay put on rough pavement. You can ride with more confidence when your light stays charged and your reflector stays visible.
What to look for before you decide
You should compare attachment style, power source, lumen output, and visibility range before you choose. You’ll make a clearer decision when you think about your route, storage habits, and riding schedule.
Bike safety accessories work hardest when you build a setup around your actual bike and your real riding conditions. You can create a more visible, more aware ride with the right combination of lights, bells, reflectors, and mirrors.