Sandpaper and Abrasives


About Sandpaper and Abrasives - Walmart.com
3M sandpaper helps you match grit, backing, and format to your project with less guesswork. You can compare sheets, discs, sponges, and rolls for wood, metal, drywall, and automotive prep.
If you're refining trim, leveling filler, or smoothing primer, you need abrasive options that fit each step. You can use this guide to compare grit ranges, attachment types, and wet or dry choices.
Choosing the right 3M sandpaper grit
Your sanding grit guide starts with the stage of your project, not just the surface. You should use coarse grits for removal, medium grits for shaping, and fine grits for finishing.
When you compare coarse 40 to 80 grit options, you can remove paint, flatten filler, or level rough wood fast. When you move to 100 to 150 grit, you can smooth scratches and prepare surfaces for the next pass.
Fine 180 to 220 grit helps you refine wood before stain or paint. Very fine 240+ grit helps you smooth primer, blend finishes, or prep between coats.
- You can start with coarse grit when your surface needs heavy material removal.
- You can choose medium grit when your project needs shaping and visible scratch reduction.
- You can move to fine grit when your surface is close to paint or stain ready.
- You can use very fine grit when your finish needs light smoothing between coats.
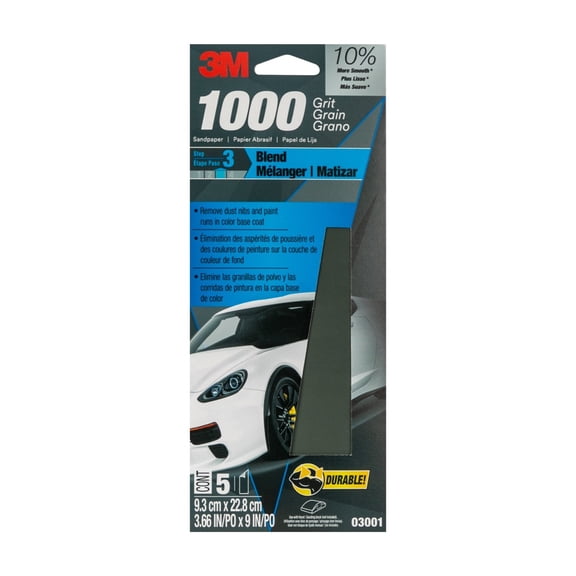
If you're working on body filler or primer, you may need higher grits that extend well beyond 400. You can use that wider range when your automotive finish needs a smoother final prep.
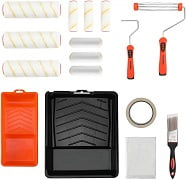
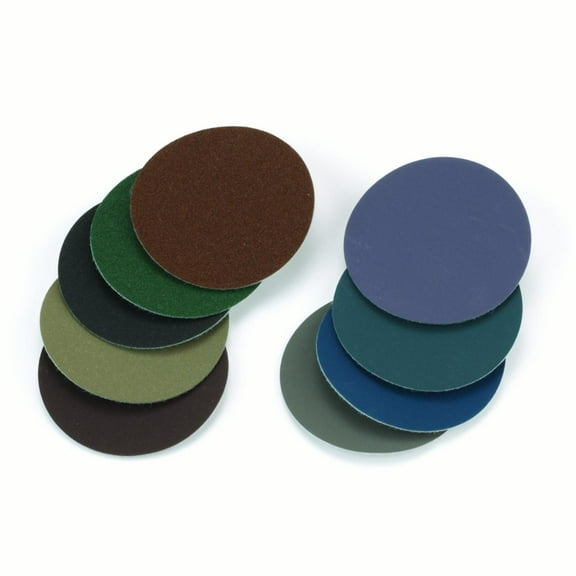
Comparing 3M sanding discs, sheets, and sponges
You should choose your product format by how you sand and what shape you need to reach. You can use 3M sanding discs with power sanders, while sheets and sponges support more controlled hand work.
If you use an orbital sander, 3M sanding discs can help you cover broad panels evenly. If you sand by hand, 3M sanding sheets can help you wrap blocks, fold edges, and target corners.
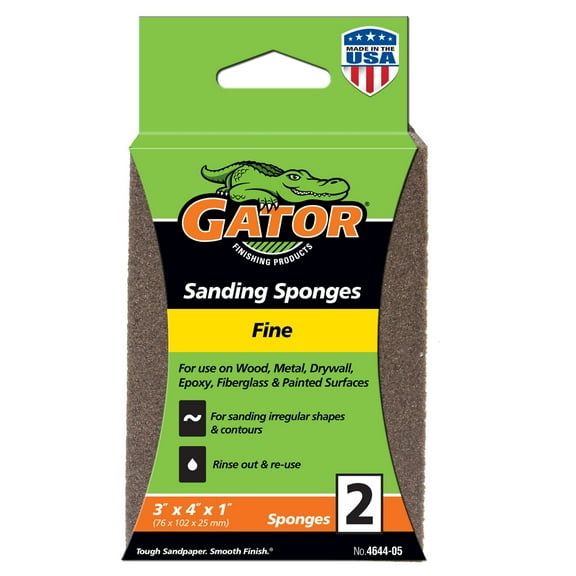
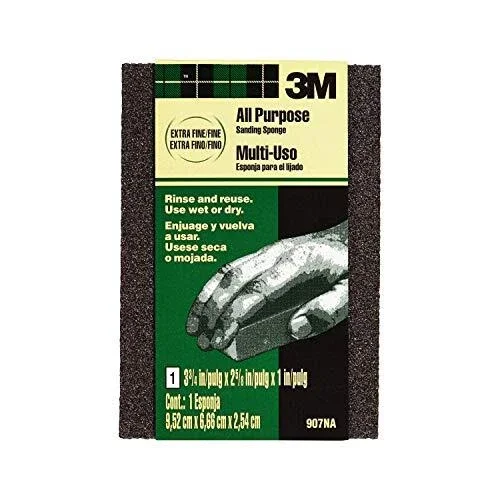
3M sanding sponges help you follow curves, trim profiles, and uneven surfaces with more flexibility. Sanding rolls help you cut custom lengths when your task changes from one area to another.
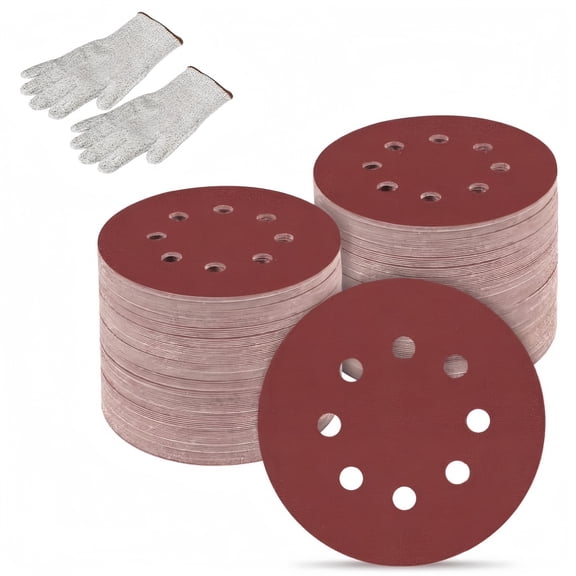
You should also compare attachment type before you pick discs for a sander. Hook and loop discs let you change grits quickly, while adhesive backed discs stay flat for a firm hold.
If your tool uses plain backing sheets, you can clamp the abrasive into a hand sander or sanding block. You can avoid fit issues by checking the tool style before you choose your abrasive format.
How backing material changes your results
You can narrow your options faster when you compare paper, cloth, film, and foam backing materials. Each backing type changes flexibility, tear resistance, and how the abrasive feels in your hand.
Paper backing works well when you want a familiar sanding sheet for general prep. Cloth backing gives you more flex and durability when your project needs repeated motion on edges or shaped parts.
Film backing helps you keep a more even scratch pattern on detailed finishing steps. Foam backing cushions the abrasive, which helps you follow contours and light curves more smoothly.
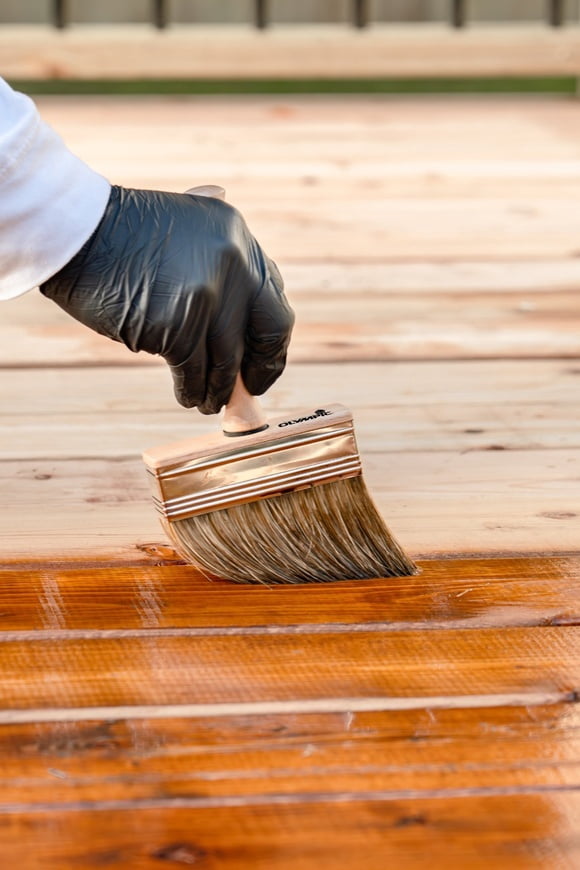
If you need 3M wet or dry sandpaper, you should check whether the backing supports both methods. You can use water during wet sanding to reduce dust and help limit clogging on fine finishing passes.
When you sand dry, you may prefer faster setup and easier transitions between areas. When you sand wet, you can keep fine residue from loading the surface as quickly.
What to look for in durability and clogging control
You should compare abrasive durability by how long the surface keeps cutting consistently. You can also look for coatings that help reduce buildup during paint, filler, and finish prep.
If your abrasive includes a stearate coating, you may notice less loading from dust and finish residue. You can keep the cutting surface working longer when buildup stays lower during sanding.
That matters when you prep primer, remove clear coat texture, or smooth joint compound. You can maintain a more consistent scratch pattern when the abrasive surface stays clearer.
You should match durability to your application instead of using one style for every job. A flexible sponge suits corners and profiles, while a sturdy disc suits broad panels and repeated machine sanding.
Matching 3M sandpaper to woodworking, automotive, drywall, and metal
If you're sanding wood, you should move through grit steps instead of jumping straight to a fine finish. You can reduce visible scratches by progressing from shaping grits to finishing grits in order.
For drywall, you may want sponges or sheets that help you feather seams and corners cleanly. You can choose lighter grits for smoothing compound without overworking the surface.
If your project involves metal, you should compare backing strength and grit based on the finish stage. You can use stronger backings when edges, contours, or repeated passes demand more durability.
For vehicle prep, 3M automotive sandpaper helps you handle primer sanding, filler shaping, and finish refinement. You can also compare wet or dry formats when your process includes water-assisted finishing steps.
When you work across several materials, you should keep separate grits for removal, prep, and finish work. You can stay more consistent when each stage has its own abrasive type and grit range.
Using this 3M sandpaper guide with your tools
You should measure your sander pad and check the attachment style before choosing discs. You can avoid mismatched accessories by confirming hook and loop, adhesive backed, or plain backing requirements.
If you switch between hand sanding and machine sanding, you may want both sheets and discs on hand. You can handle flat surfaces with power tools, then finish edges and corners by hand.
This approach helps you build a more complete sanding setup for furniture, bodywork, patching, and paint prep. You can choose 3M sandpaper with more confidence when grit, format, and backing match your task.