

Sanding Discs in Sander Accessories


















About Sanding Discs in Sander Accessories - Walmart.com
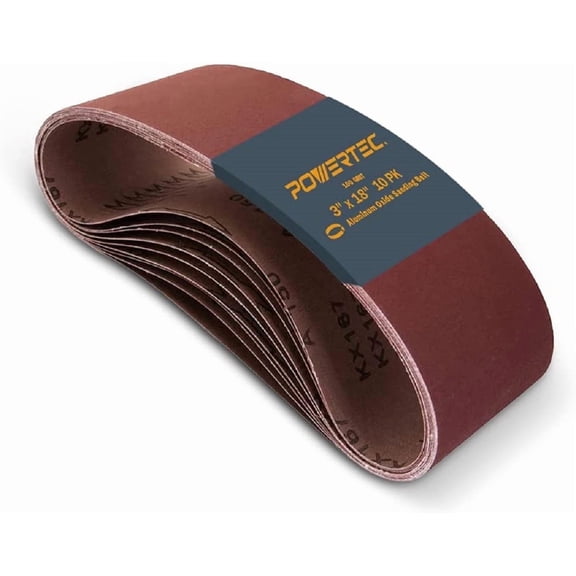
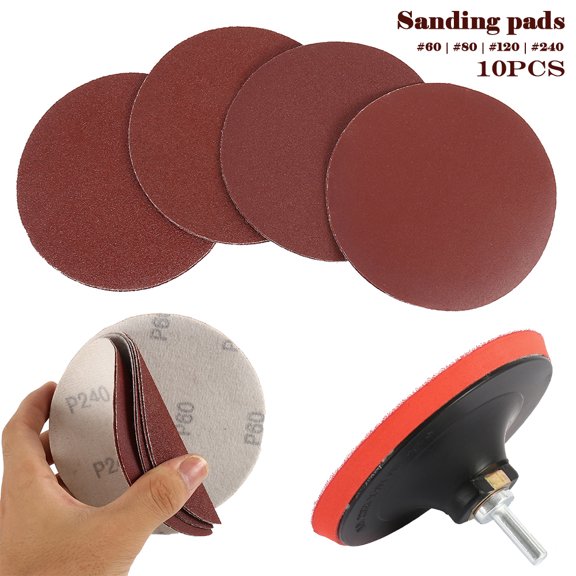
Sanding discs help you smooth wood, prep metal, and remove old finish with the right grit, backing, and hole pattern for your sander. You can compare sizes, attachment styles, and abrasive materials here, so your project moves from rough shaping to clean finishing with less guesswork.
How to choose sanding discs for your sander
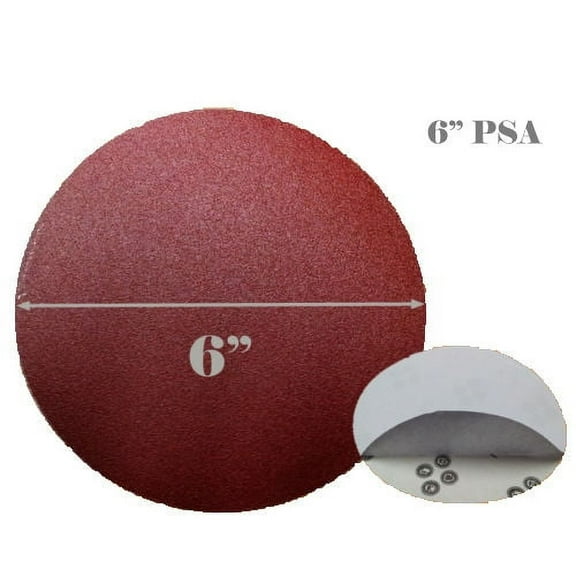
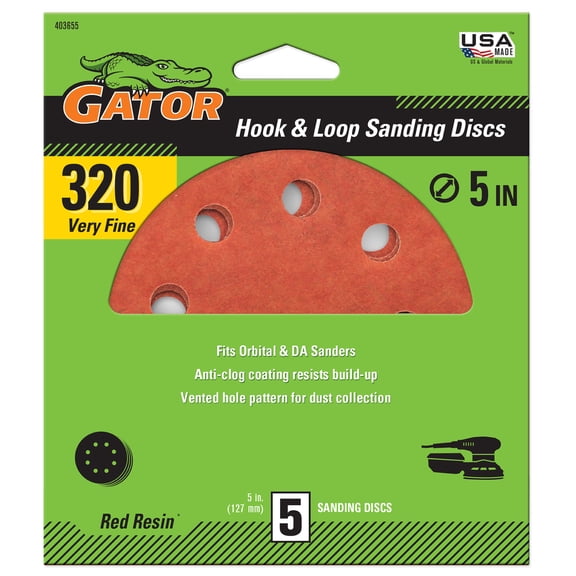
You'll want to start with disc diameter, because your tool must match the pad size exactly. You can look for 5 inch sanding discs, 6-inch options, or larger 9-inch discs based on your sander model.
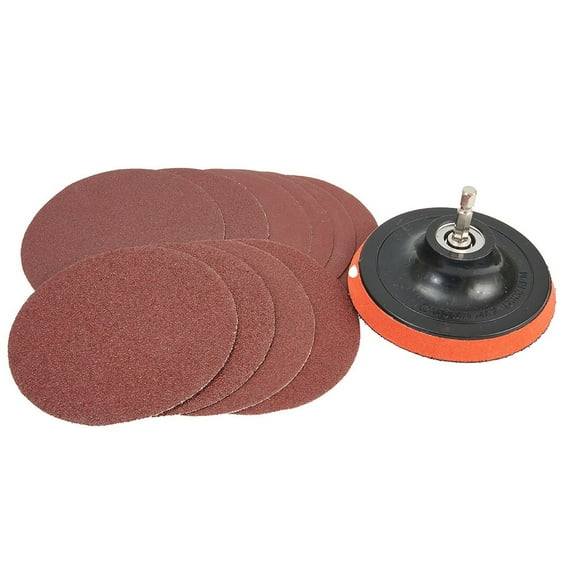
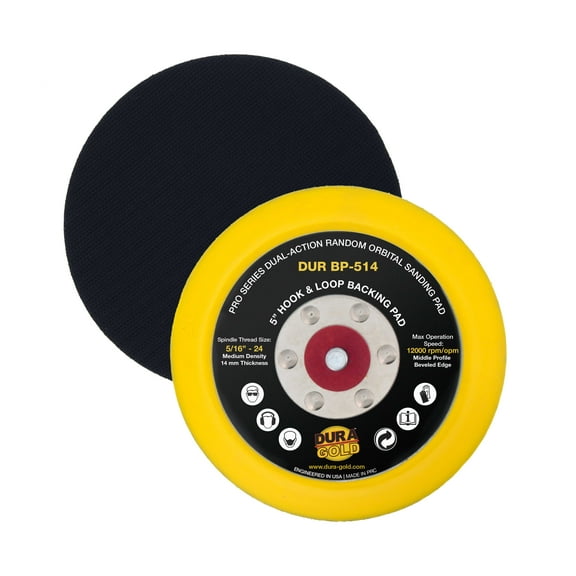
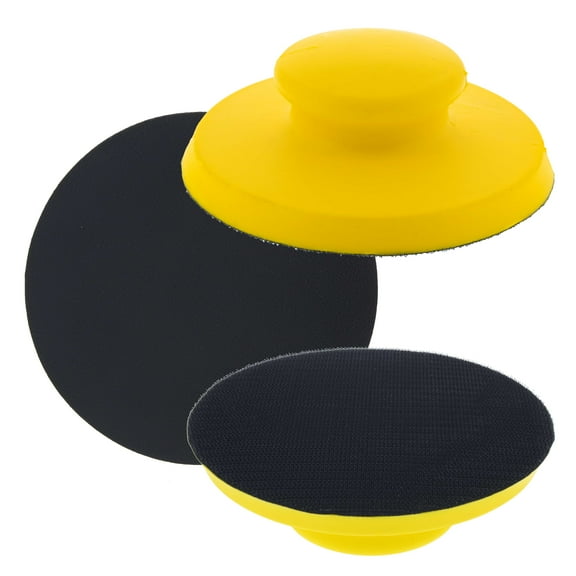
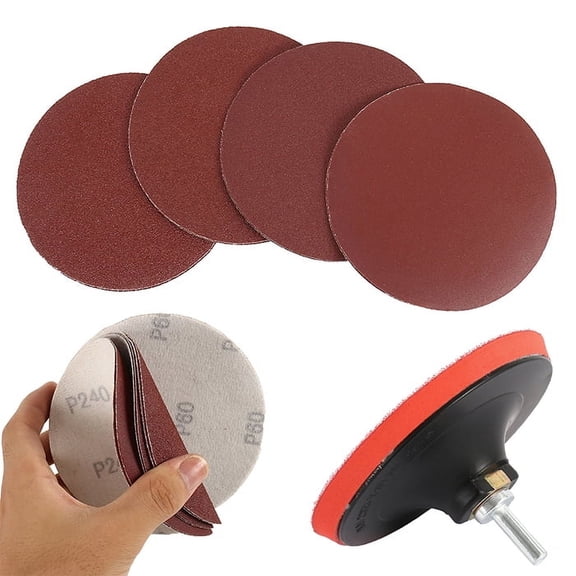
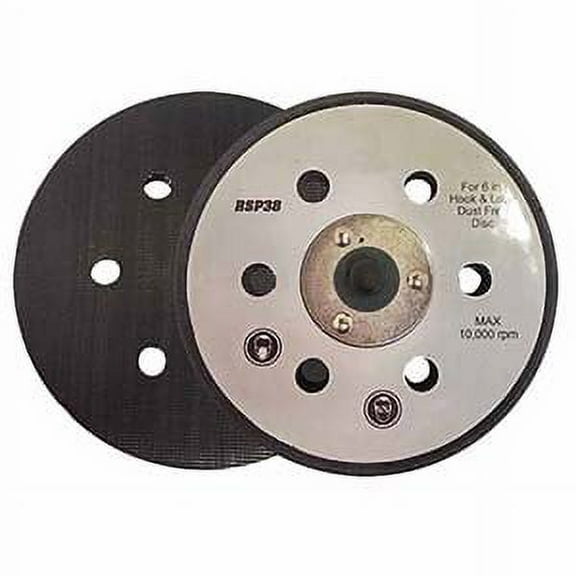
If you use an orbital tool, you'll usually compare orbital sanding discs by diameter and hole pattern first. You can also check whether your sander pads use hook and loop backing or a pressure sensitive adhesive surface.
For quick reference, you can compare the main buying points before you choose your next pack. You'll usually get smoother results when your size, grit, and dust holes match your tool and task.
- You can use coarse grits for paint removal, edge cleanup, and fast stock removal.
- You can switch to medium grits when your surface needs smoothing between rough sanding and finishing.
- You can finish with fine grits when your project needs a cleaner surface before stain, paint, or topcoat.
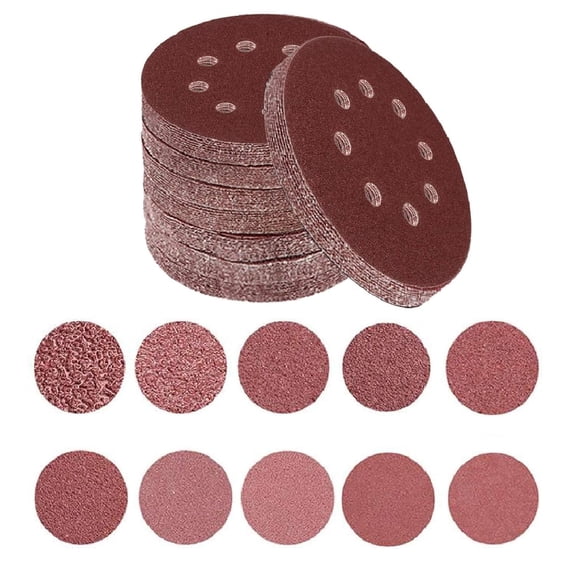
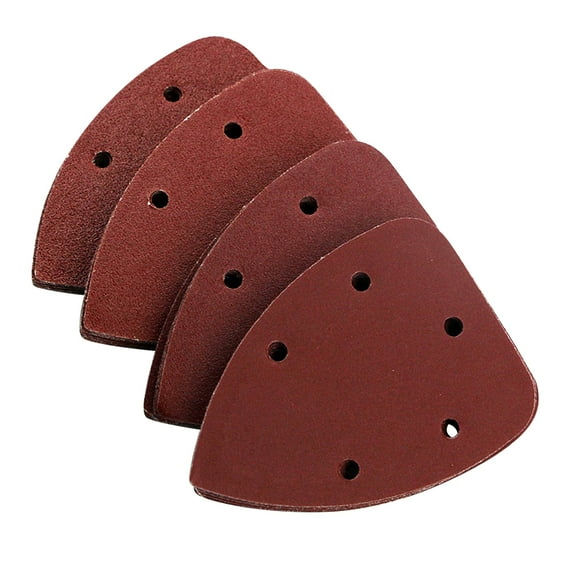
- You can match 5-hole or 8-hole patterns to support cleaner sanding with dust collection systems.
Choosing disc diameter and backing type
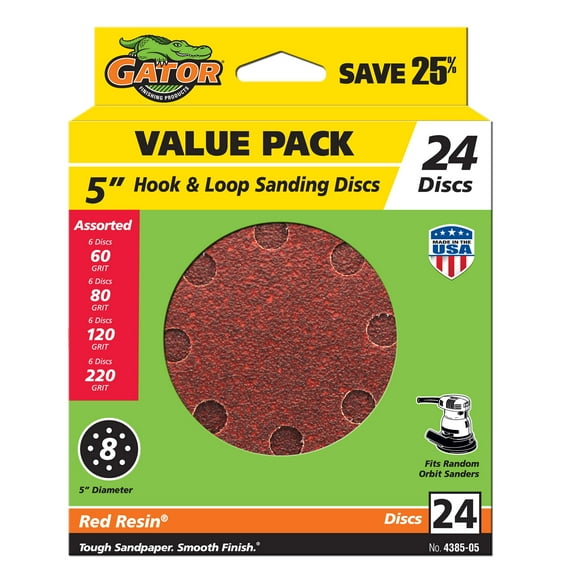
You should measure your existing pad before replacing sandpaper discs, because diameter affects fit right away. You can often use 5 inch sanding discs for many random orbital sanders, while 6-inch discs fit larger pads.
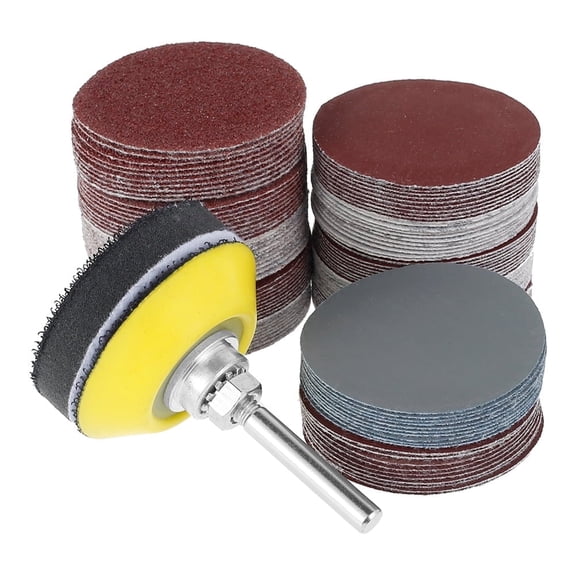
When you compare backing types, hook and loop sanding discs let you change grits quickly during multi-step work. If you use PSA discs, you can expect a firm adhesive bond that suits steady, repeated sanding on a dedicated pad.
You may prefer hook and loop styles when your project moves from shaping to smoothing in several passes. You may prefer adhesive styles when your setup stays consistent and you want a flat, secure attachment.
Choosing the right grit for each project stage
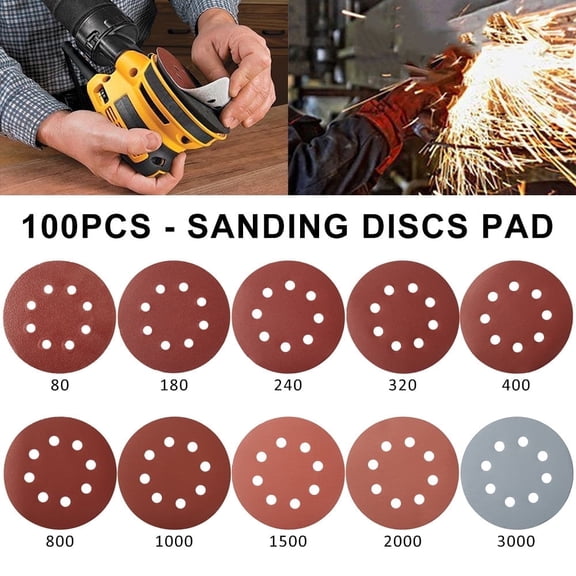
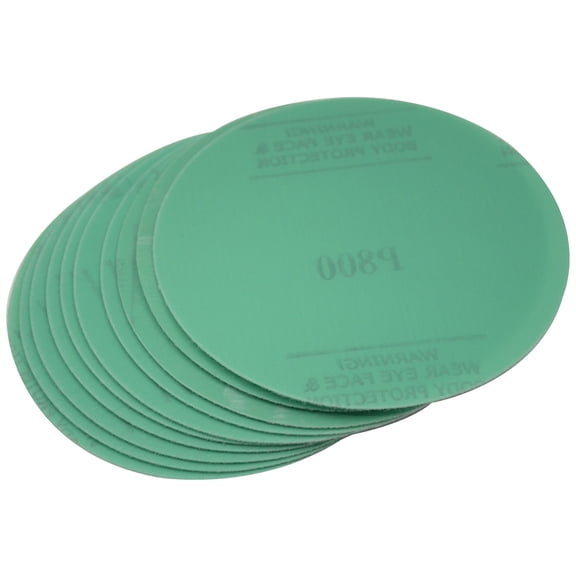
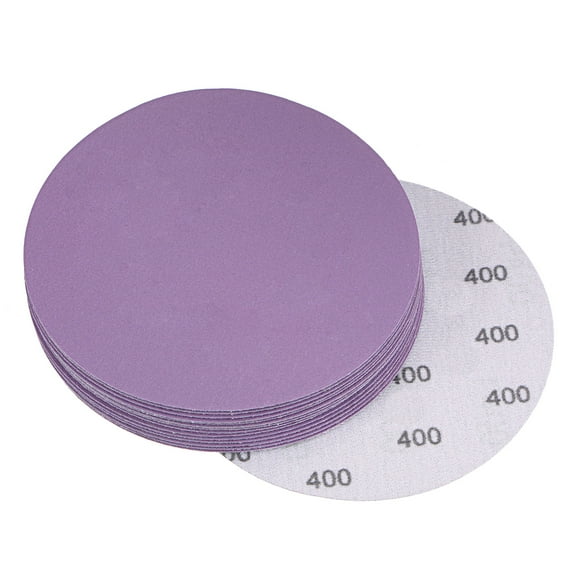
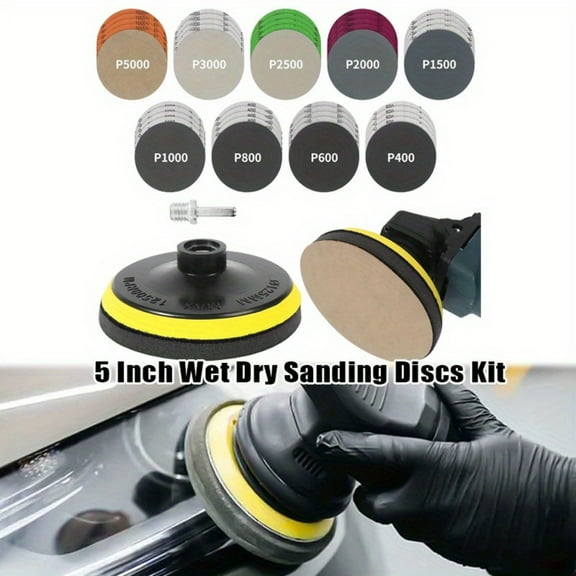
You can think of grit numbers as a guide to how aggressively the disc cuts. Lower numbers remove material faster, while higher numbers leave a finer scratch pattern for later finishing steps.
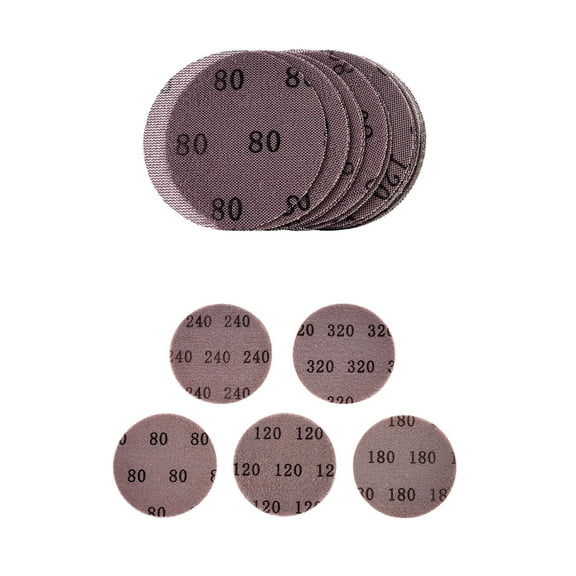
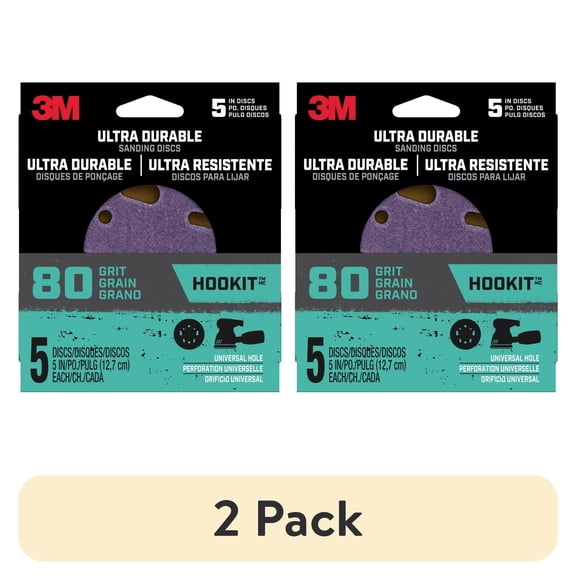
If you need fast removal, 80 grit sanding discs can help you strip old paint, flatten filler, or shape rough wood. If you need general smoothing, 120 grit sanding discs can help you refine surfaces after the first pass.
When your surface is nearly ready, you can move to 220 grit for lighter finishing work and prep between coats. You should progress through grits instead of skipping steps, because your surface usually looks more even that way.
Comparing hole patterns and abrasive materials
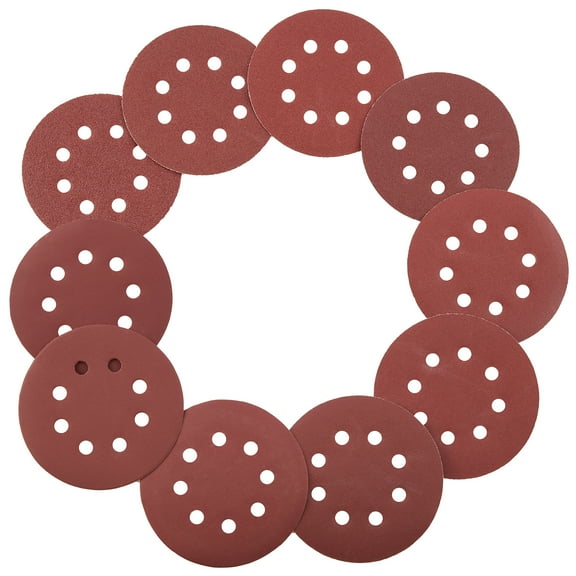
You should check whether your tool uses a 5-hole, 8-hole, or no-hole pad before you choose a disc. You can improve dust pickup when your disc holes line up with your sander's extraction pattern.
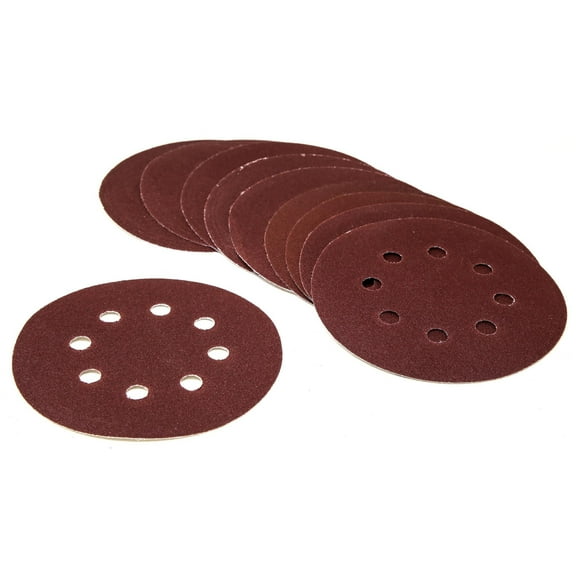
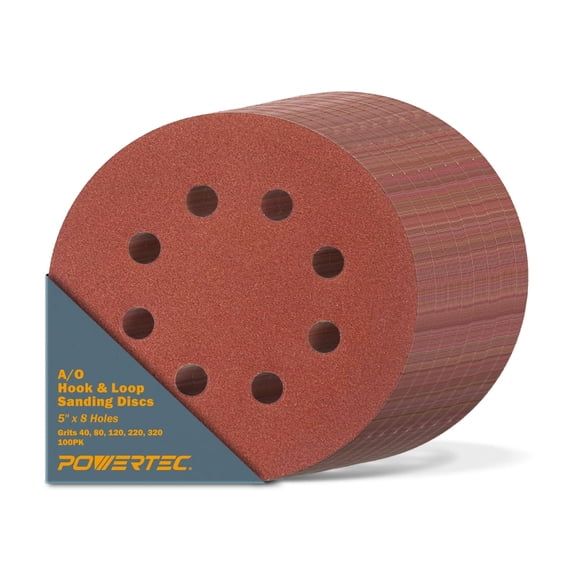
If you use 8 hole orbital sanding discs on a matching pad, you can keep sanding dust moving through the tool more efficiently. If you use a universal or no-hole option, you can focus on broad compatibility across different setups.
You can also compare abrasive materials based on the surface you're working on. Aluminum oxide sanding discs work well for everyday wood sanding, silicon carbide suits smoother finishing tasks, and ceramic abrasives support heavier material removal.
Matching sanding discs to real project needs
If you're refinishing a tabletop, you can start with a coarser grit, move to medium, and finish with a finer disc. You'll usually want hook and loop sanding discs here, because you can swap grits quickly between passes.
When you're prepping metal for a fresh coat, you can choose the abrasive material and grit based on the surface condition. You can use coarser discs for rust removal and switch upward as your surface becomes smoother.
For cabinet work, trim, or furniture touch-ups, you can match 5 inch sanding discs to many common orbital tools. You should also check the hole pattern, because dust control helps you see the surface more clearly while you work.
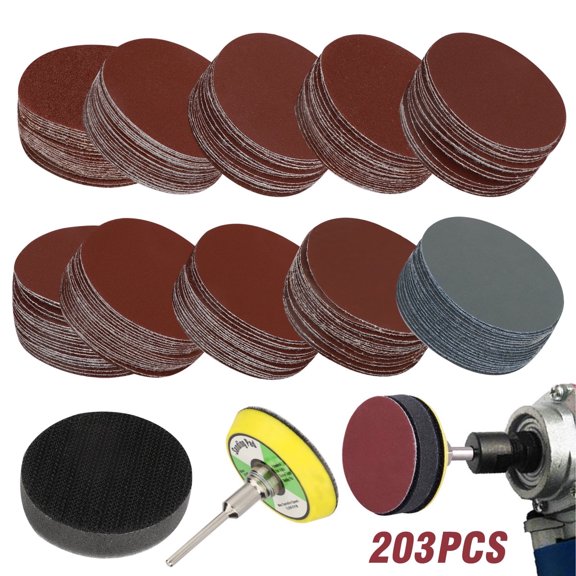
If you're stocking up for mixed projects, you can keep several grit levels and both backing styles on hand. You'll be ready for paint removal, smoothing filler, feathering edges, and final prep before your finish goes on.
With the right sanding discs, you can match your tool, your material, and your finish stage with much less trial and error. You get a cleaner fit, a smoother surface, and a more controlled sanding process from the first pass to the last.