Sanding Blocks, Sanding Pads & Sets


About Sanding Blocks, Sanding Pads & Sets - Walmart.com
You can compare sanding blocks by grit, shape, and attachment style, so your sanding work stays smoother across wood, metal, and drywall surfaces. You’ll also find options that fit quick touch-ups, detailed trim work, and longer prep sessions where hand control matters.
How to choose sanding blocks for your project
When you choose sanding blocks, you should start with the surface you’re smoothing and the finish you want to see. You’ll usually need different block styles for flat boards, rounded edges, patched drywall, or painted trim.
Instead of using one block for every task, you should compare grit level, material, configuration, attachment type, and pack size. You’ll make a cleaner choice when each detail matches your project steps.
What grit level should you choose
You should use coarse grit when your project needs faster material removal from rough wood, filler, or old finish. You’ll want medium grit when your surface needs smoothing between early prep and final finishing.
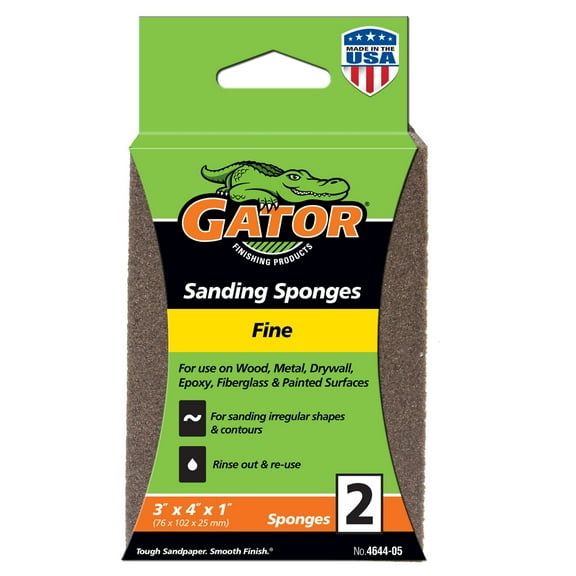
If your project needs finishing prep, a fine grit sanding block helps you refine surfaces before paint, stain, or sealant. You can reach for extra fine grit when you want a smoother final pass.
Because grit rating is a decision-critical detail, you should match it to your stage of work. You’ll get more control when you start rough and move toward finer sanding steps.
- You can use coarse grit for stripping rough spots and leveling filled areas.
- You can use medium grit for general smoothing on wood, metal, and drywall patches.
- You can use fine grit for prep before paint, stain, or clear finishes.
- You can use extra fine grit when your project needs a lighter finishing touch.
How material and flexibility affect sanding control
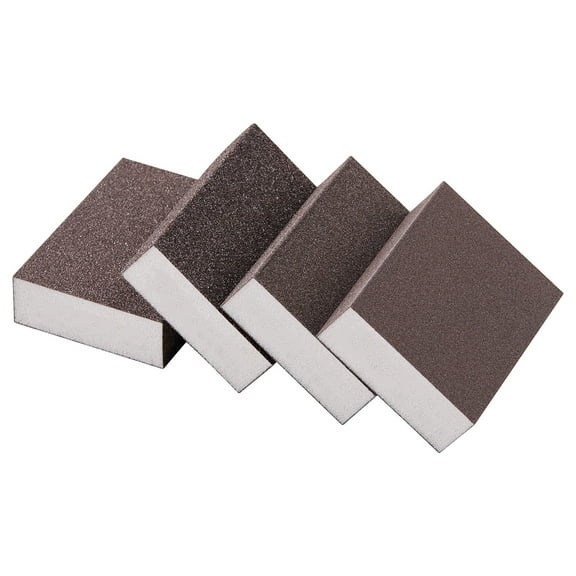
You should compare foam, rubber, cork, and plastic blocks based on the surface shape under your hand. You’ll notice flexible sanding blocks conform more easily to curved trim, rounded corners, and contour work.
If you’re sanding flat panels or tabletop edges, you may prefer a firmer plastic or cork block. You’ll keep more even pressure across the surface and reduce uneven hand marks.
Foam and rubber styles can help you follow slight curves without folding standard sheets awkwardly by hand. You’ll often get steadier contact on molding, spindles, and repaired drywall transitions.
Choosing the right configuration and grip
You should look at angled, contour, flat, and ergonomic hand grip designs before you choose a block. You’ll want the shape to match the edges, corners, or broad faces you’re sanding.
Flat sander blocks work well when your project has doors, boards, shelves, or other broad surfaces. You can keep sanding strokes more consistent when the block stays level across the material.
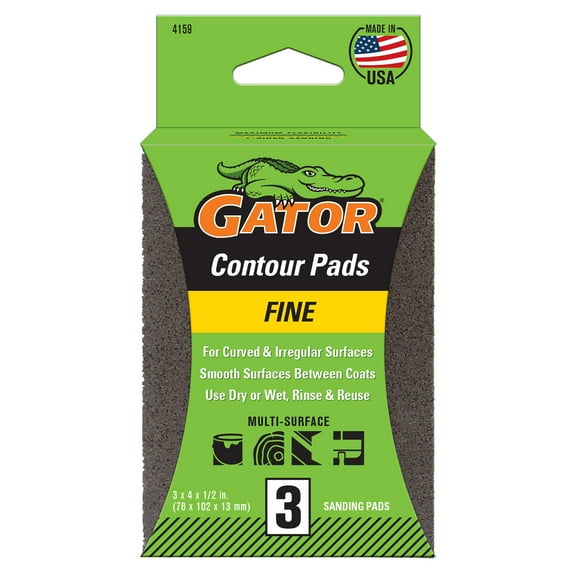
Contour and angled styles help you reach trim profiles, beveled edges, and rounded furniture parts. You’ll get more control in detailed spots where folded sandpaper can slip in your hand.
If you expect longer sanding sessions, an ergonomic hand grip can feel easier to hold during repeated passes. You’ll often maintain steadier pressure when your grip stays secure and balanced.
How sanding block sandpaper attaches
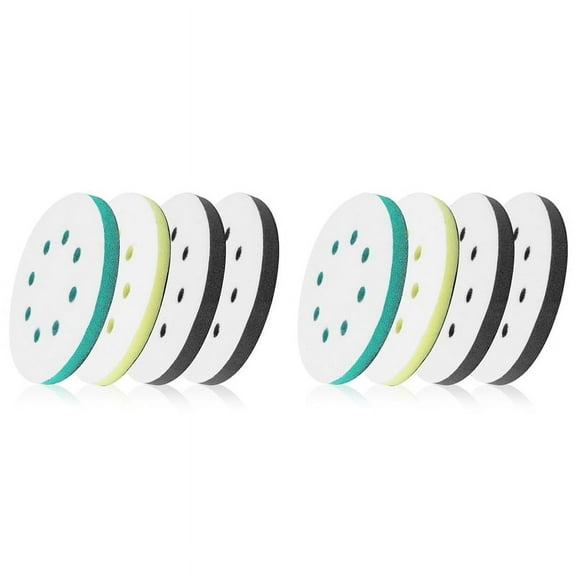
You should check whether your sanding block uses hook and loop, clamp-on, or adhesive-backed sheets. You’ll want an attachment style that matches how often you change grits during a project.
Hook and loop systems let you switch sheets quickly when you move from shaping to smoothing. You can save time between grit changes, especially during furniture prep or paint removal.
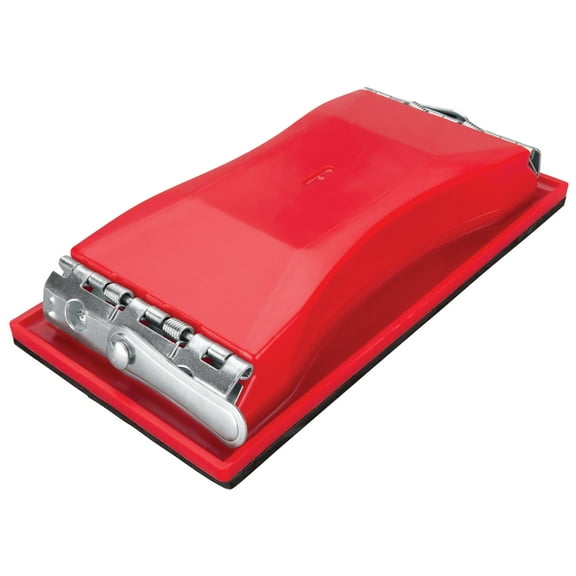
Clamp-on designs work well when you want to use standard cut sheets with a reusable block. You’ll appreciate that setup when you already keep common sandpaper sheets in your workspace.
Adhesive-backed options can give you a secure hold for smaller pads and detail work. You should verify pad size, including 3x4 sanding pads, so your replacement sheets fit correctly.
Should you choose a sanding block set
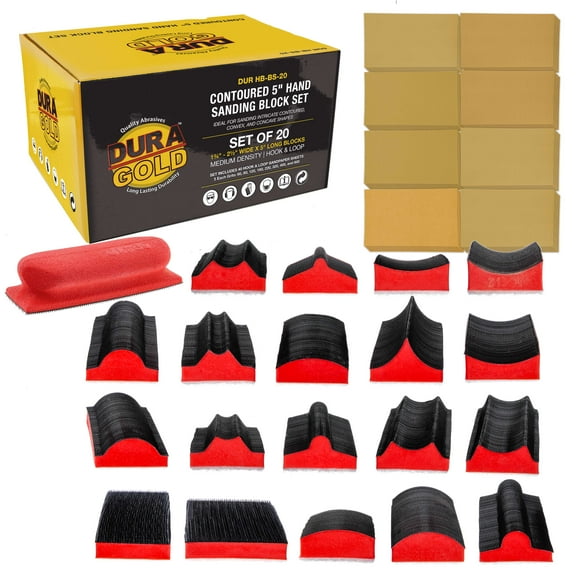
You should compare a single block with a sanding block set based on project size and variety. You’ll benefit from a set when your work moves through several grit stages or surface shapes.
A hand sanding block set can help you keep separate blocks ready for coarse, medium, and fine steps. You won’t need to stop as often to remove and replace used sheets.
If you handle occasional touch-ups, a single block may cover your needs without extra pieces. You should consider assorted grit kits when you’re refinishing furniture, doors, cabinets, or patch areas.
Matching sanding blocks to common projects
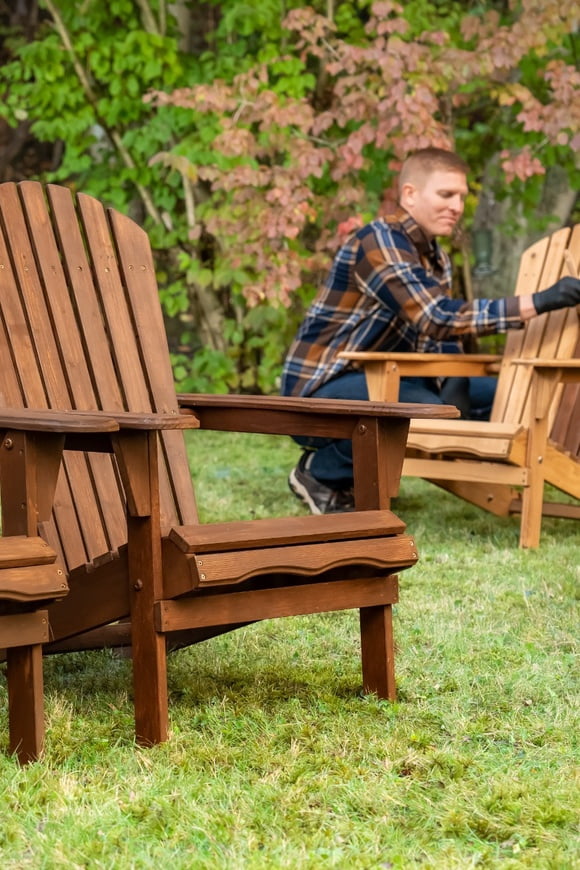
You should choose flat blocks and medium-to-fine grit for cabinet doors, shelves, and tabletop prep. You’ll usually get smoother paint or stain prep when the block keeps pressure even.
For trim, molding, or chair spindles, you may prefer flexible sanding blocks with contour-friendly shapes. You can follow curved surfaces more closely without creasing loose sheets in your fingers.
If you’re smoothing drywall patches, you should compare foam blocks and finer grits for blending repaired areas. You’ll want a block that follows slight transitions without digging sharp lines.
When you’re working on metal, you should verify the grit and attachment system that fit your finishing steps. You’ll appreciate quick sheet changes if your project needs multiple passes and surface refinement.
You can also compare pack size before larger weekend projects, classroom builds, or repeated household touch-ups. You’ll stay more organized when separate grits and block shapes are ready for each task.
What to look for before you decide
You should measure the surface, compare the grit sequence, and check whether standard sheets or pads will fit. You’ll make a smarter choice when the block matches both your material and your sanding rhythm.
With the right sanding blocks, you can move from rough prep to final finishing with steadier pressure and cleaner surface results. You’ll notice the difference in smoother edges, more even surfaces, and fewer interruptions.