




Night Vision Trail Camera in Trail and Game Cameras
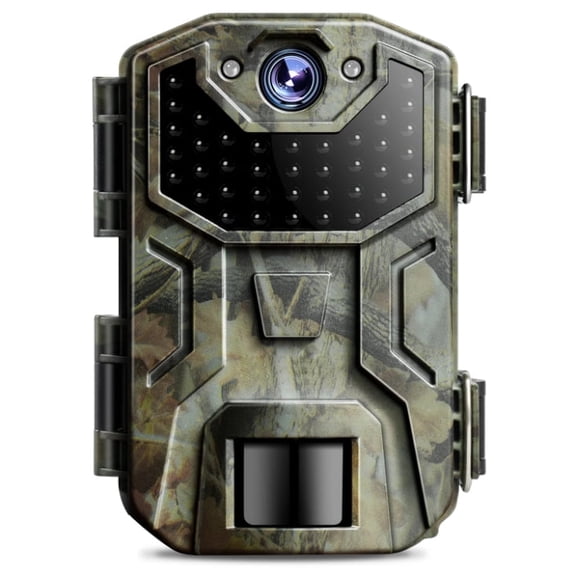

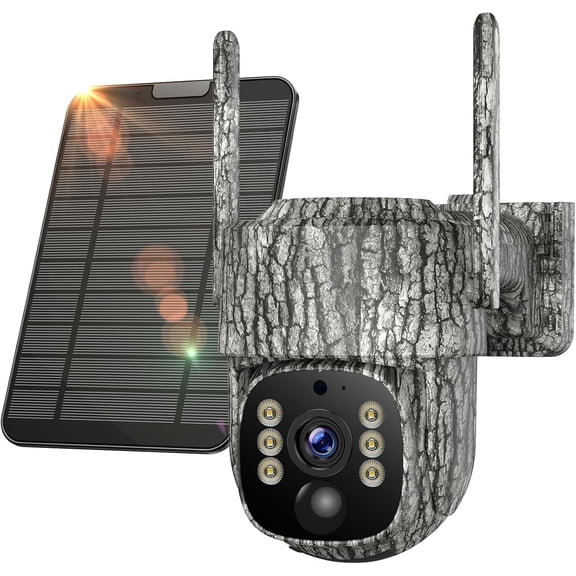




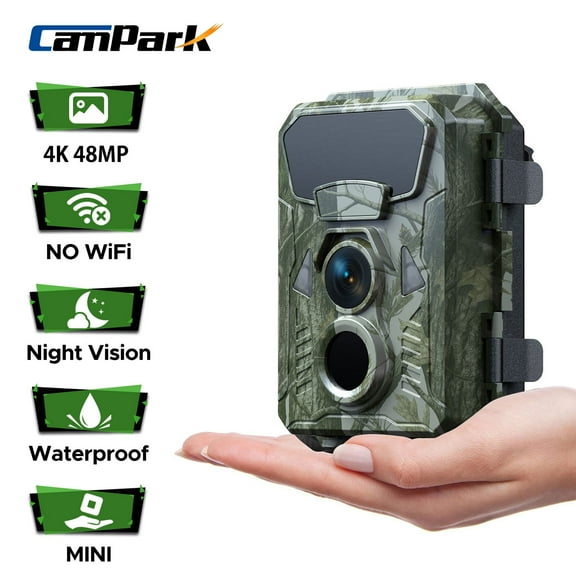


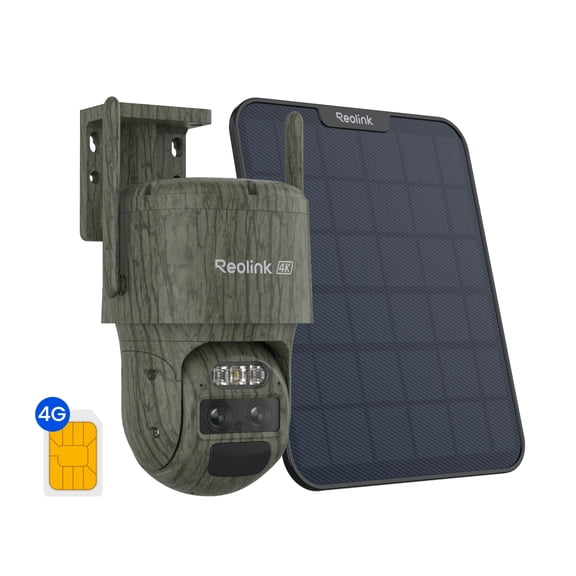
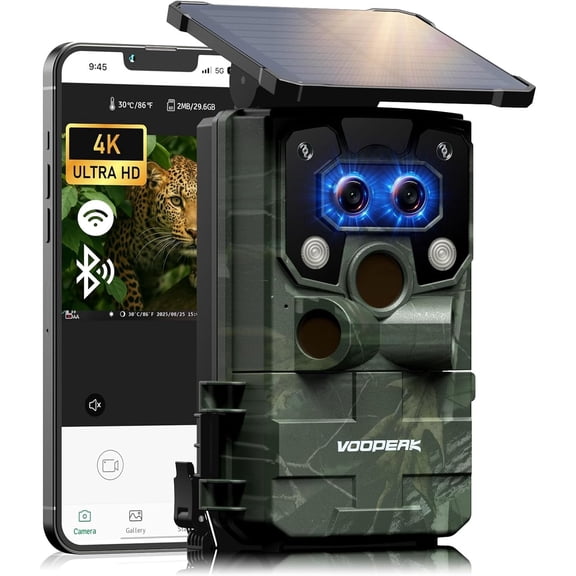
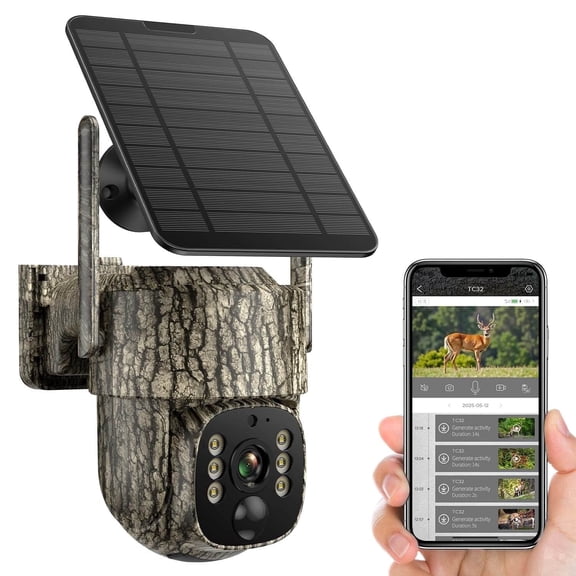


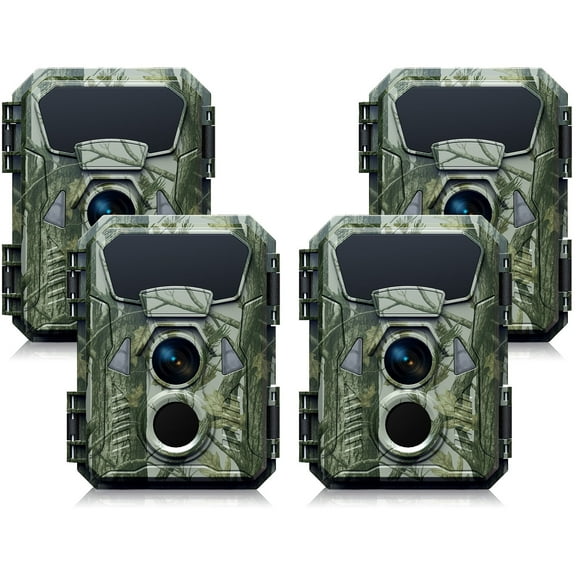

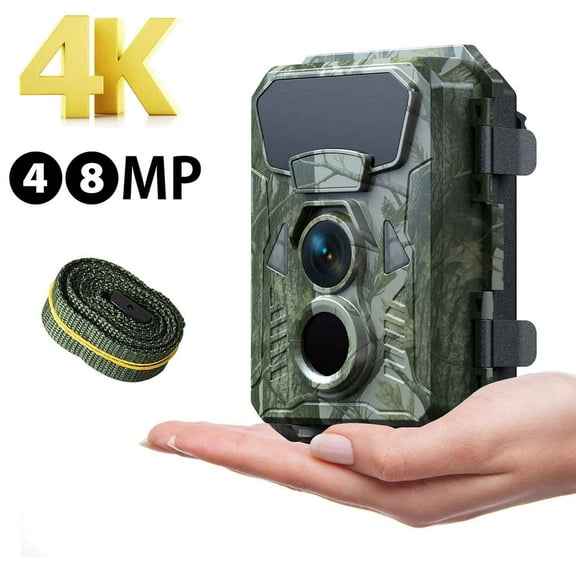


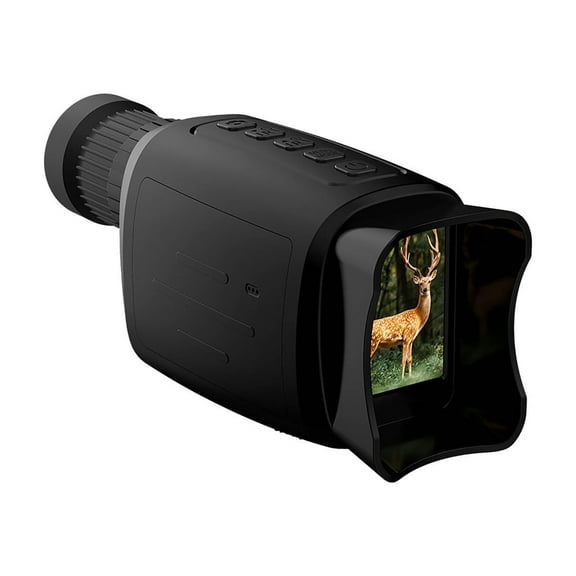
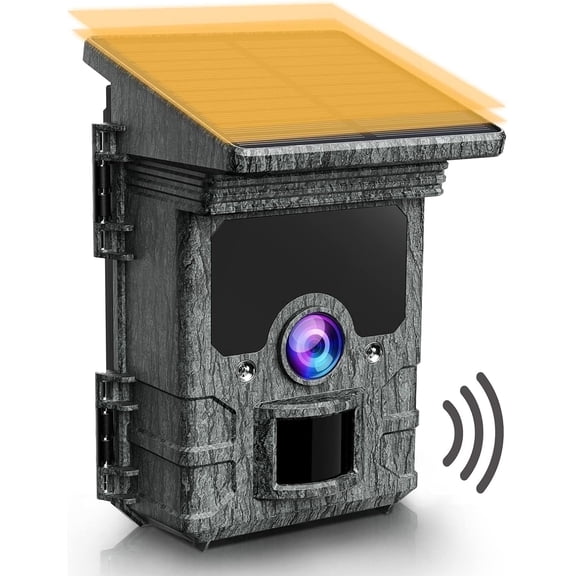


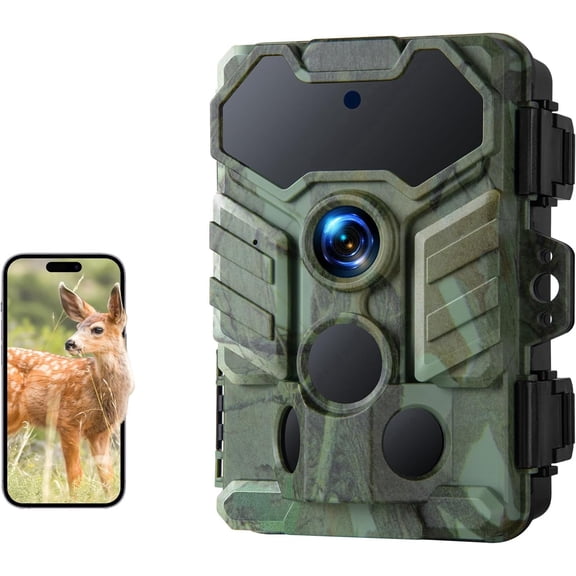
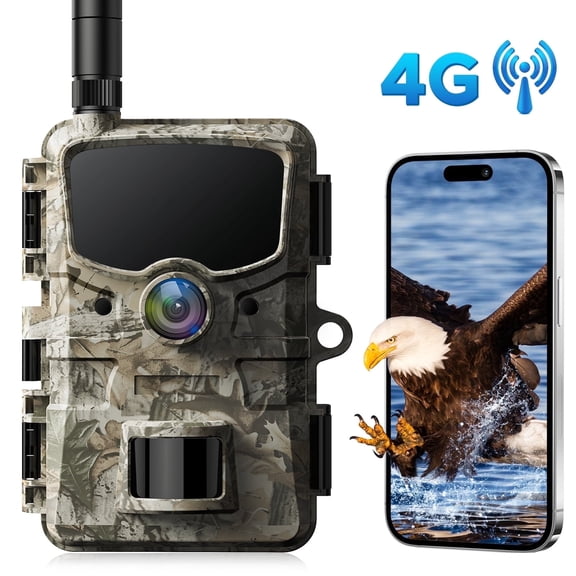


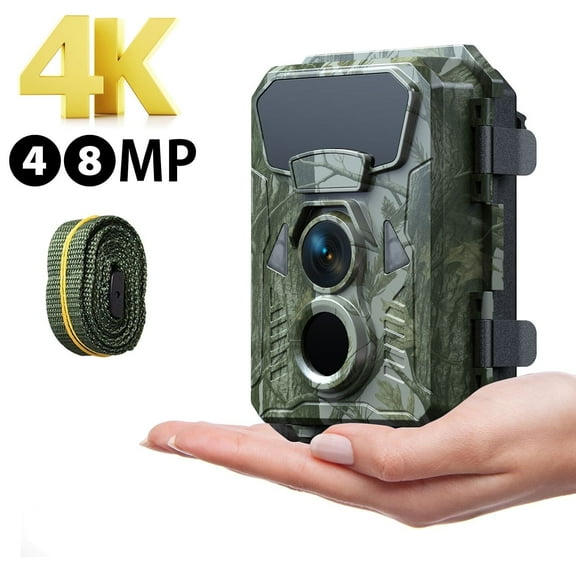


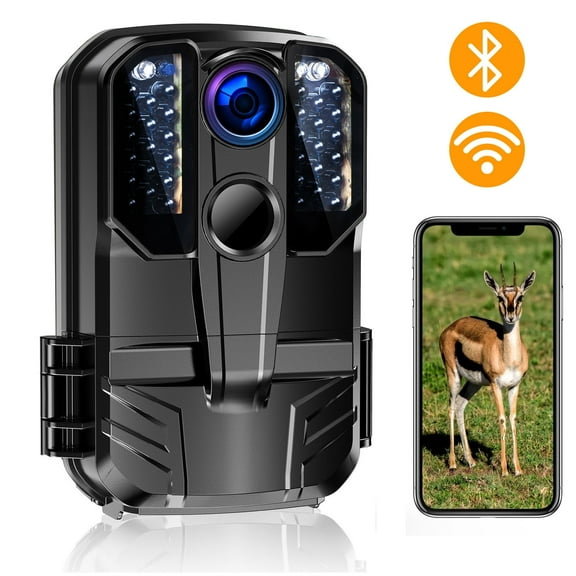


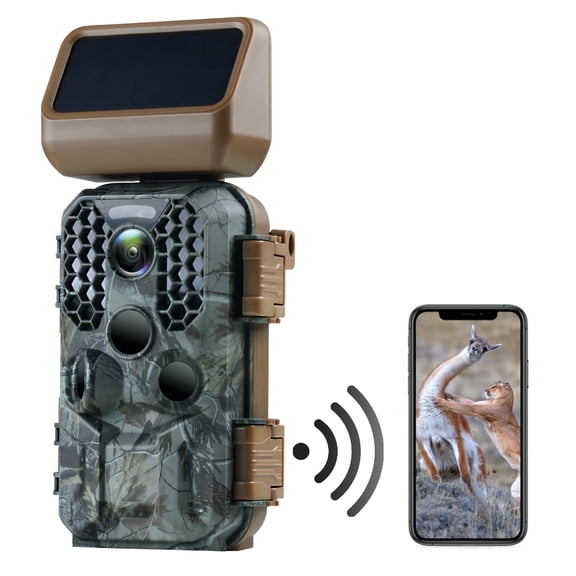


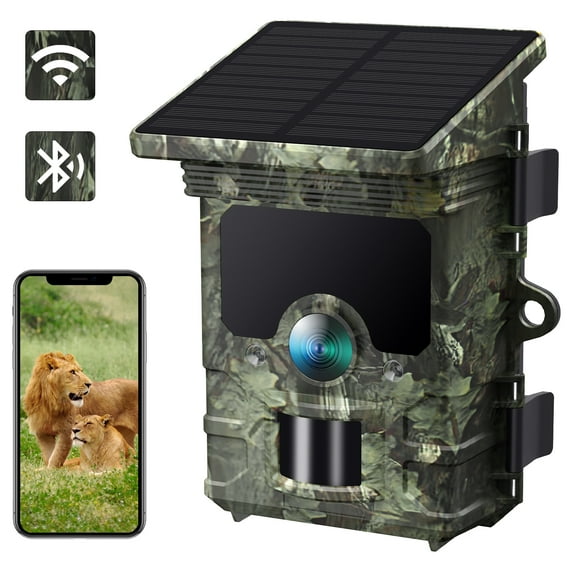


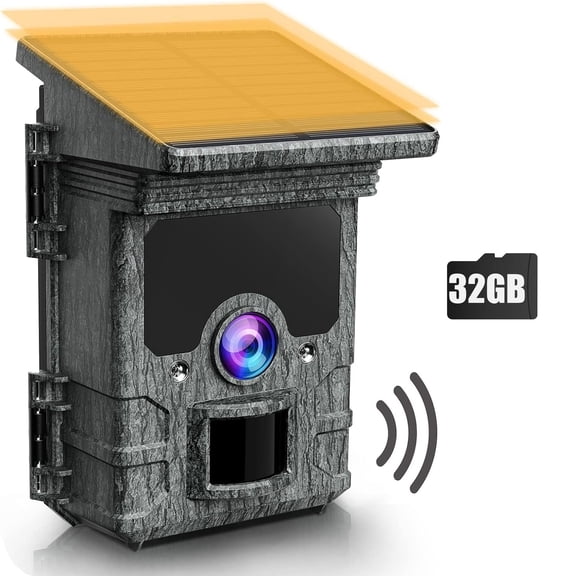




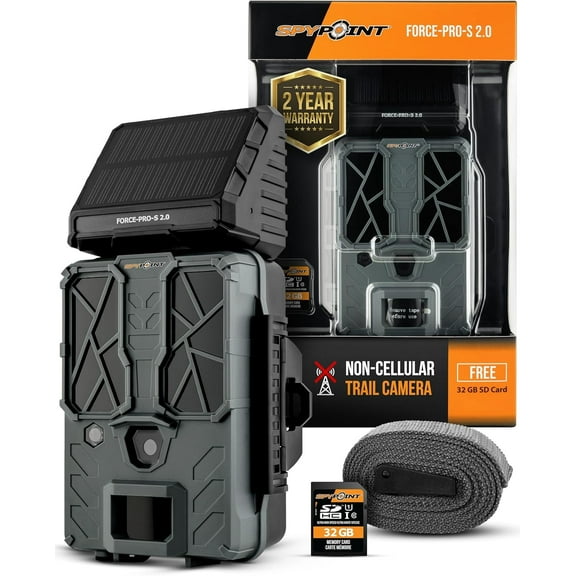

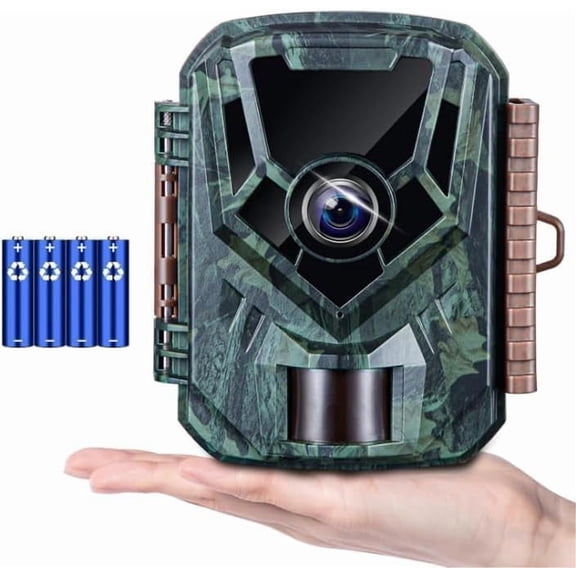

About Night Vision Trail Camera in Trail and Game Cameras - Walmart.com
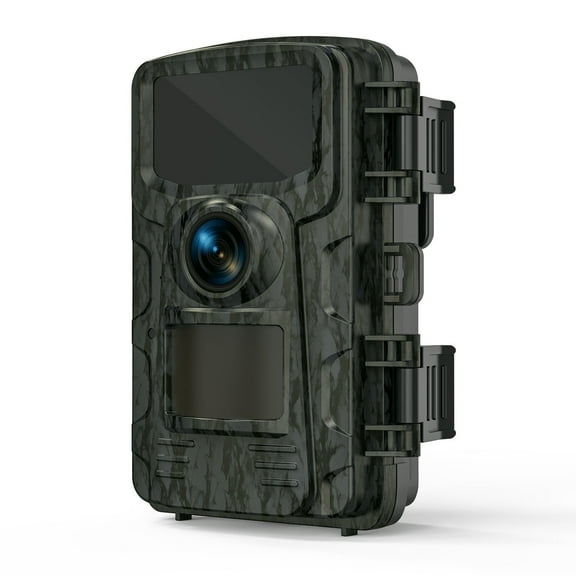
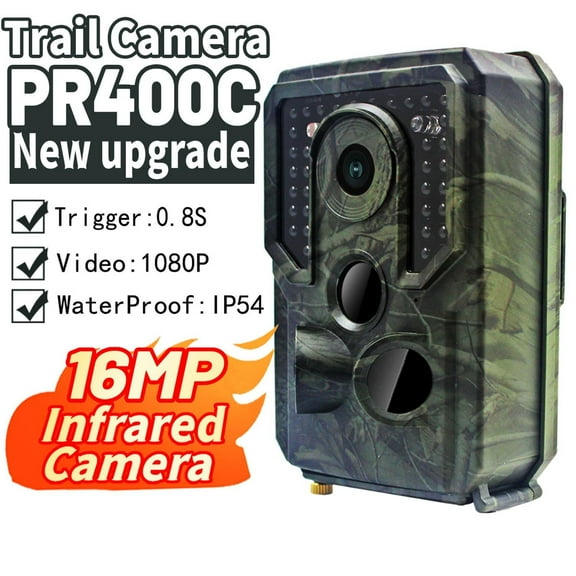
Your night vision trail camera choice shapes how clearly you capture movement after dark and how discreetly you monitor your property or hunting area. You can compare no-glow infrared, trigger speed, and connectivity options to match the way you scout, watch trails, or check remote spots.
How to choose a night vision trail camera
When you compare a night vision trail camera, you should start with the type of night vision you want. You can pick no-glow infrared, low-glow infrared, or color night vision based on your location and visibility needs.
If you want less visible light at night, you should consider a no glow trail camera with 940nm infrared LEDs. If you want longer nighttime illumination, you may prefer low-glow infrared with 850nm LEDs.
You can also look at where you'll mount the camera and how often you'll check it. If your camera sits deep in the woods, you may want easier image transfer or stronger battery support.
Key benefits of infrared trail cameras
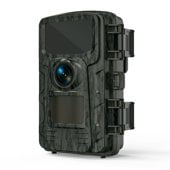
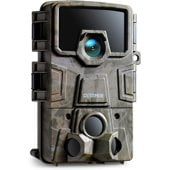
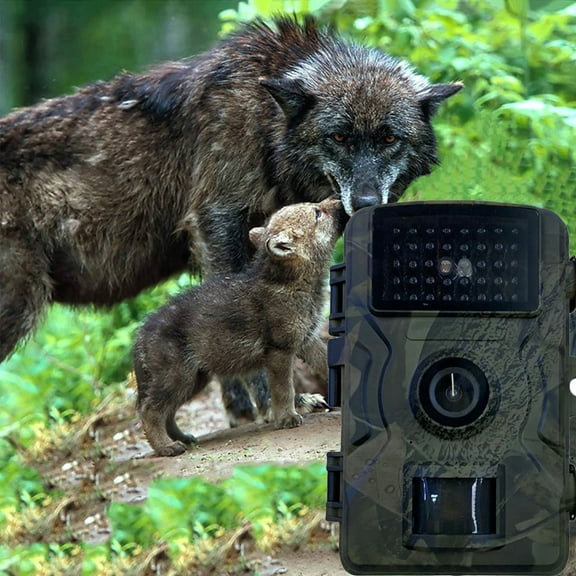
An infrared trail camera helps you capture movement in low light without relying on a bright visible flash. You get a more discreet setup for game paths, feeder areas, fence lines, and cabin entrances.
You can use a game camera with night vision to monitor activity during the hours when movement often increases. You may notice clearer patterns around bedding areas, trails, watering spots, and property access points.
- You can monitor nighttime movement with less visible light.
- You can compare glow types for stealth or stronger illumination.
- You can choose faster trigger speeds for quick-moving wildlife.
- You can match connectivity options to remote or accessible locations.
- You can check detection range and flash range for wider coverage.
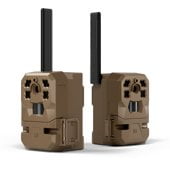
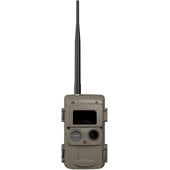
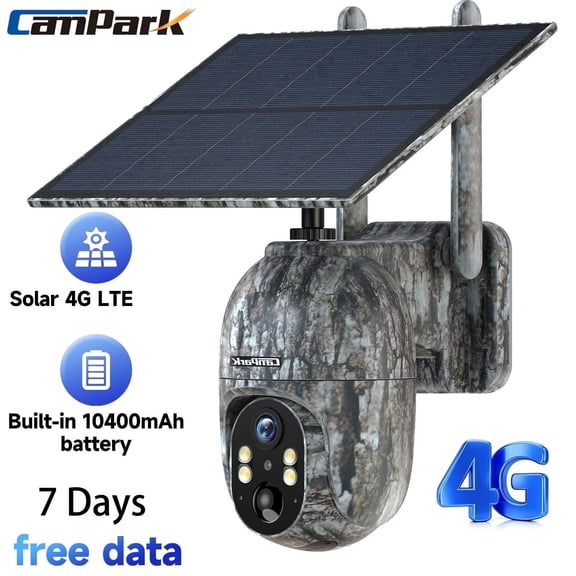
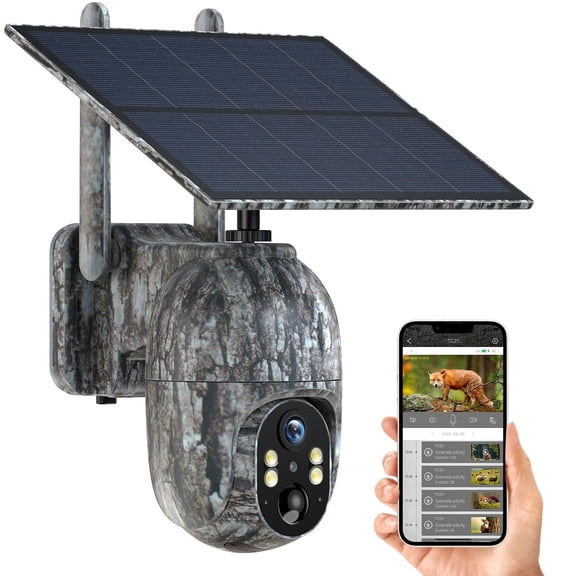
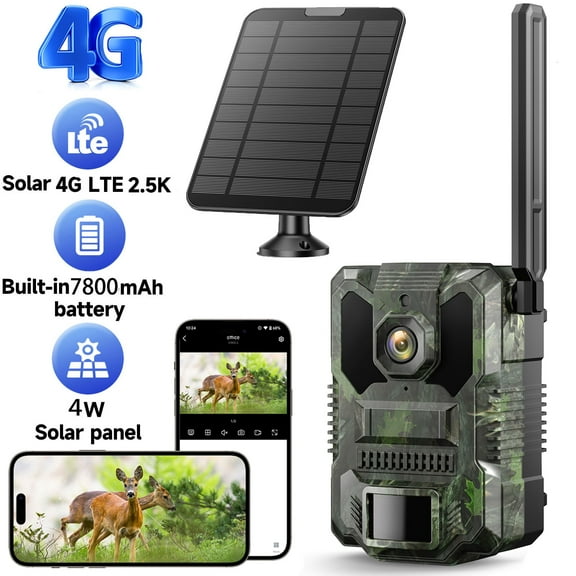
If you need fewer site visits, you can consider a cellular night vision trail camera or a wireless game camera. If you prefer simple setup, you can choose an SD card manual model and review files later.
During colder months, you can use a winter wildlife camera to track travel patterns when vegetation thins out. During hunting season, you can use a hunting trail camera to check scrapes, crossings, and feeding routes.
Comparing night vision type, resolution, and range
You should compare night vision type first because it affects how visible the camera is after dark. A no-glow model helps you stay more discreet, while a low-glow model can help you reach farther at night.
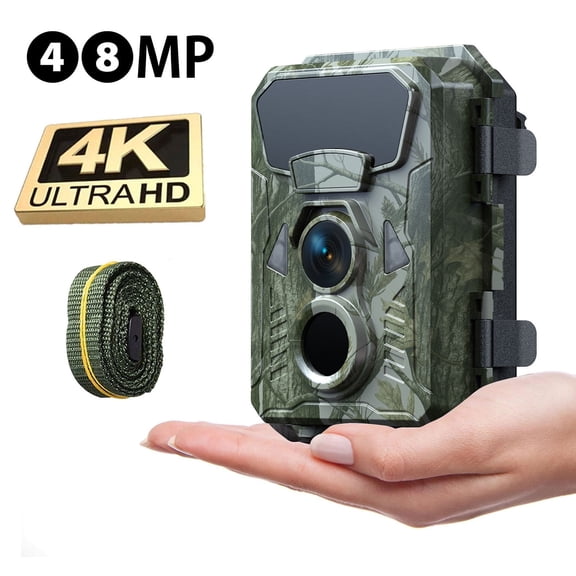
When you review resolution, you should match image detail to how you plan to identify subjects. You may choose 1080p for clear clips, or you may prefer 4K, 24MP, or 32MP for closer inspection.
You should also separate detection range from flash range before you choose a camera. Detection range tells you how far motion can trigger the camera, while flash range shows how far night illumination can reach.
If you monitor wide trails or open fields, you may want 80 ft or 100 ft detection range. If you place cameras in tighter woods, you may find 60 ft works well.
Choosing trigger speed and connectivity
You should pay close attention to trigger speed because it affects whether you catch a moving subject in frame. A motion activated trail camera with 0.1s or 0.2s trigger speed can capture fast crossings more reliably.
If you place cameras along narrow game trails, you may want quicker response and short recovery time. If you watch stationary feeding areas, you may feel comfortable with a 0.5s trigger speed.
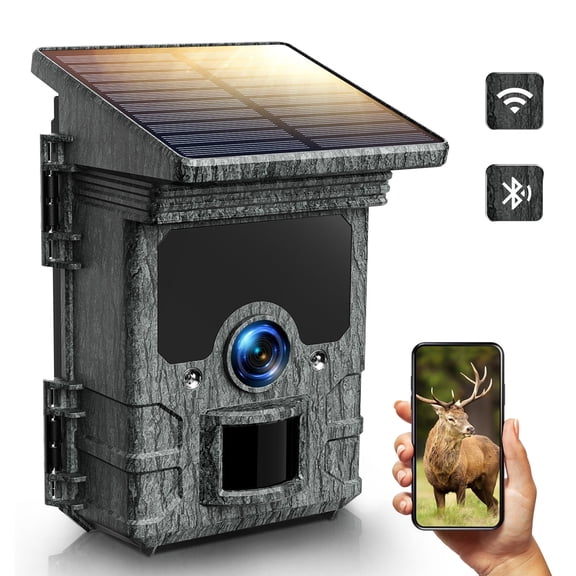
Connectivity changes how you collect photos and videos from the field. You can choose cellular for remote access, wi-fi for nearby syncing, or SD card manual storage for a straightforward setup.
If you manage a distant lease or large property, you may prefer a cellular night vision trail camera. If you mount a camera close to home, you may like wi-fi access and easier downloads.
What to look for in battery life and setup
You should check battery life and power options before you commit to a camera location. If you run cameras for long stretches, you may want lithium batteries or solar panel compatibility.
In cold weather, you may prefer power setups that support longer field time between checks. If you want fewer interruptions, you should compare battery tray size and external power support.
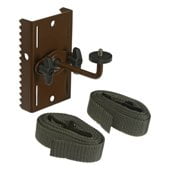
You can also check mounting style, strap placement, and housing shape for easier positioning. If you aim across a trail at chest height, you may improve coverage and capture cleaner nighttime images.
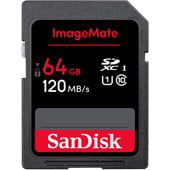
For storage, you should confirm SD card compatibility and file handling before you head out. If you record longer clips or higher resolution images, you may need more card capacity.
Matching camera features to real use cases
If you scout deer trails, you may want no-glow infrared, quick trigger speed, and longer detection range. That setup can help you capture movement without adding visible red light near active paths.
If you watch a gate, shed, or rural driveway, you may want a game camera with night vision and cellular access. That combination can help you review images without walking out to the camera.
When you monitor food plots or feeders, you may prefer higher resolution and wider nighttime coverage. You can use those details to review timing, direction, and repeated activity after dark.
If you set cameras on public land edges or pressured areas, you may lean toward a no glow trail camera. You can reduce visible nighttime cues while still capturing motion-triggered images.
For cabins, barns, and back acreage, you may want an infrared trail camera with flexible mounting and durable power options. You can place it where standard security setups may not fit as easily.
With the right mix of glow type, trigger speed, range, and connectivity, you can choose a camera that fits your land and schedule. You get clearer nighttime coverage and fewer missed moments where motion matters.