


Find auto parts that fit
Let’s search for parts that fit your vehicle.Headlight Sealants in Headlights













![Riousery Windshield Sealer Rubber Glue Butyl Seal Strip Headlight Sealant Tape Car Adhesive, 10.6 inches / 26.9 cm[cite: 1]](https://i5.walmartimages.com/seo/Riousery-Windshield-Sealer-Rubber-Glue-Butyl-Seal-Strip-Headlight-Sealant-Tape-Car-Adhesive-10-6-inches-26-9-cm-cite-1_bcd07a8c-6d31-4775-b86f-bebe01e22cb3.e9b39e81adbdb663a7ed6541fba8e4e1.jpeg?odnHeight=576&odnWidth=576&odnBg=FFFFFF)





About Headlight Sealants in Headlights - Walmart.com
You can use headlight seals for old cars to close gaps, block moisture, and refresh aging light assemblies during repair or restoration. You may need a seal that fits older housings, bonds cleanly, and works with plastic lenses without messy guesswork.
You’ll often compare sealant type, application method, primary function, and color before you start. You can use those choices to match a quick reseal, a lens project, or a full housing rebuild.
How to choose headlight seals for old cars
You should start by checking where your housing leaks and how much disassembly your job needs. You can usually narrow your choice when you compare bead style, cure time, and lens compatibility together.
If your vehicle has brittle trim or uneven housing edges, you may want a flexible material that stays workable during placement. You’ll also want a finish that blends with your assembly and keeps your repair looking clean.
Choosing the right headlight sealant type
You can compare silicone, butyl rubber, and polyurethane by how each one handles fit, flexibility, and cleanup. You’ll usually choose based on whether you’re resealing a lens seam, rebuilding a housing edge, or setting a secure bond.
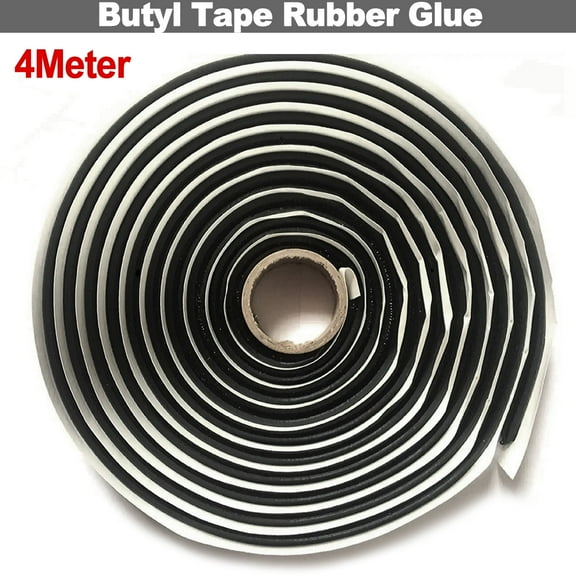
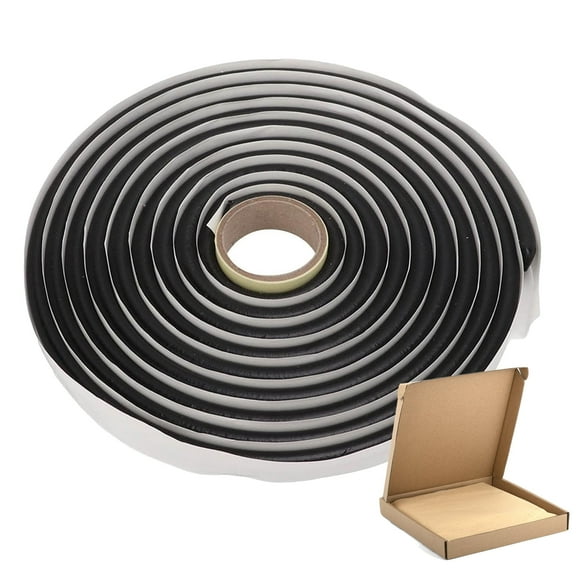
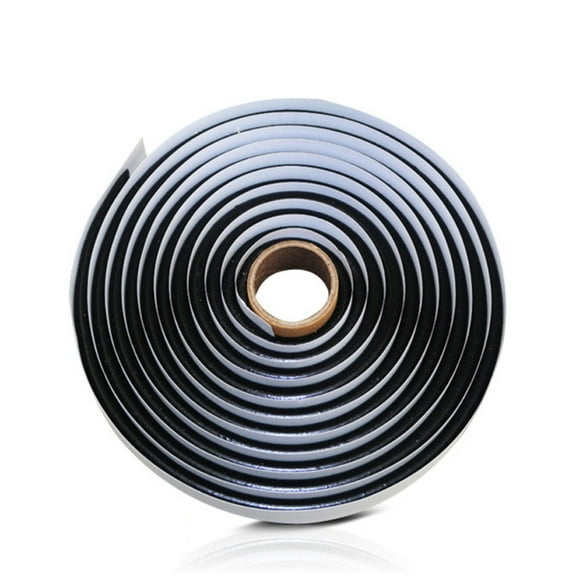
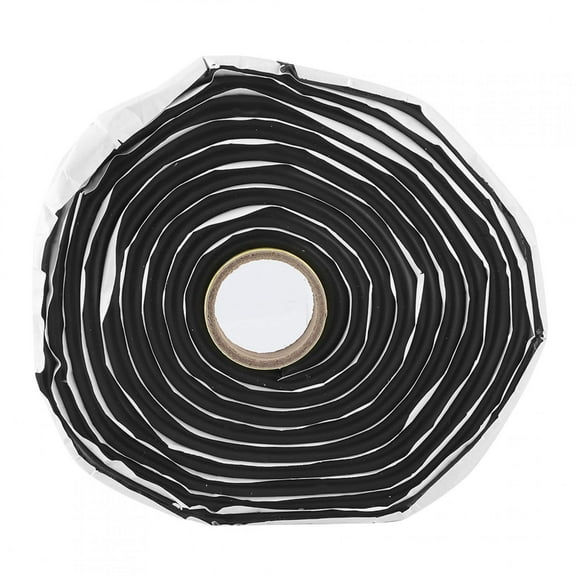
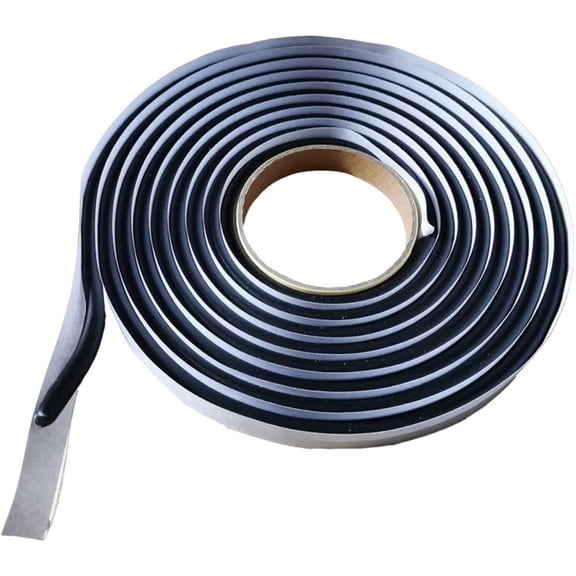
You may prefer butyl rubber when you need a compressible gasket-like seal around a headlight housing channel. You can often warm butyl tape for retrofitting, which helps you shape it into older grooves.
You might choose clear silicone sealant for headlights when you want a visible seam to stay discreet. You’ll usually like silicone for neat bead application around lens edges and small gaps.
If you need a firmer bond style, you can compare polyurethane options for housing adhesive jobs. You should check cure instructions closely, because high-strength bonding formulas may need more set time.
- You can create a moisture barrier that helps keep condensation out of your headlight assembly.
- You can match the sealant to old housing channels, lens seams, or trim edges.
- You can choose clear, black, or amber finishes that suit your repair area.
- You can pick a formula that fits quick touch-ups or full assembly work.
Comparing application methods and headlight sealant adhesive options
You should compare spray, squeeze tube, cartridge, and tape formats before you begin. You can often finish efficiently when your applicator matches the seam width and the amount of control you need.
You may like a squeeze tube for small cracks, corner touch-ups, or sealant for headlight lens edges. You can guide a narrow bead with precision around clips, tabs, and tight curves.
If you’re resealing a larger perimeter, you might prefer a cartridge for steady flow and longer seams. You’ll want tape or butyl cord when your housing channel needs a laid-in strip instead of a liquid bead.
You should look at headlight sealant adhesive choices by bond style as well as packaging. You can use a headlight housing sealant when your goal is closure, while adhesive-focused options help when parts must stay aligned.
Checking color, clarity, and lens compatibility
You can choose clear formulas when you want the repair line to stay less noticeable near transparent lenses. You may choose black for darker housings or hidden seams where a darker edge blends in.
If your assembly uses amber sections, you can compare finishes that visually suit the surrounding lens area. You should also confirm the formula is suitable for polycarbonate plastic before you apply it.
You’ll want to check whether a formula is non-corrosive and appropriate for modern lens materials. You can avoid clouding concerns by reviewing package guidance before the bead touches the lens.
Using headlight sealants for common repair situations
You can use headlight sealants when an older car develops light fogging after rain or washing. You’ll often reseal the housing seam to restore a tighter barrier around the assembly.
If you’re restoring a classic vehicle, you may need to reopen and reseal a lens after bulb, trim, or reflector work. You can compare butyl tape and liquid sealants based on whether you need repositioning time.
You might need a quick edge repair around a small split or lifted corner. You can use a controlled tube applicator when you want less excess around visible lens lines.
When your project includes a replacement assembly, you can compare cure time with your install schedule. You should check tack-free time versus full cure time, especially if you want to drive soon after application.
You may also need a formula that handles weather changes on a daily driver parked outside. You can look for a waterproof seal and durable adhesion that support year-round use on older housings.
What to check before you apply headlight sealant
You should clean the mating surfaces and remove leftover residue before laying a new bead. You can get an even seal when the channel, lens edge, and housing rim are dry and smooth.
You’ll want to measure bead width and check whether your job needs heat for butyl tape placement. You can reduce rework when you confirm tool needs, cure time, and material compatibility before opening the package.
You can feel more confident choosing the right seal when you match sealant type, application method, and clarity to your repair. You’ll get a clean headlight assembly finish and a dependable moisture barrier for older vehicles.