
Find auto parts that fit
Let’s search for parts that fit your vehicle.Drill Buffing Pads & Polishing Kits | Walmart


About Drill Buffing Pads & Polishing Kits | Walmart - Walmart.com
Drill buffing pads help you turn your household drill into a practical paint care tool for tight panels and smaller detailing jobs. You can compare material, pad size, cut level, and attachment type to match your drill, your vehicle, and your polishing routine.
Choosing the right drill buffing pads
When you compare drill buffing pads, you should start with drill compatibility and attachment hardware. You’ll want to check for a 1/4-inch hex shank, because that size fits many standard household drills.
You should also compare thread size and your drill backing plate style before you begin. If your pad and backing hardware match correctly, you’ll get steadier contact across curved panels and narrow trim sections.
Pad size shapes how much control you have during each pass on paint. You may prefer 3 inch or 4 inch pads for mirrors, pillars, and bumper contours.
For broader sections, you can move to 5 inch or 6 inch pads for more surface coverage. You’ll usually notice larger pads feel more useful on hoods, doors, and trunk lids.
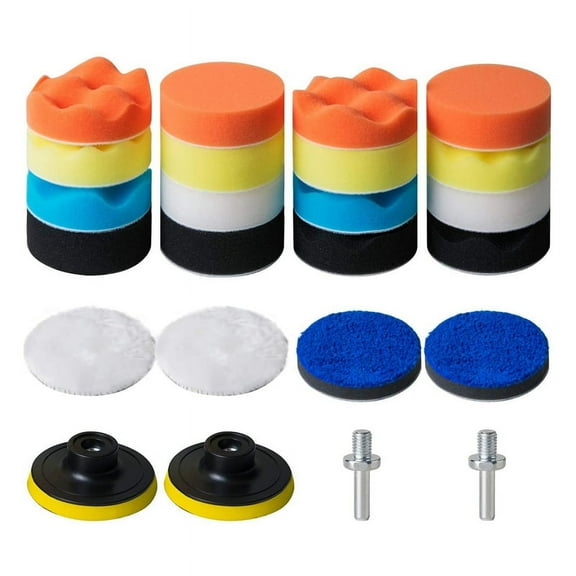
Color coding can make your decision easier when you compare cut levels across sets. You’ll often see firmer yellow pads for heavier cutting, while softer black pads commonly handle light finishing.
- You can use smaller pad diameters for tighter corners and narrow painted surfaces.
- You can choose firmer foam when your paint needs stronger cutting action.
- You can switch to softer finishing pads when you want a smoother final gloss.
- You can match a hook-and-loop pad to a compatible backing plate for quicker pad changes.
How to compare drill polishing pads by material and cut level
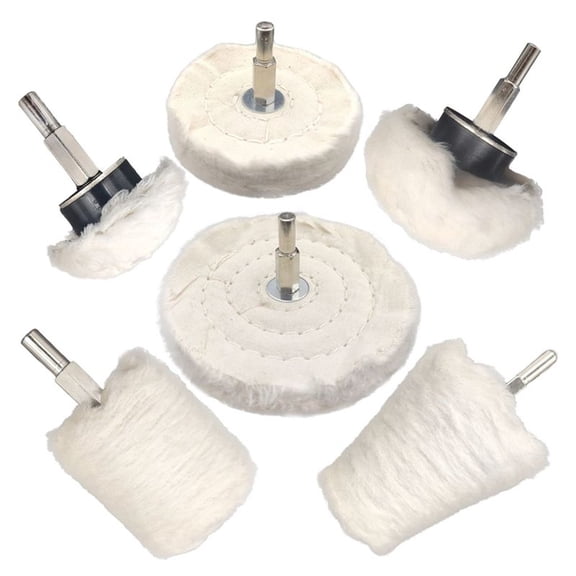
Material changes how your pad feels on the surface and how it handles friction during longer polishing sessions. You’ll usually find foam polishing pads, woolen buffing pads, and microfiber options for different detailing steps.
If you choose foam polishing pads, you’ll get a familiar option for compounding, polishing, and finishing. You can compare foam density by color, because denser pads usually give you more cut while softer pads refine the surface.
If you choose woolen buffing pads, you’ll often get efficient correction on dull paint and weathered finishes. You may notice wool disperses heat differently, which can help you during broader correction work on larger painted panels.
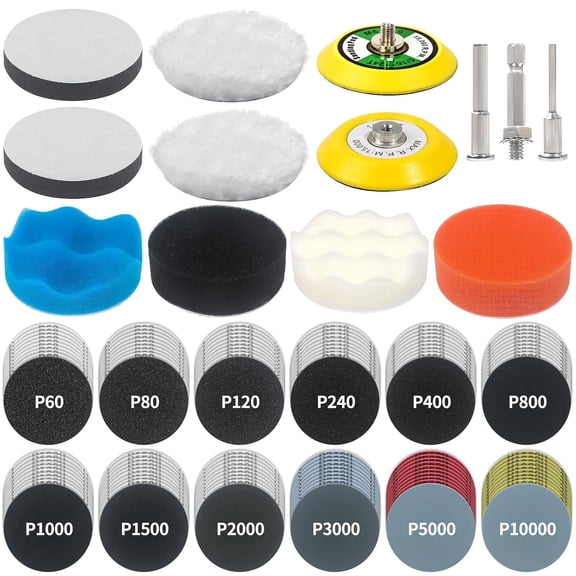
If you choose microfiber pads, you can combine solid cutting action with a smooth feel on many painted surfaces. You’ll want to pair microfiber with the right compound and pressure, because your result depends on drill speed and pad size.
Cut level should match the finish you want, not only the mark you’re trying to polish. You can use heavy cutting pads for stronger correction, medium polishing pads for refining, and light finishing pads for final shine.
As you compare sets, you should check whether the pad range covers each step you plan to use. You’ll have an easier time moving from correction to polishing when your kit includes several cut levels.
What to look for in a buffing wheel for drill setups
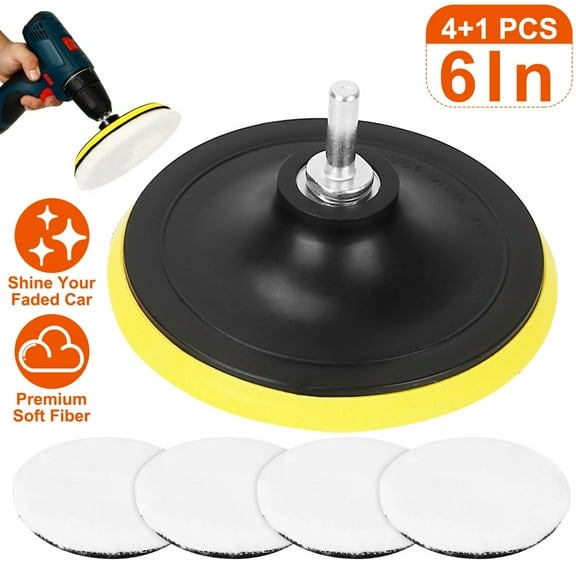
A buffing wheel for drill use should feel secure from the adapter to the pad face. You’ll want to compare hook-and-loop strength, because stronger grip helps your pad stay centered during high-speed rotation.
The drill adapter matters because you need a stable connection between your drill chuck and the polishing head. You should check whether your setup uses a dedicated adapter, a backing plate, or a complete attachment kit.
A drill backing plate supports the pad and helps you keep even pressure on the paint. If you choose the right plate diameter, you’ll reduce overhang and keep the pad edge from extending too far.
You should also consider pad profile and edge shape when you’re polishing around badges or tighter trim. A slightly smaller face can give you more control where a full-size machine pad feels too wide.
Speed control is another key decision because your drill may run at higher RPMs than a dedicated polisher. You’ll want to use manageable RPMs and steady movement, especially when you’re working with cutting pads or firmer foam.
Before you begin, you should check whether your drill offers variable speed for more control. You’ll usually get a smoother polishing pattern when your RPMs stay consistent across each section.
Matching drill buffing pads to real detailing jobs
If you’re freshening daily-driver paint, you can start with medium polishing pads and a moderate pad size. You’ll get useful control on doors, fenders, and trunk lids without jumping straight to aggressive cutting.
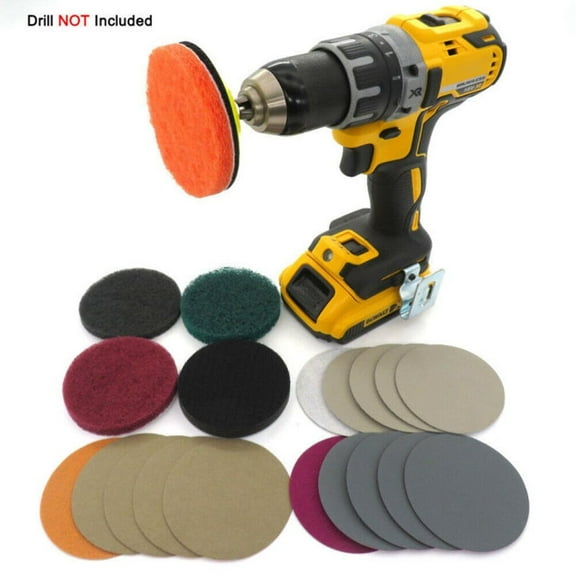
When you’re correcting dull spots or older oxidation, you may begin with wool or firmer foam. You can then move to a softer finishing pad, which helps you refine the surface after the first correction step.
If you’re working around headlights, pillars, or bumper contours, smaller pads can make the job easier. You’ll appreciate a compact setup when a larger machine or wider pad feels awkward in tight spaces.
For chrome accents, painted trim, and smaller touch-up zones, you may prefer a lighter finishing approach. You can use softer foam and lighter pressure when you want more control over a focused area.
If you’re building a full detailing routine, you should keep multiple cut levels and materials on hand. You’ll be ready to switch between cutting, polishing, and finishing as your paint condition changes from panel to panel.
With the right drill buffing pads, you can build a more controlled polishing setup around your drill, your backing hardware, and your vehicle’s surfaces. You’ll get clearer results when you compare material, size, cut level, and attachment fit before you start.