

Blending Stumps in Drawing Supplies


















About Blending Stumps in Drawing Supplies - Walmart.com
When you choose blending stumps, you get cleaner gradients, softer shadows, and more control across graphite, charcoal, and pastel sketches. You can compare sizes, materials, and pack formats quickly when you know how each option changes your marks on paper.
You may shop this category for class supplies, studio practice, or everyday drawing upgrades. You’ll also notice blending stumps differ from tortillons, so your choice affects edge softness, pressure response, and how often you reshape the tip.
How to choose blending stumps for your drawing style
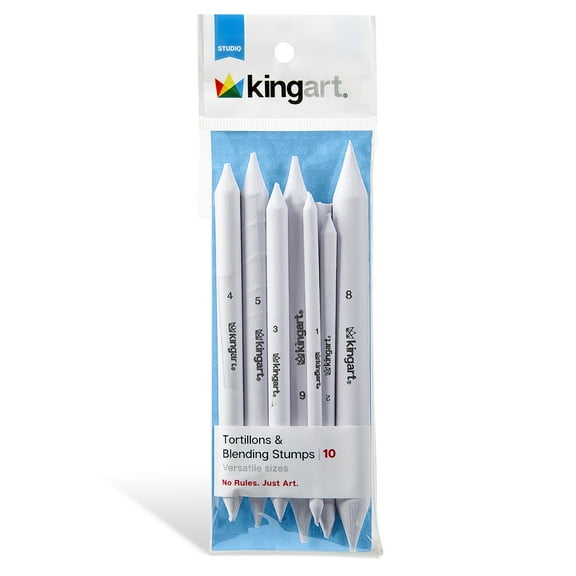
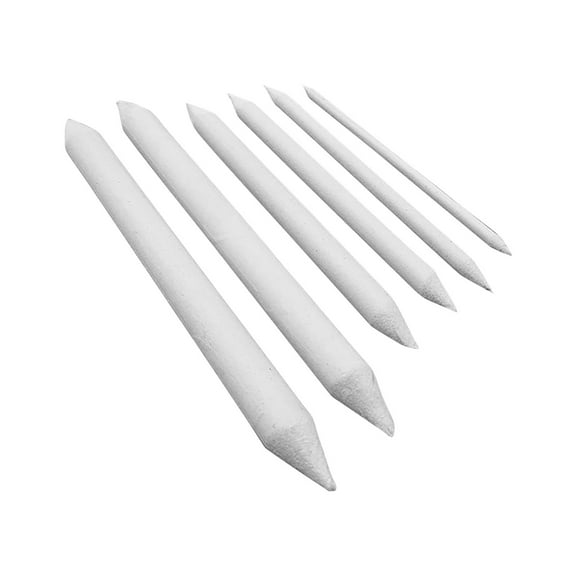
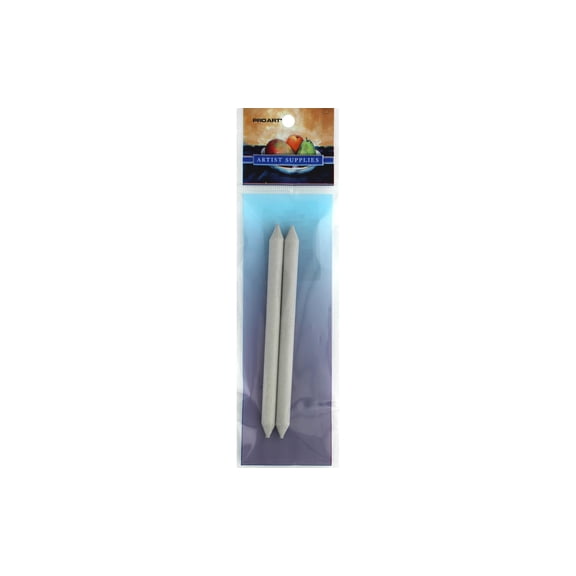
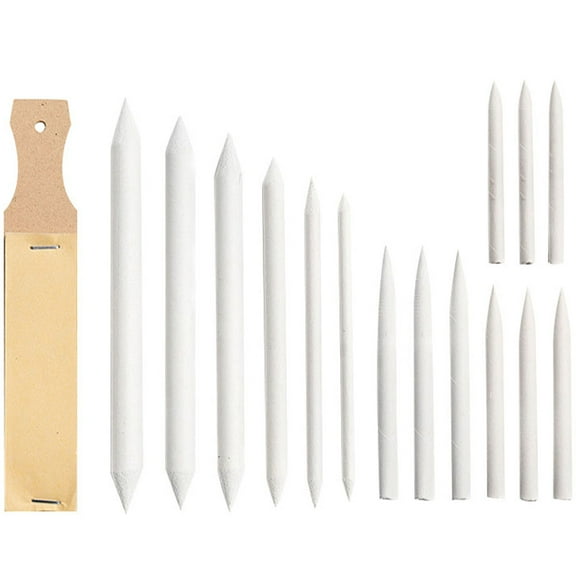
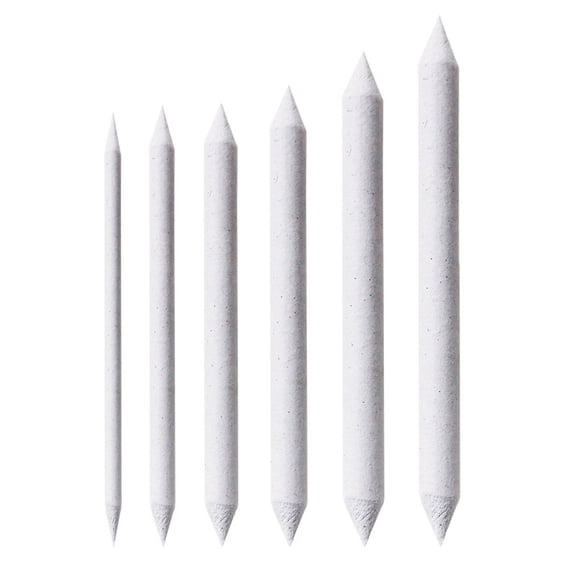
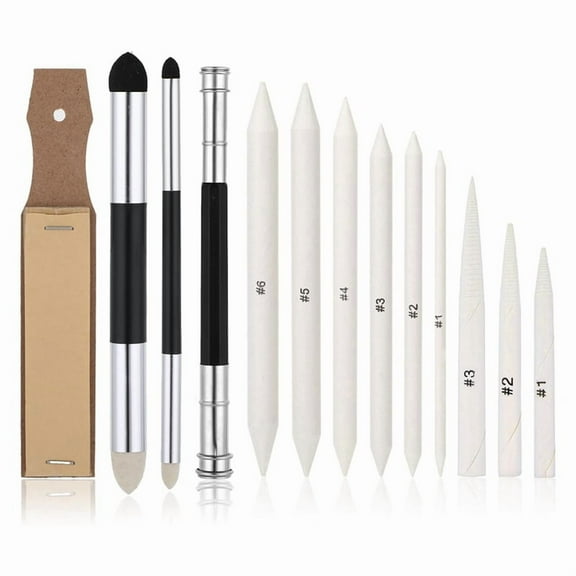
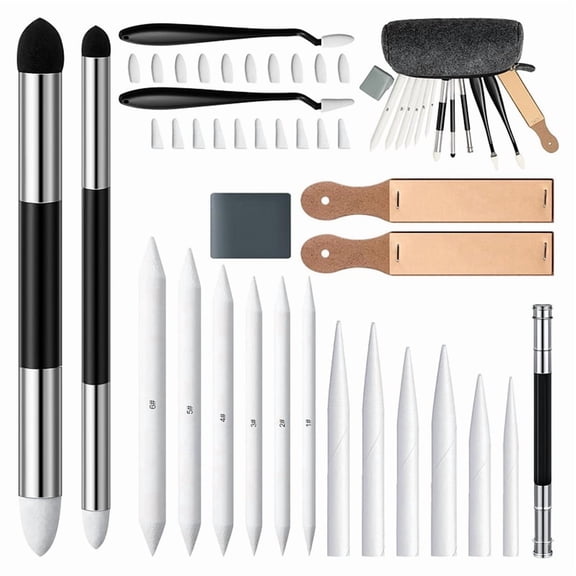
You’ll usually pick between solid rolled paper stumps and hollow spiral tortillons first. You get a firmer feel from solid paper, while you get a lighter, narrower touch from a hollow wrap.
If you want smoother blending across larger shaded areas, you may prefer a paper stump blender with a denser body. If you want quick smudging in tight spaces, you may lean toward a shading stump with a slimmer point.
You can use these drawing blenders to soften pencil lines, merge charcoal layers, and pull pigment into paper tooth. You’ll often get more controlled transitions than you would with fingers alone.
- You can smooth graphite without flattening every texture detail.
- You can blend charcoal into even midtones and softer shadow edges.
- You can refine pastel passages with more precise pressure control.
- You can keep highlight areas cleaner by using a dedicated stump size.
You may also want a blending stump set when you switch between dark charcoal and lighter graphite work. You’ll avoid cross-smudging when you keep separate tips for different media.
What to look for in shading sticks and sizing
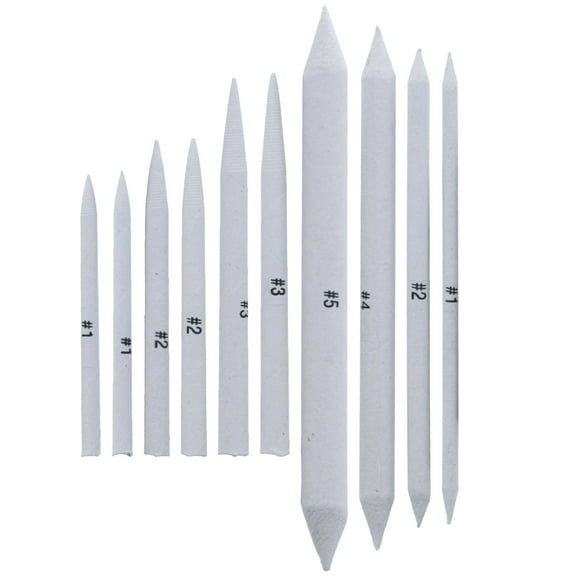
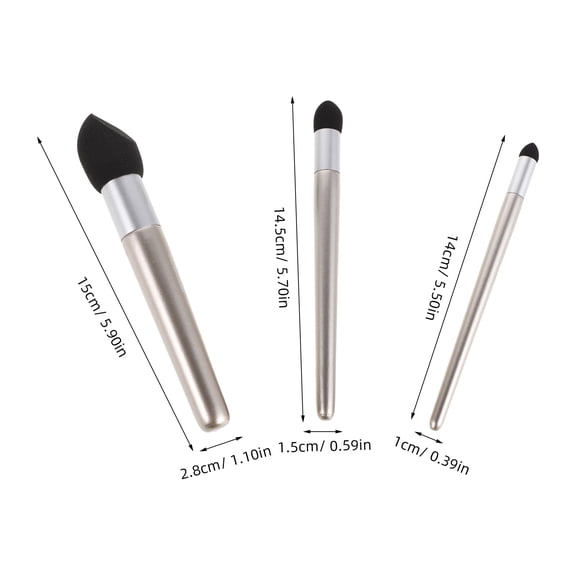
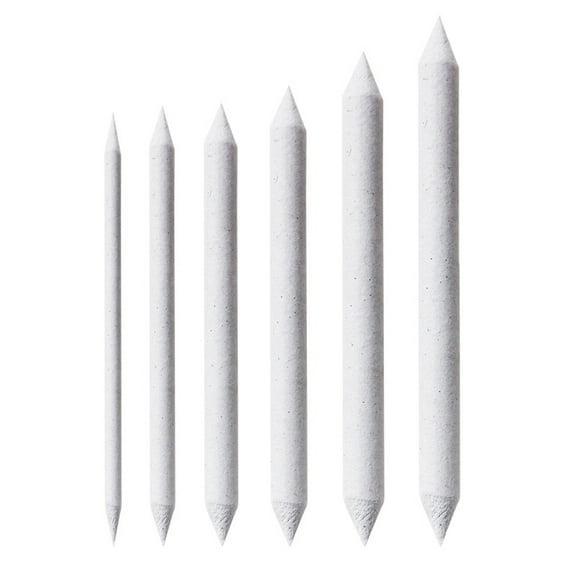
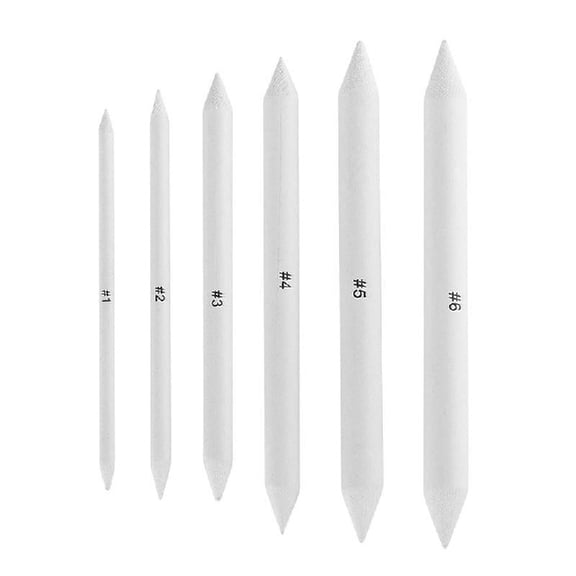
You should compare tip thickness before you choose a pack. You’ll usually use fine detail sizes, like one through three, for eyelashes, tiny folds, and narrow contour shading.
If you shade portraits, landscapes, or broader object studies, you may reach for medium sizes, like four through six. You’ll cover more paper faster while still keeping controlled edges.
You can use large sizes, like seven and eight, when you blend backgrounds or block in wide tonal areas. You’ll notice they soften big charcoal passages without leaving tiny streaks.
Assorted sizes make sense when you move from detail work to full-page rendering in one session. You can start with a large tip, then switch down as your drawing gets tighter.
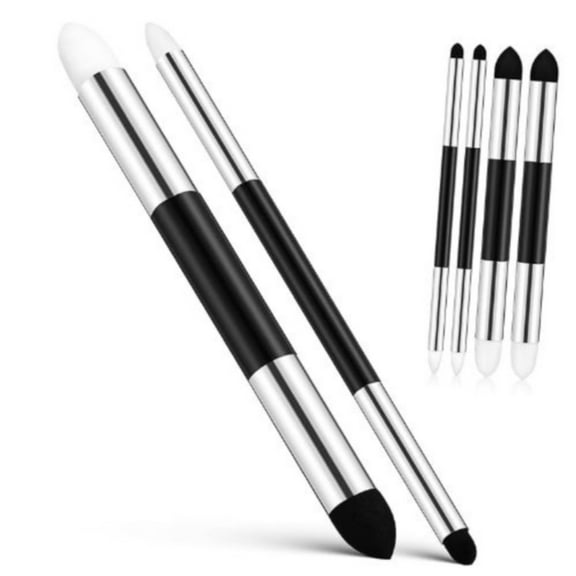
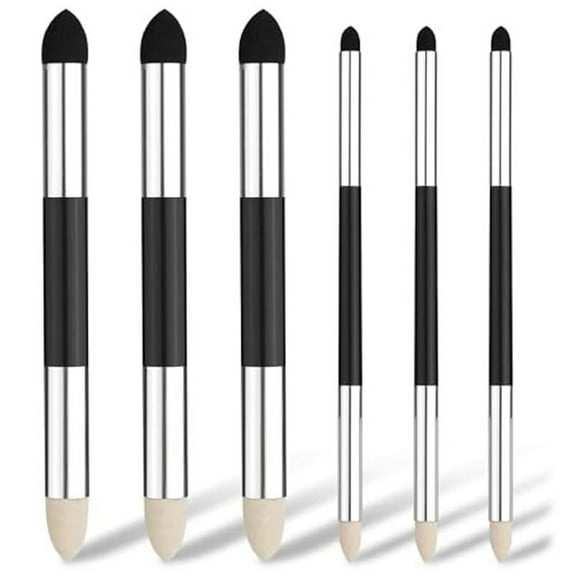
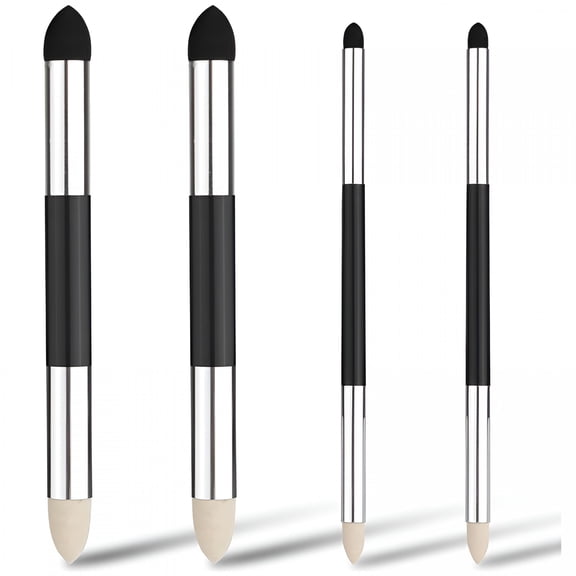
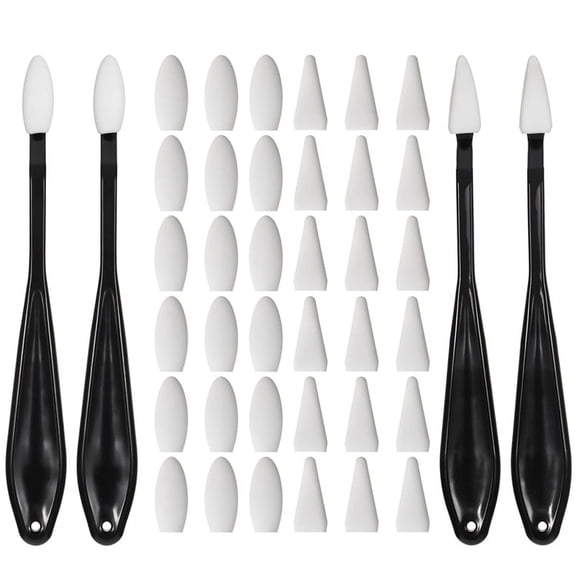
You should also compare material type with your medium. You’ll often choose rolled paper for classic paper blender art, while felt or leather tools create a different drag and softer pickup.
If you use colored pencils, you should check whether the tool supports gentle layering instead of aggressive burnishing. You’ll usually get cleaner results when the tip matches the waxy or chalky feel of your medium.
Choosing pack configuration and cleaning tools
You may only need a single stump when you sketch occasionally or replace a worn favorite size. You’ll likely prefer a multi-pack when you practice often and want separate tools for light and dark passages.
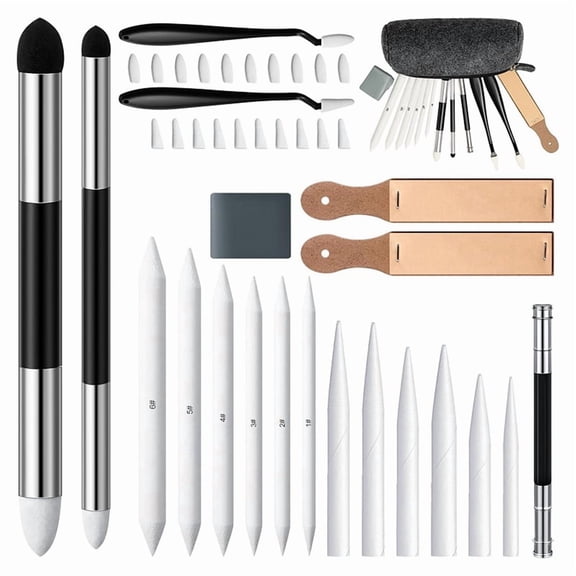
A sketching kit with a sandpaper block gives you a useful maintenance option. You can clean, reshape, and sharpen the tip as pigment builds up during longer sessions.
You should consider this cleaning step if you want crisp highlights beside dark blended areas. You’ll keep your marks more consistent when you refresh the point instead of pressing harder.
If you compare a stump vs. tortillon, cleaning matters here too. You can sand a solid rolled paper stump more easily, while a hollow spiral tool may wear differently with repeated sharpening.
How you can use drawing blenders across media
You can use blenders for drawing in classroom sketches, figure studies, comic shading, and finished art pieces. You’ll get different effects depending on whether you work with graphite pencil, charcoal, pastels, or colored pencils.
For graphite, you can smooth rough hatch lines into soft gradients on cheeks, fabric, or skies. You’ll keep more precision around edges than you would with a tissue.
With charcoal, you can spread dark material across toothy paper for smoky transitions and layered shadows. You’ll often want separate tips so deep blacks don’t muddy lighter sections.
If you work in pastel, you can soften boundaries between adjacent colors without fully erasing texture. You should use light pressure so your paper still holds additional layers.
For colored pencils, you can blend small passages and push pigment into detailed areas like petals, fur, or reflections. You’ll usually choose a finer point when you need control around outlines.
You may also use shading sticks during travel sketching or art classes where compact tools matter. You can store several sizes easily, and you can often find local store availability when you need a fast replacement.
When you understand size, material, and cleaning needs, blending stumps become easier to choose for the marks you want. You’ll finish with smoother shading, cleaner transitions, and more consistent drawing control.