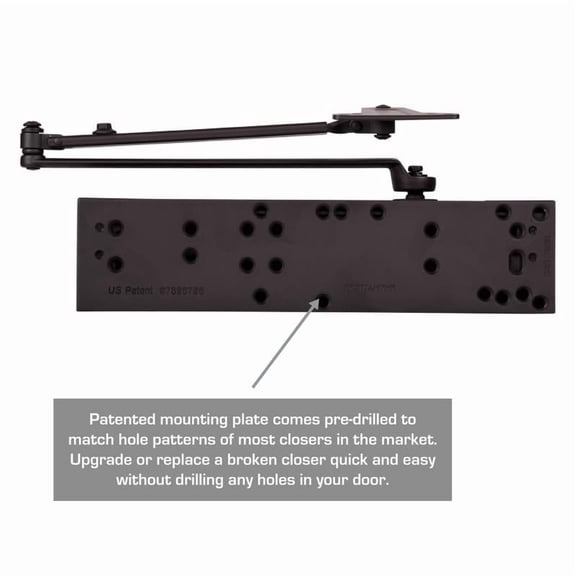
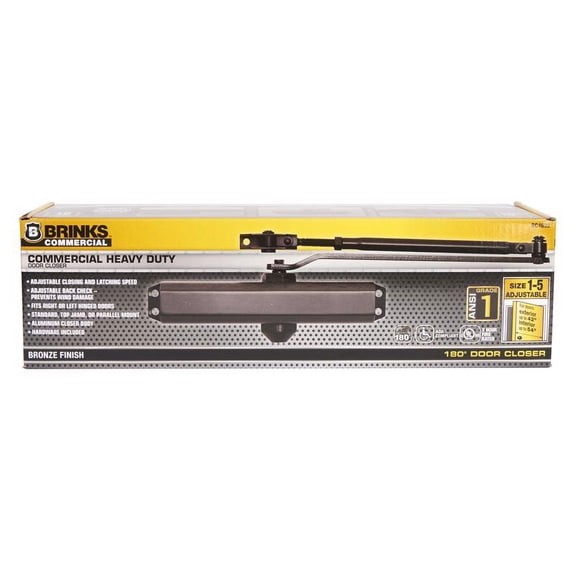
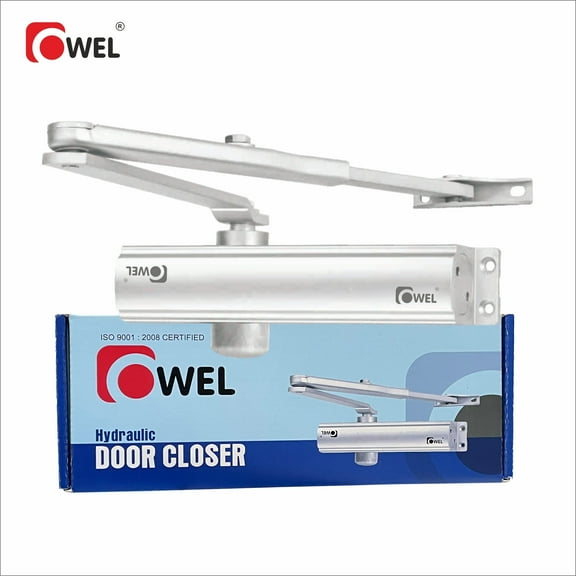
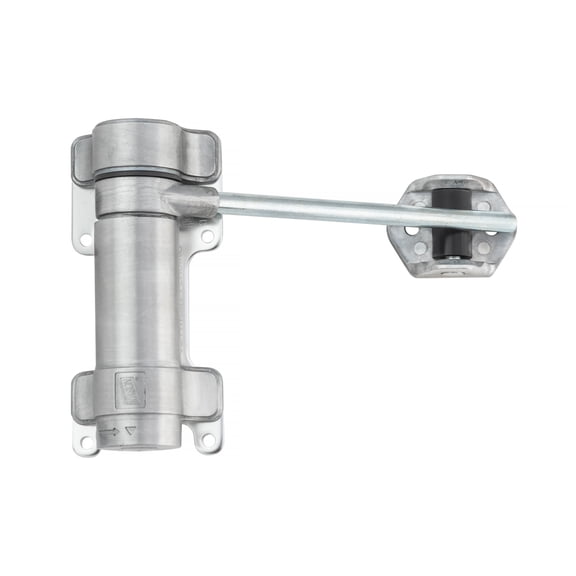
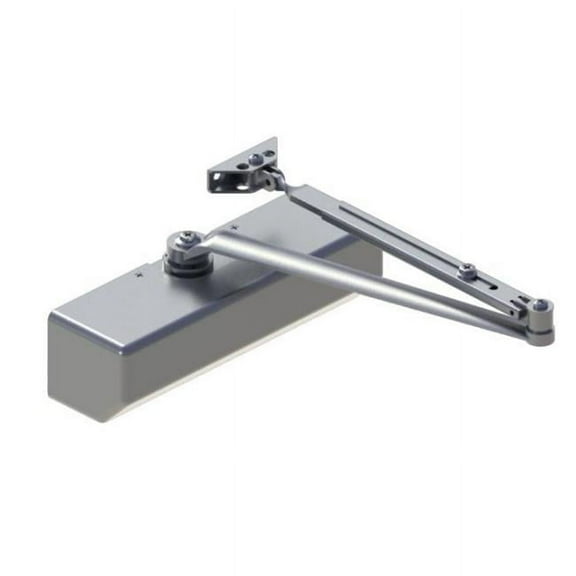
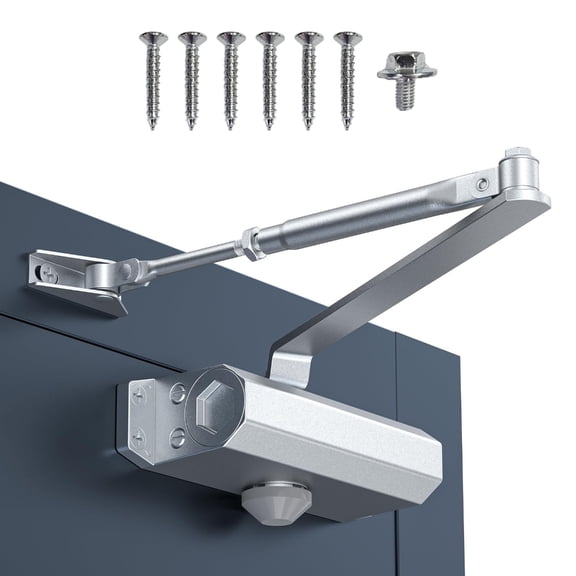
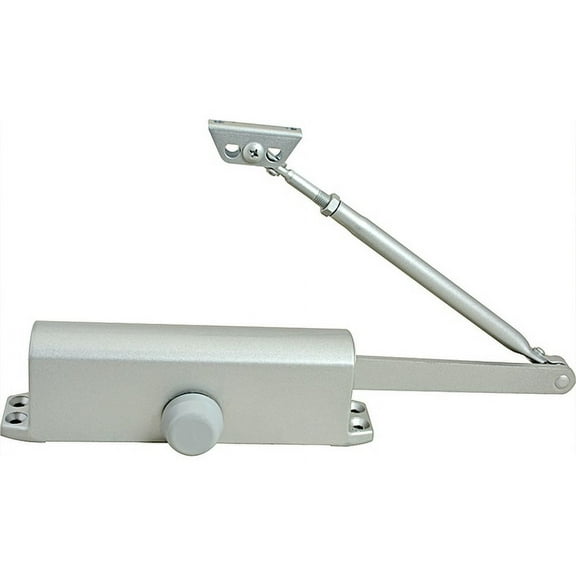
Caveat: Ignore my janky old door, this is on my garage and it has been well loved. ;) I have a problem... a problem with various members of my family utilizing my garage and leaving the door standing wide open. PROBLEM SOLVED!!! This door closer has ALL the options. You can switch it for RH, LH, RHR, LHR, jam mount, frame mount, etc, etc,. With all this customizability comes the need to be very mindful of following the instructions to the letter. There are certain screws/bolts that you will use or not use and certain pieces you will remove/replace depending upon your choice of mounting and application. I chose to mount the closer on the door and the arm plate mount on the casing. My door is an exterior RH door so the closer plate got mounted to the inside, right side of the door. I thought the windows were going to be a problem, but the mounting screws just missed the window frames. There are several other holes that one would assume could be used to mount the plate to the door, but they weren't called out in the instructions. I have a hollow metal door and didn't feel like the self-tapping screws provided enough stability so instead I used the "through bolts" and drilled all the way through the door with the indicated bit sizes. Then it was as simple as driving in the sleeves from the outside and threading the screws in from the inside. Just make sure that when you are drilling through the door to be perfectly perpendicular to the door face. Also, if you drill all the way through from the inside with the smaller bit, then all you have to do is drill the outside of the door with the larger bit and you're done. All the hardware gripped great except one "through bolt" screw and it tried to strip out (manufacturing defect maybe?). I used the parallel mount for the arm so I had to remove the flat mount and replace it with the provided bracket which simply used wood screws to mount to the door frame. Again, be very mindful of which particular bolts/screws the instructions call for as they are all the same thread, but area meant for different areas. Once all the measurements were applied and the closer and arm were mounted you can adjust the resistance, travel, swing speed, and close speed by using the provided Allen key to turn various valve screws on the body of the closer. The swing speed is how fast the door will close for 3/4 of the distance, and the close speed is how fast it makes the remaining 1/4 of the door sweep to actually close. You will probably want the close speed faster to make sure your latch catches. I also adjusted the power of the closer to make sure that my stubborn old garage door actually closes all the way. Even on a higher setting it opens just fine. One setting I didn't get to try is the 120* hold open as my door does not have the capability to open that far due to exterior grade and the door hitting the ground. After making the final adjustments, I placed the Allen key into the provided cover (which has two cut-outs for the closer arm and you just place the blank in the one you aren't using, nice) and used the provided set screws to attach the cover to the closer. That way it's always there should you need to make further adjustments. I am super impressed with this unit and would highly recommend it to anyone in the market for an automatic door closer!