Hero image 0 of Freud Genuine 1-1/16" (Dia.) Face Molding Router Bit With 1/2" Shank # 99-015, 0 of 2
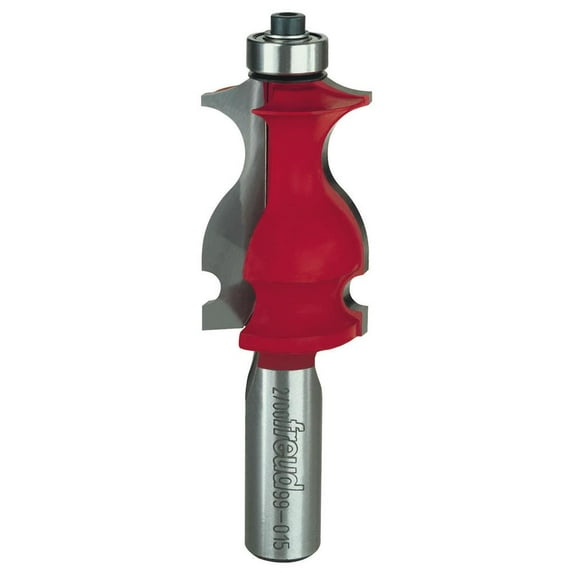
Freud Genuine 1-1/16" (Dia.) Face Molding Router Bit With 1/2" Shank # 99-015
Price when purchased online
Not Available
How do you want your item?
Not available
About this item
Customer ratings & reviews
4.3 out of 5 stars
How item rating is calculated
Sort by |
Showing 1-3 of 10 reviews
Dec 2, 2025
CRSteve
5 out of 5 stars review
Makes a seamless joint
Review from Freud
Helpful?
Jul 7, 2022
Anatoli
5 out of 5 stars review
Great bit, lacking in how to use it...
Review from Freud
Helpful?
Jul 23, 2022
L&CS Custom Woodworking
5 out of 5 stars review
Drawer Lock Bit Setup
Review from Freud
Helpful?
