Spackle for Walls & Wall Patching Repair Kits


About Spackle for Walls & Wall Patching Repair Kits - Walmart.com
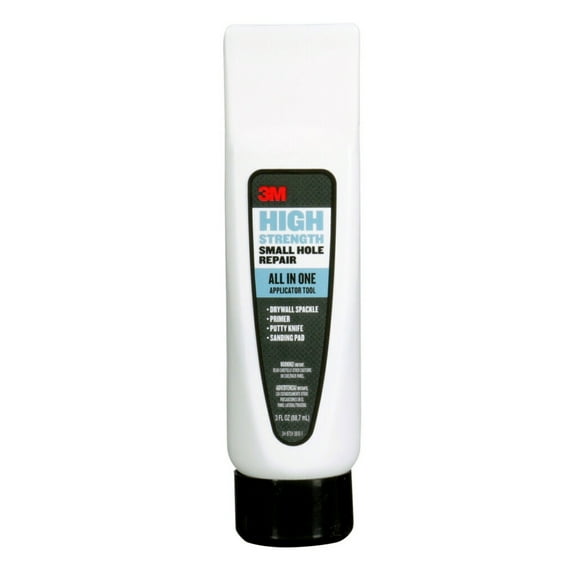
With spackle for walls, you can smooth nail holes, fill dents, and prep surfaces for clean paint touchups. You’ll also find patching materials for drywall, plaster, wood, and concrete in one focused category.
When you compare patching supplies, you should start with the repair size and surface type. You’ll get more accurate results when your filler matches the hole depth, dry time, and paint plan.
How to choose spackle for walls
You should choose spackle for walls when you’re fixing small nail holes, minor dents, and shallow cracks. You’ll usually prefer joint compound when you need to smooth wider seams or larger wall sections.
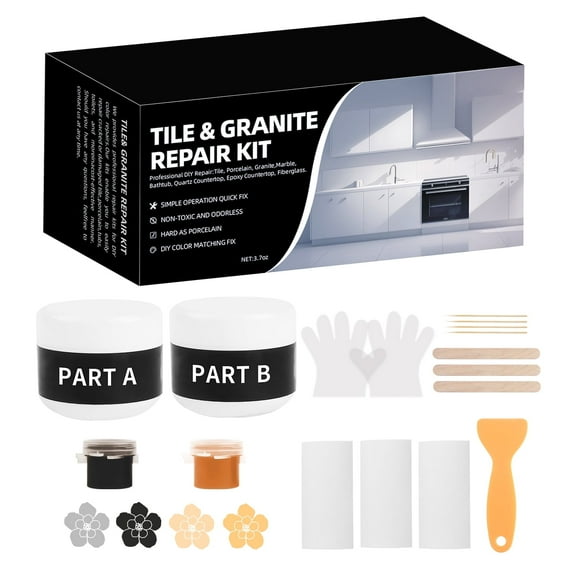
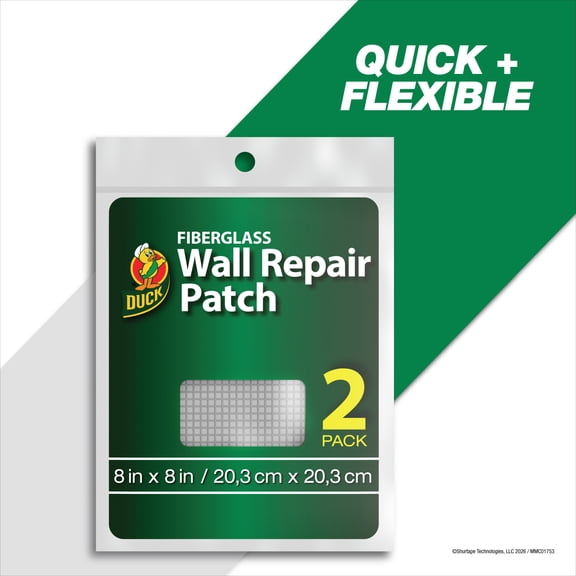
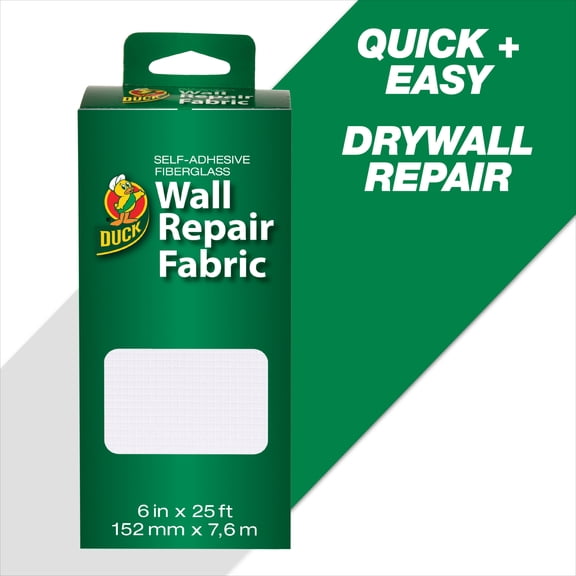
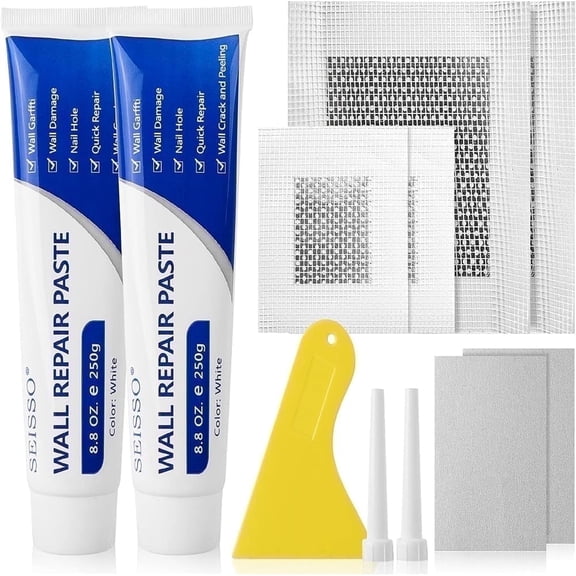
If you’re handling a deep gouge or a door knob hole, you may need a heavier patching approach. You can compare fiberglass patches, repair screens, and black hole filler options for larger openings.
For small touchups, you may want lightweight formulas that spread easily and sand with less effort. For tougher repairs, you can look for denser compounds that hold shape in deeper voids.
- You can patch nail holes before repainting a bedroom or hallway.
- You can smooth dents and hairline cracks for cleaner paint repairs.
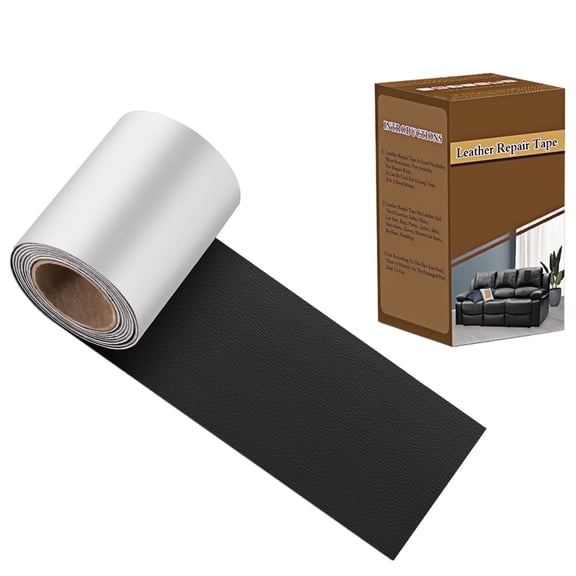
- You can match repair materials to drywall, plaster, wood, or concrete.
- You can choose kits with a putty knife or sanding pad for fewer extra steps.
Choosing material type and repair size
You should compare material type first because each filler handles a different repair task. You’ll usually use spackle for small holes, while you’ll use joint compound for broader smoothing work.
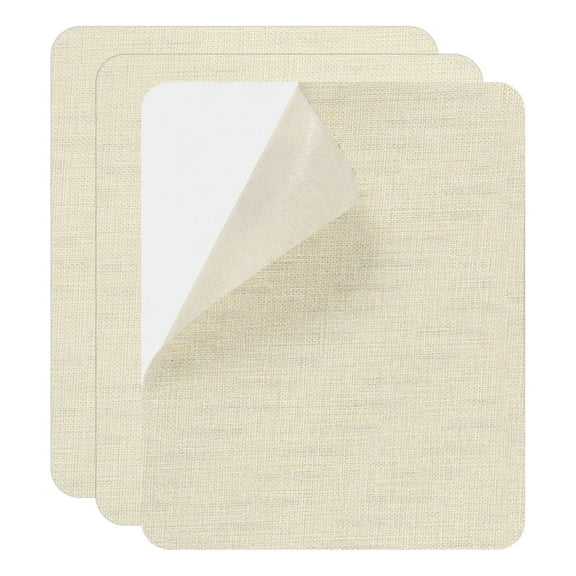
If you’re fixing chipped trim or small wood imperfections, you may consider epoxy putty for a firmer fill. If you’re covering a puncture in drywall, you can use a fiberglass patch under compound.
You should also measure the damaged area before you buy. You’ll want one approach for nail holes and another for large wall cracks or impact openings.
When you’re choosing a patch and repair kit, you should check whether it includes the basics. You may want a spackling spatula, putty knife, sanding sheet, or self-adhesive patch in the same package.
Comparing dry time, pink spackle, and paint repairs
You should compare dry time because it affects when you can sand, prime, and repaint. You’ll often prefer fast-drying options when you’re finishing touchups in one afternoon.
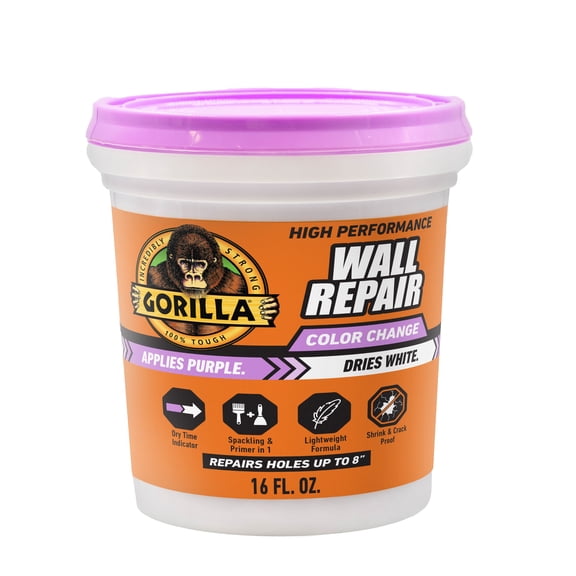
If you want a visual cue, you can look for pink spackle that dries white. You’ll know the patch is closer to sanding when the color changes across the filled area.
For overnight projects, you may choose formulas designed for thicker fills or slower curing. You should check the label direction so your sanding and painting steps line up.
You should also think about paint repairs before you start filling. You’ll often get a smoother finish when you sand lightly and use primer where the repaired spot needs even color.
If your wall has texture, you should compare whether the patch can feather into the surrounding surface. You’ll want a repair that blends before you apply your finish coat.
Matching patching products to surface and project
You should match your repair product to the surface because drywall, plaster, wood, and concrete behave differently. You’ll usually need different fillers and prep steps depending on how porous or rough the area feels.
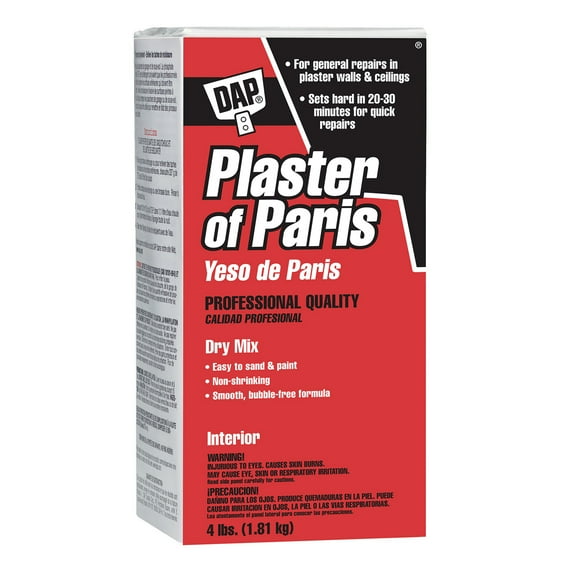
For drywall, you can use common patching compounds for nail pops, screw holes, and scuffs. For plaster, you may look for fillers that help you rebuild chipped edges with a smoother spread.
For wood trim, you should check whether the filler can be sanded and painted cleanly after drying. For concrete, you may need a repair material meant for harder surfaces and small voids.
If you’re doing room refresh work, you can pair your filler with sandpaper, scrapers, wall primer, and interior paint. You’ll keep your project moving when your prep tools match your patching supplies.
Using patching supplies for common home projects
You can use these products before repainting a rental, refreshing a hallway, or fixing marks after moving furniture. You’ll also find them useful when picture hooks leave small holes across a finished wall.
If you’re preparing a room for new color, you should fill dents and sand smooth spots before priming. You’ll create a more even painted surface when patched areas sit flush.
When you’re repairing a larger opening, you may start with a wall patch and then apply compound in layers. You should let each layer dry so the finished area stays level.
If you’re building a small repair kit, you should consider filler, a spackling spatula, sanding pads, and primer. You’ll be ready for quick touchups without searching for missing tools later.
You can also use category options to handle seasonal refresh projects, tenant turnover work, or routine wall upkeep. You’ll appreciate faster project planning when dry time, surface type, and kit contents are clearly labeled.
With the right patching materials, you can move from dents and holes to a smoother paint-ready wall with fewer do-overs. You’ll feel more confident when your filler, tools, and surface needs line up from the start.