

Meguiar’s Headlight Restoration Kits in Headlight Restoration


About Meguiar’s Headlight Restoration Kits in Headlight Restoration - Walmart.com
Meguiar's headlight restoration kits help you compare kit types, oxidation levels, and coating steps for a clearer, more practical lens care routine. You can use this guide to choose the right format for your vehicle, your tools, and your clear headlight restoration goals.
How to choose Meguiar's headlight restoration kits
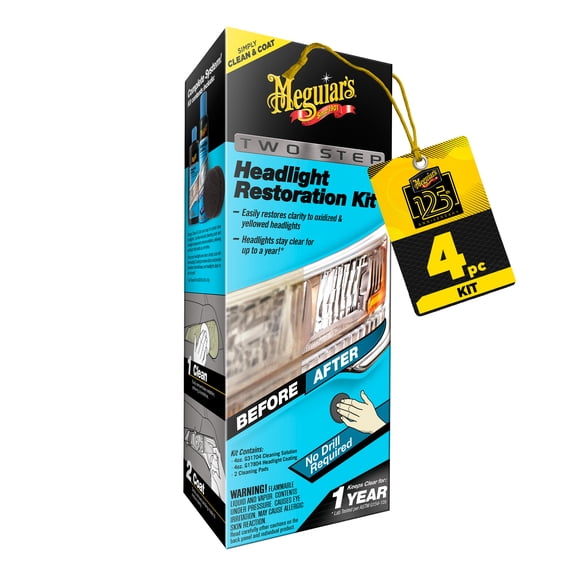
You should start by matching the kit to your lens condition and your available tools. Mild haze often calls for a simpler headlight restoration kit with fewer correction steps.
Moderate yellowing usually means you should look for sanding discs and polish in one system. Heavy oxidation often calls for heavy duty headlight restoration steps with stronger surface correction.
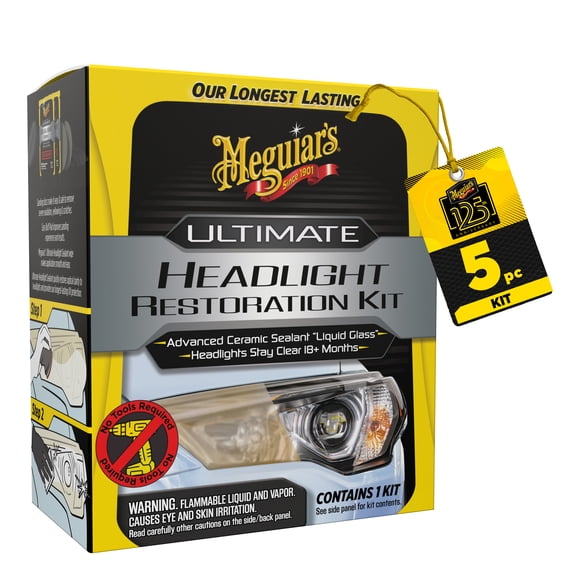
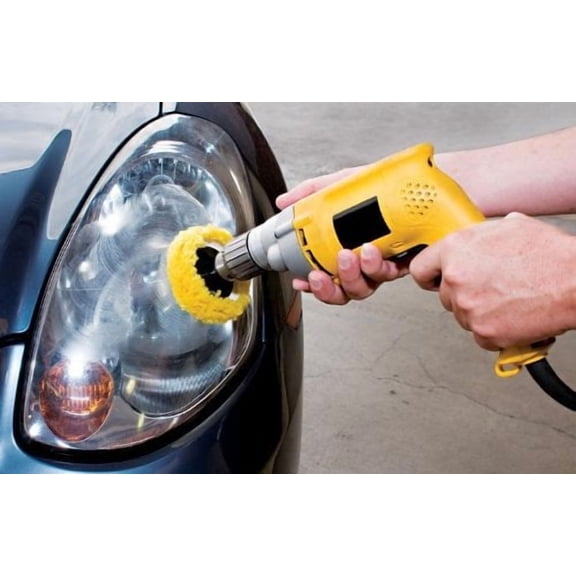
Your process also depends on how involved you want the project to be. Hand-applied kits suit lighter touch-ups, while drill-powered kits support efficient correction on larger lens surfaces.
- You can choose hand-applied kits for light haze and smaller jobs.
- You can pick drill-powered kits when your lenses need deeper sanding and efficient correction.
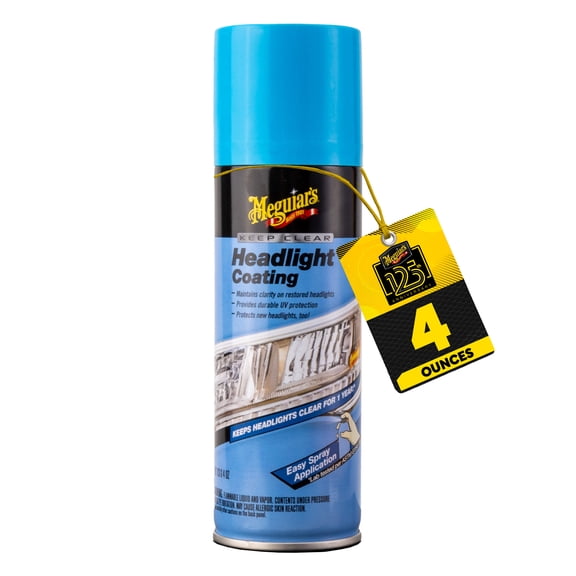
- You can use spray-on or coating-focused kits when your priority is added UV clear coat protection.
- You should match the format to your tools, your time, and your lens condition.
Choosing the right headlight restoration kit type
Your choice usually comes down to hand-applied, drill-powered, or spray-on formats. Each option fits a different amount of oxidation, effort, and finish maintenance.
Hand-applied options work well when your lenses show light haze or minor dullness. You can usually complete those touch-ups without bringing out extra tools.
Drill-powered kits make sense when your headlights have thicker oxidation and uneven yellowing. You can get additional cutting action with attachments that keep each sanding step consistent.
Spray-on or coating-focused formats matter when your goal includes protection after correction. You can add a clear layer that helps your lenses keep a cleaner, glossier look over time.
What to look for in severity level and components
You should inspect your headlights in daylight before you choose a formula. Mild oxidation often appears as a light film, while moderate yellowing looks deeper and less even.
Rough or chalky lenses usually point you toward sanding discs plus polish. That combination helps you refine the surface before you apply a protective finish.
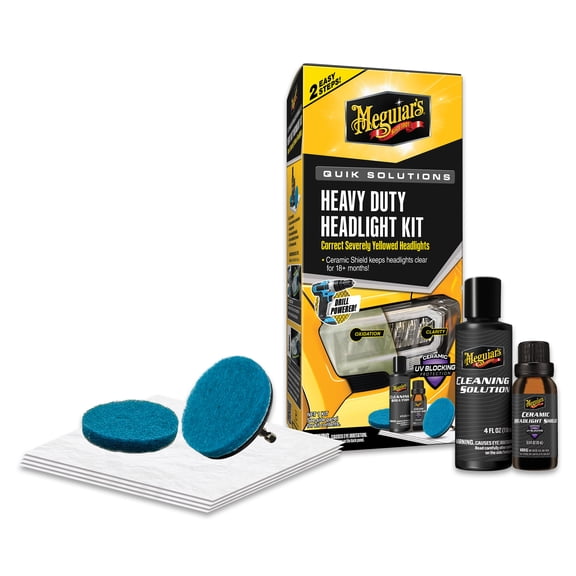
Your kit components tell you how the process will work from start to finish. You can look for Meguiars headlight cleaner steps, plastx polish, and coating stages that match your lens condition.
Meguiars PlastX matters when your goal is to refine haze after sanding marks appear. You can use plastx polish for clarity, while sanding discs handle correction and UV clear coat supports lasting finish maintenance.
Choosing protection duration and finish expectations
You should compare protection duration if you want fewer repeat touch-ups over time. Some kits are designed for up to 12 months, while others focus on multi-year protection.
Your parking habits can affect which coating step makes sense. If your vehicle spends long hours outdoors, you may want a UV clear coat in your process.
Prep time also changes with the level of protection you choose. Multi-step systems often take longer, yet they usually include sanding and coating for a fuller clear headlight restoration routine.
A simpler system may suit you when your lenses only need light correction and a quick refresh. A longer process may suit you when your oxidation is deeper and your finish goals are more demanding.
Step-by-step cloudy headlight repair
You can make cloudy headlight repair easier when you break the job into simple stages. Your typical process includes cleaning the lens, correcting the surface, polishing it, and adding protection when included.
Hand-applied kits usually involve more rubbing and frequent progress checks between passes. Drill-powered kits can help you move through sanding steps efficiently with steadier motion.
You should read whether the kit requires a drill before you choose your format. That quick check helps you avoid delays with tool needs, pad types, and coating steps.
Microfiber towels can also support a cleaner, easier workflow during each stage. You can inspect the lens between steps when your wipe-off removes residue before the final polish or coating.
Matching kits to real vehicle situations
A newer daily driver with light haze often pairs well with a hand-applied kit and polish. You can refresh lens clarity without taking on a heavier sanding routine.
Your family vehicle may need sanding discs and a follow-up coating when yellowing looks deeper. That combination helps you restore a smoother finish with both correction and protection.
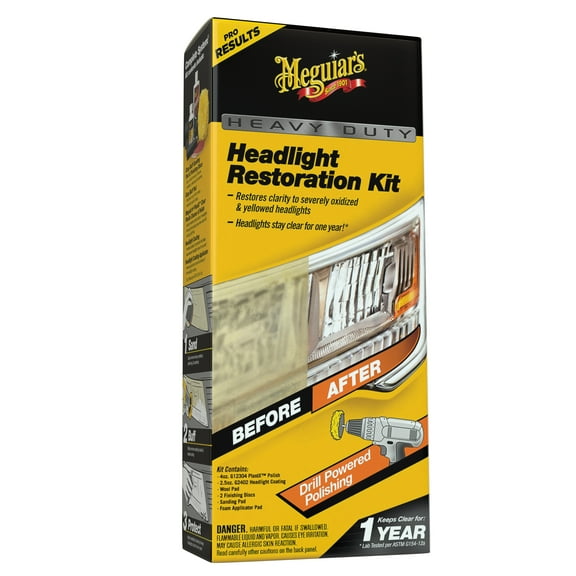
An older vehicle with stubborn oxidation may point you toward a heavy duty headlight restoration kit. You can pair drill-powered correction with UV coating when your lenses need a more thorough reset.
If you maintain several vehicles, clear instructions may matter as much as the formula itself. You can repeat the process with more confidence when your kit separates sanding, polishing, and coating into clear steps.
Meguiar's headlight restoration kits make more sense when you compare severity, tools, components, and coating duration before you start. You can choose a process that fits your vehicle and finish with clearer-looking lenses that stay easier to maintain.