

Color Correcting Concealer in Concealer






















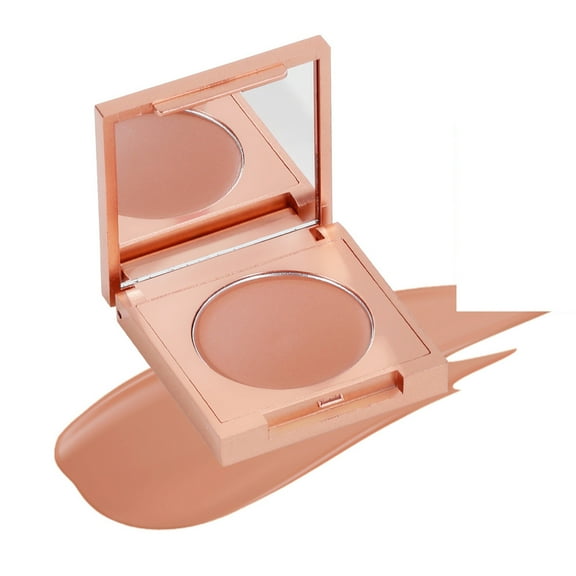


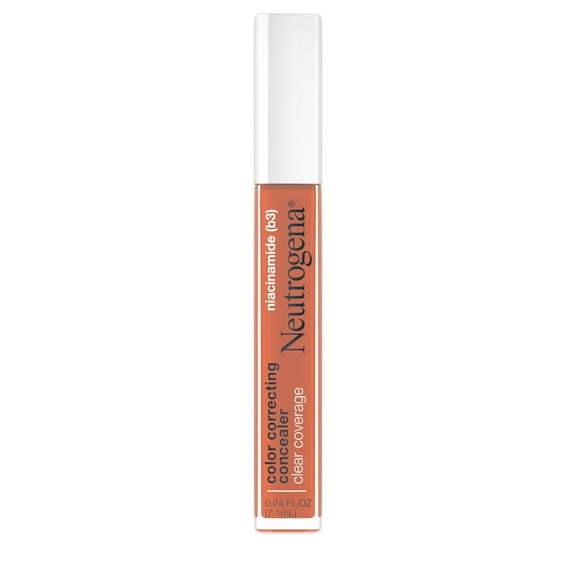


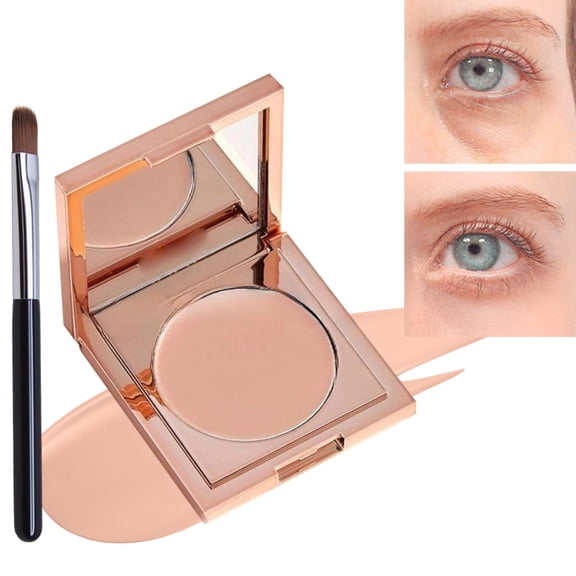






About Color Correcting Concealer in Concealer - Walmart.com
Color correcting concealer helps you balance uneven tone before makeup, so your base looks smoother and more natural. You can use targeted shades and blendable textures to refine redness, circles, sallowness, and dark spots.
If you’re comparing options, you’ll want guidance that matches color, formulation, skin type, and finish. You can also use a color correcting palette when your face needs different shades in different areas.
How to choose color correcting concealer
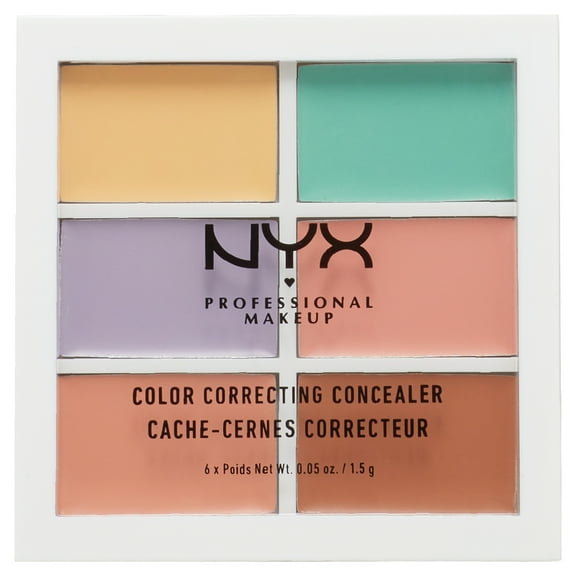
You should start with the tone you want to soften, because shade choice matters before coverage choice. You’ll usually use green for visible redness, while peach and orange help balance blue or purple discoloration.
When you compare shades, you should think in small targeted areas instead of your full face. You’ll get a more natural result when your corrector neutralizes tone without adding a heavy layer.
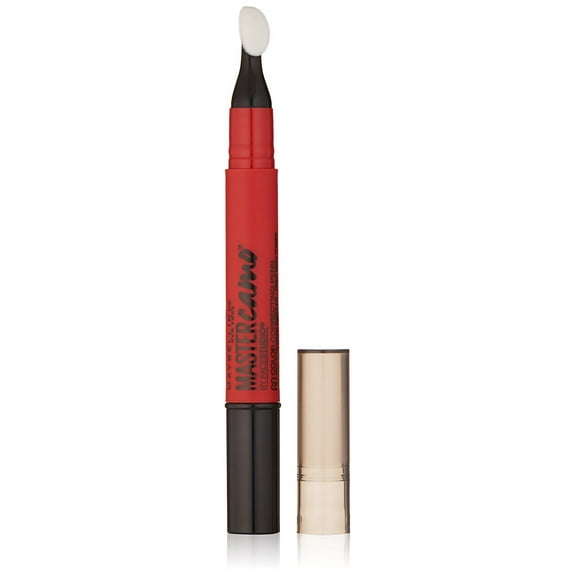
- You can use a green color corrector on red areas around your nose, cheeks, or blemish-prone spots.
- You can choose a peach color corrector when your under-eye area looks lighter blue or violet.
- You may prefer orange concealer when your discoloration appears deeper and needs a richer correcting tone.
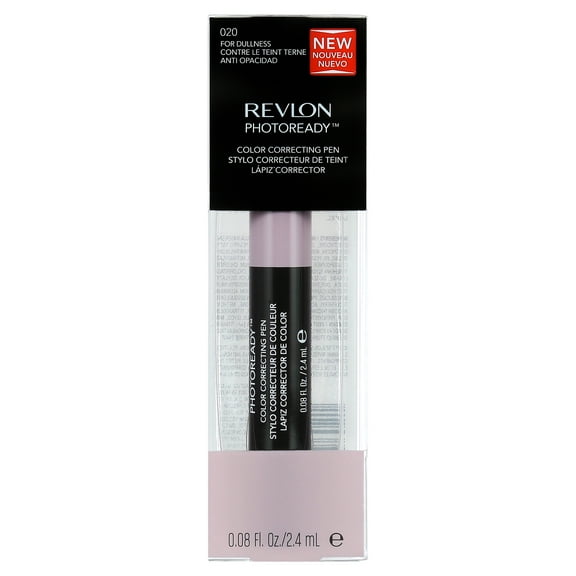
- You can try yellow or purple options when you want to balance sallowness or dull-looking areas.
You should also consider where you’ll wear it during the day, because placement affects texture needs. You may want an under eye color corrector with a smoother feel, while areas around your nose may suit a matte finish.
Green color corrector, peach, and orange shades explained
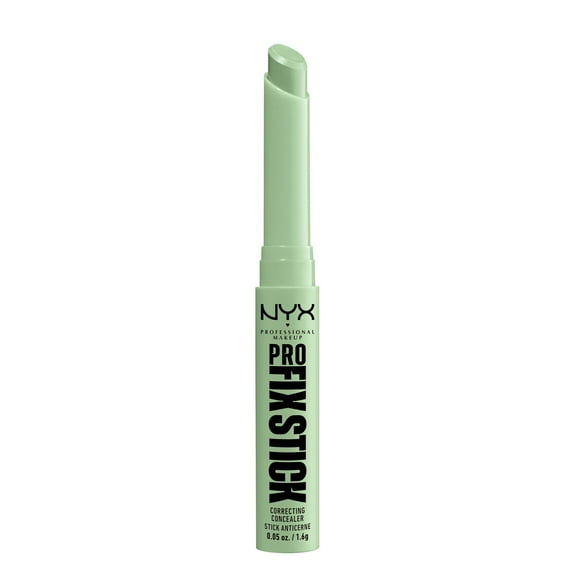
If redness is your main concern, you’ll usually look for a color corrector for redness in a green shade. You can tap it onto flushed areas first, then layer foundation or concealer over it.
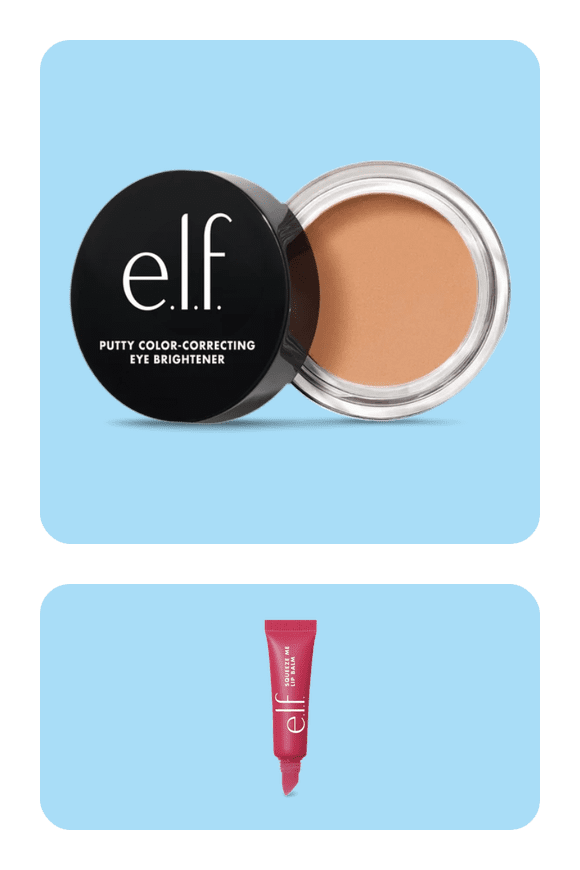
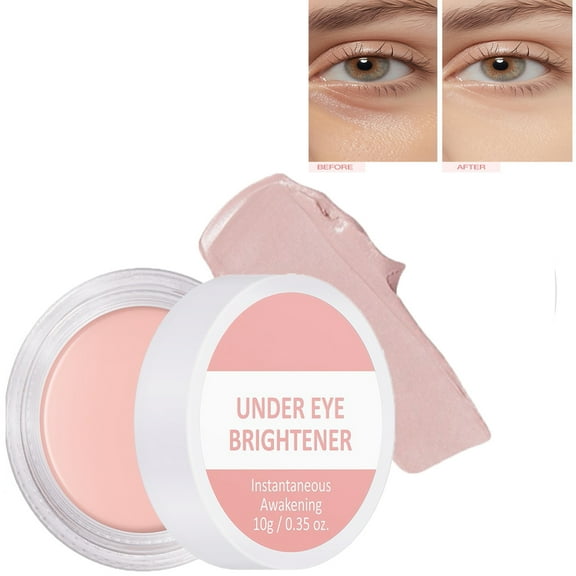
For under-eye discoloration, you’ll often compare peach and orange based on depth and undertone. You may notice peach works for lighter shadowing, while orange concealer suits deeper blue or purple tones.
When your complexion looks sallow, you can compare yellow and purple shades with your overall undertone. You’ll want a light hand, because these shades support thin layers under your regular base.
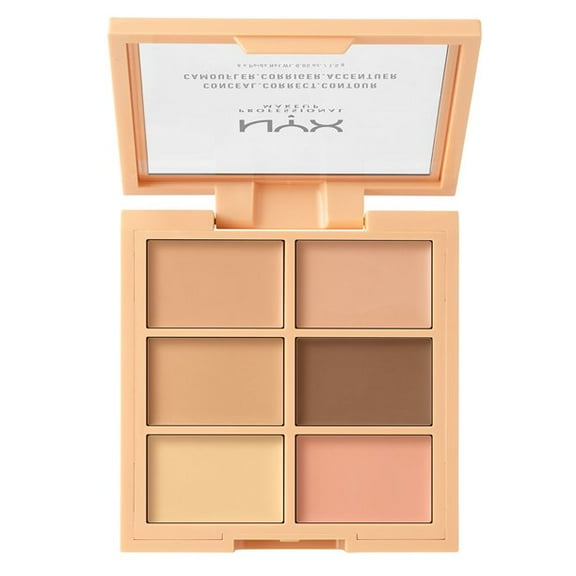
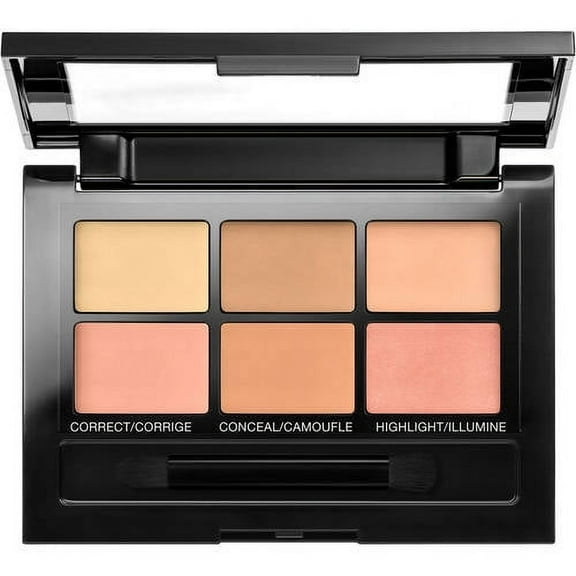
You can get more flexibility from a color correcting palette if your concerns shift by season or area. You may use one pan under your eyes, another around your nose, and another on dark spots.
Choosing the right formulation and finish
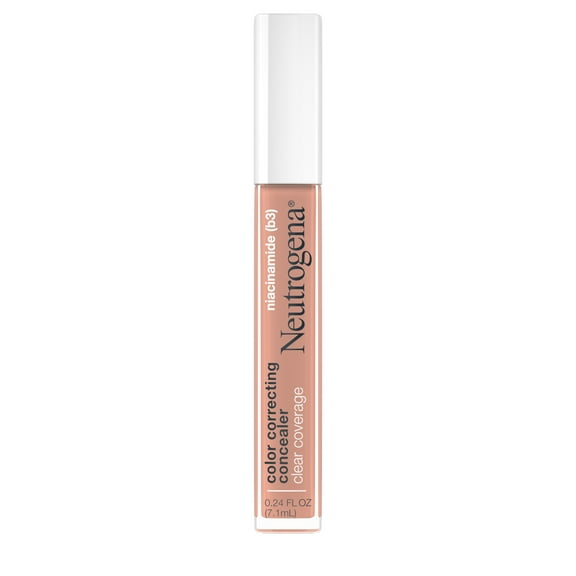
You should compare liquid, cream, stick, and palette formats by coverage, blend time, and skin feel. You’ll often find liquids spread thinly, while creams give you more concentrated coverage in smaller areas.
If your skin leans oily, you may prefer a lighter liquid that layers neatly under foundation. If your skin feels dry, you might choose a cream that looks smoother on areas that need extra comfort.
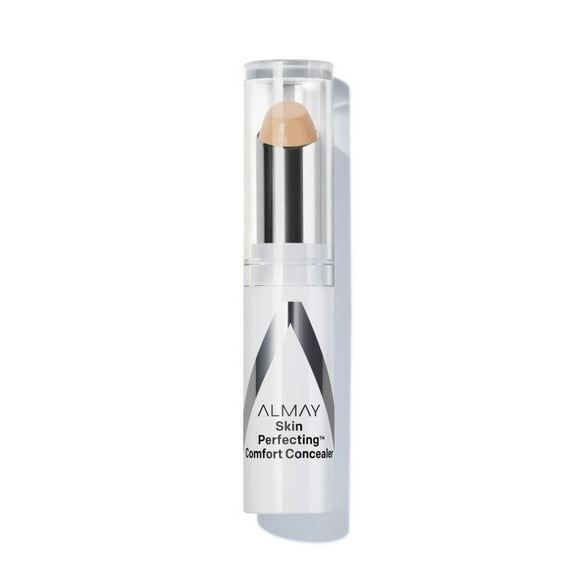
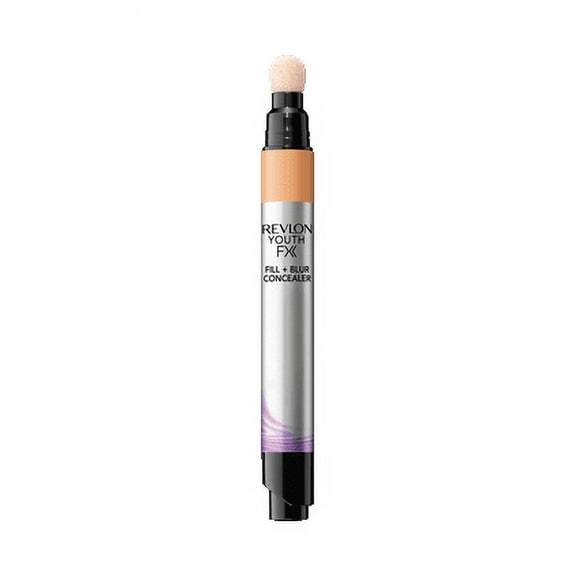
You can consider a stick when you want precise placement on spots or around the nose. You may prefer a palette when you want multiple correcting tones in one compact routine.
Your finish also changes how your makeup wears through the day and in photos. You can choose matte when you want a shine-controlled look, or pick dewy and natural finishes for a softer result.
If humidity is part of your routine, you may look for a waterproof color corrector for longer wear. You’ll also want a finish that layers cleanly with your concealer and setting products.
Matching color correctors to your skin type
You should check whether the texture matches your skin type before you choose a shade. You’ll usually want lightweight formulas for oily skin and creamier textures for dry skin.
If your skin is combination, you may use different textures on different areas of your face. You can apply a lighter formula in oil-prone zones and a creamier one where makeup tends to look dry.
When your skin feels sensitive, you should keep your routine simple and focus on blendability. You’ll want a formula that layers evenly so your makeup routine stays comfortable and controlled.
You should also compare water-base and silicone-base formulas when you layer complexion products. You’ll often get a smoother finish when your color corrector and foundation have compatible bases.
For under-eye use, you may check for humectants and a flexible texture that doesn’t feel tight. You’ll usually reduce creasing when you apply a thin layer and set it carefully.
How to apply under eye color corrector and face correctors
You should apply color correcting makeup before your regular concealer or foundation for a highly even finish. You can start with a small amount, blend gently, and build only where you still see discoloration.
If you’re covering circles, you’ll place your under eye color corrector only on the darkest area. You’ll keep the finish lighter when you avoid spreading extra product across the full under-eye area.
For redness and dark spots, you can tap product exactly where tone looks uneven. You’ll usually get cleaner coverage when you let the corrector stay targeted instead of blending it too far outward.
After blending, you can layer foundation or concealer on top with a light hand. You may set with powder if you want added hold, especially in humid weather or long workdays.
With the right color, texture, and finish, you can make your base look balanced without masking your skin. You’ll feel more confident choosing a targeted corrector that fits your tone, routine, and wear time.