Caulk Tools in Caulking & Sealants


About Caulk Tools in Caulking & Sealants - Walmart.com
Caulk tools help you prep joints, remove old material, and shape cleaner lines across bathrooms, kitchens, windows, and siding. You can compare scraper edges, finishing profiles, and multi-tool designs that match the caulk and surface in your project.
How to choose caulk tools by tool type
You’ll usually start by choosing between a scraper, finisher, nozzle tool, or 3-in-1 multi-tool. Your choice affects how you remove old beads, trim cartridge tips, and smooth fresh lines in tight corners.
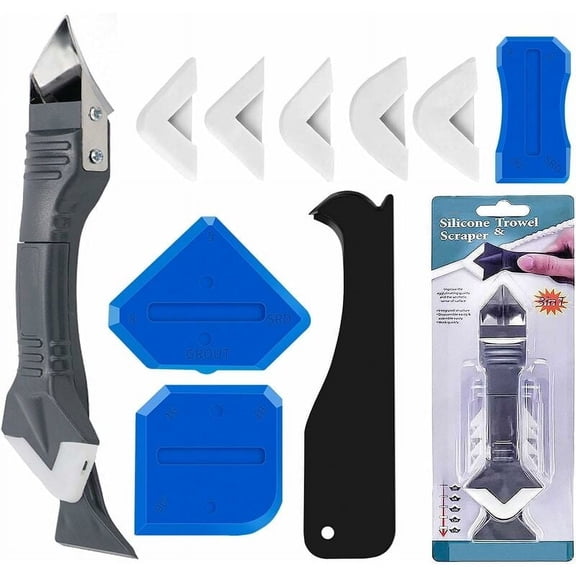
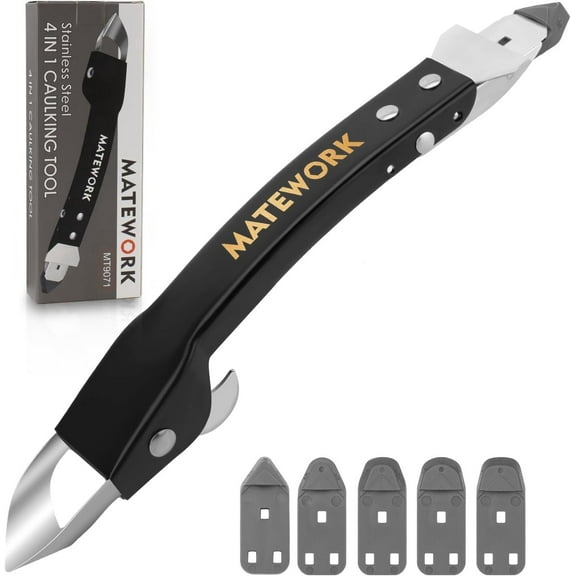
If you want one tool for several steps, a 3-in-1 caulk tool can simplify your setup. You can switch from cutting a nozzle to scraping residue and then shaping a neat bead.
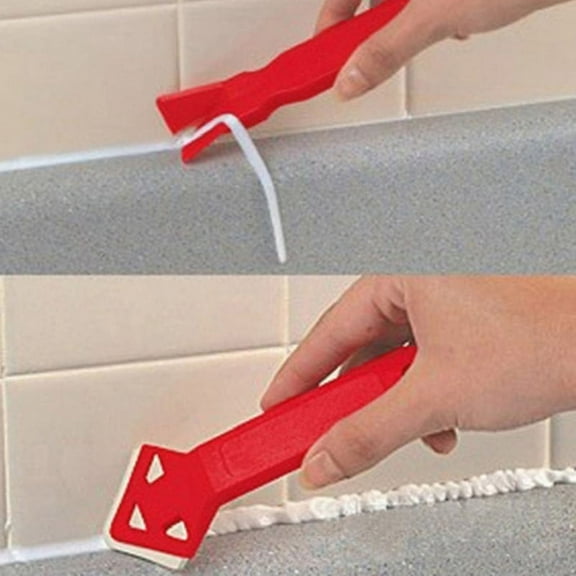
When you want more control, separate tools can make each step easier to manage. You may prefer a caulk scraper for stubborn buildup and a silicone finishing tool for polished edges.
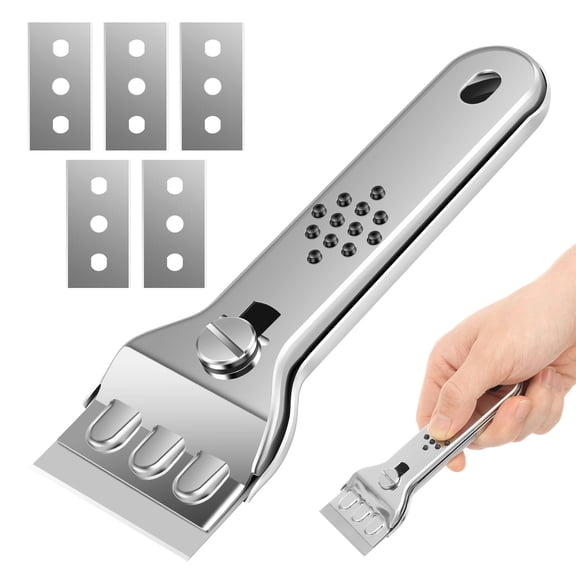
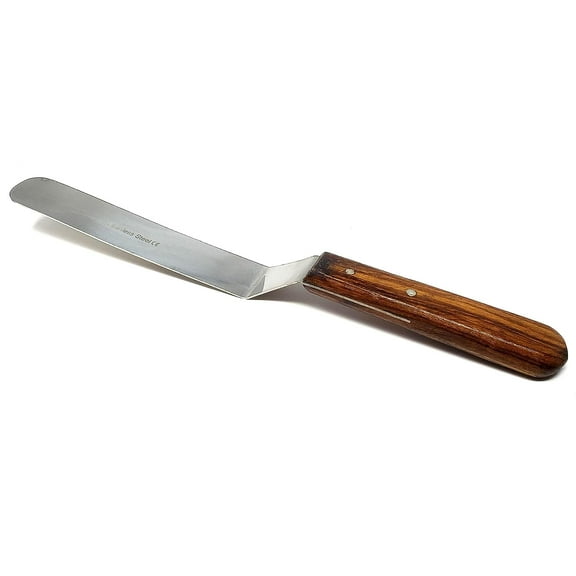
- You can use scrapers to lift old caulk from seams, corners, and edges.
- You can use finishers to shape smooth beads with cleaner, more even profiles.
- You can use nozzle tools to trim cartridge tips for narrower or wider application lines.
- You can use a caulking tool kit when you want several profiles and functions in one set.
Choosing a caulk removal tool for your material
You should match your caulk removal tool to both the sealant and the surface. Your results can improve when you compare silicone, acrylic, latex, and polyurethane cleanup needs before you start.
For silicone, you may want edges that peel cured material away in longer strips. You’ll often find silicone finishing tool sets with pads that release dried residue more easily during cleanup.
For acrylic or latex, you may prefer a lighter scraping edge and a simple finishing profile. You can often smooth these joints with less drag, especially on indoor trim and painted gaps.
For polyurethane, you may want firmer edges and a comfortable grip for steady pressure. You should check tool notes carefully, because outdoor siding joints often need durable contact along longer seams.
What to look for in blade and edge materials
You should compare stainless steel, plastic, and silicone pads based on the surface you’re touching. Your blade material can affect control, cleanup, and how confidently you work around tubs, tile, glass, or painted trim.
Stainless steel edges can help you remove cured material from harder surfaces with steady pressure. You may like them for window sealing or exterior joints where buildup sits firmly in the seam.
Plastic edges can be a smart choice when your surface scratches more easily. You can use them around acrylic tubs and finished fixtures when you want a gentler contact point.
Silicone pads help you shape fresh beads without the rigid feel of a scraper blade. You can compare profile sizes like 3R, 6R, 10R, 13R, and 17R for different joint widths.
Those radius sizes matter because your bead should match the gap you’re filling. You’ll usually want a smaller profile for narrow sink seams and a larger profile for wider shower or siding joints.
Comparing a caulking tool kit with single tools
You should consider a caulking tool kit when your project includes removal, application prep, and finishing. Your kit can keep matching pieces together, which makes repeat passes easier on larger jobs.
If you only need one task handled, a single-purpose tool may feel simpler in your hand. You can pick one silicone finishing tool for touch-ups or one caulk scraper for quick refresh work.
Multi-piece kits often include several finishing edges for different corners and seam widths. You can compare profile options before you start, instead of forcing one edge across every joint.
Cleaning also matters when you choose between tool styles and materials. You’ll often find cured silicone peels from smooth silicone pads differently than it does from textured plastic or metal edges.
Matching caulk tools to your project type
You should choose your caulk tools around the room, seam shape, and surface material. Your bathroom shower, kitchen sink, window frame, and outdoor siding each create different cleanup and finishing needs.
In a bathroom shower, you may want plastic edges for acrylic surrounds and silicone pads for wet-area corners. You can use smaller radius profiles to shape tighter bead lines around tubs and enclosures.
At a kitchen sink, you’ll often need clean turns around fixtures and short backsplash seams. You may prefer a compact silicone finishing tool that helps you follow narrow edges without bulky movement.
For window sealing, you may want a caulk scraper that reaches old material in straight exterior channels. You can pair that with a firmer finishing edge when longer runs need a consistent profile.
On outdoor siding, you may need a 3-in-1 caulk tool for repeated prep across many joints. You can cut nozzles, remove residue, and shape fresh sealant without switching tools as often.
How to pick the right silicone finishing tool
You should check joint width, corner shape, and cleanup habits before choosing a silicone finishing tool. Your preferred profile size and pad material can make a visible difference in the finished line.
If you want easier maintenance, you can compare smooth pads that shed cured residue with less sticking. You may also want a handle shape that gives your fingers steady control during longer passes.
When your project includes several seam sizes, you may want multiple radius options in one set. You can move from a sink edge to a shower corner without guessing which profile will fit.
With the right caulk tools, you can work with cleaner edges, steadier control, and less rework across each seam. You’ll finish with lines that look neat and fit the surface you’re sealing.