
Hero image 0 of E-flite Painted Left Wing Draco 2.0m EFL12553 Replacement Airplane Parts, 0 of 1
E-flite Painted Left Wing Draco 2.0m EFL12553 Replacement Airplane Parts
Current price is USD$179.99
Price when purchased online
- Free shipping
- Free 30-day returns
How do you want your item?
Columbus, 43215
Arrives by Wed, Apr 22
|Sold and shipped by Horizon Hobby
4.540777917189461 stars out of 5, based on 797 seller reviews(4.5)
Free 30-day returns


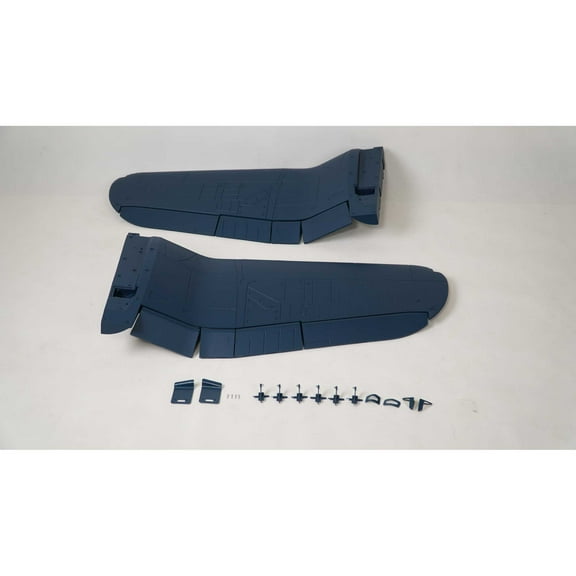


About this item
Customer ratings & reviews
5 out of 5 stars
How item rating is calculated
Sort by |
Showing 1-2 of 2 reviews
Sep 16, 2021
Bruce B.
5 out of 5 stars review
Beautiful replacement part, further details needed
Review from horizonhobby.com
Helpful?
Sep 16, 2021
Bruce B.
5 out of 5 stars review
Beautiful replacement part, further details needed
Review from horizonhobby.com
Helpful?
