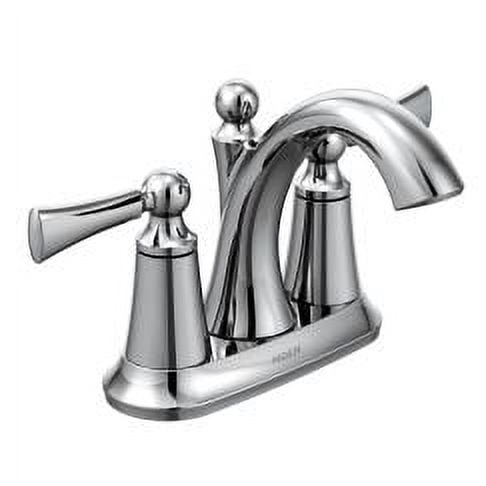
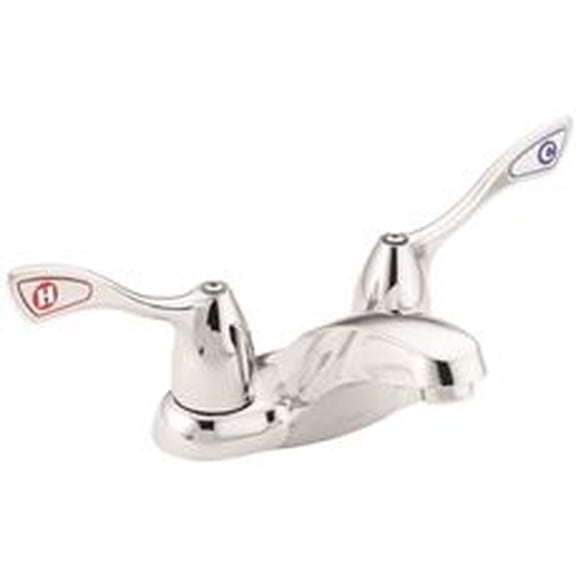
This faucet is beautiful. But, the instructions were horrible. They need to be rewritten completely. They skipped multiple steps and made assumptions that not every install needs. I was replacing a chrome 90s Moen Chateau faucet with crystal knobs. I needed new cartridges, the stem extension kit, and the faucet trim kit (part # 1248B, 106378, and T373BL). I only needed the cream colored stem pieces from the kit. I relied heavily on multiple YouTube videos to help me figure out how to install this faucet because the instructions were crap. I could have written them better. Hopefully, with this review, it will help someone else who is doing a similar swap and this will help them not have the hassles and frustrations that I encountered. If you are an avid DIYer or have replaced a simple faucet or P-trap before, you probably can do this yourself.
Some tips:
•TURN YOUR WATER MAIN OFF.
•Removing the old cartridges was a pain, but since I was replacing them with new I put a wood screw down into the top of the cartridge just enough to grip and gently with the leverage of a hammer and towel rolled up against the tub I pried them out.
•I highly suggest putting a measuring tape into the hole with the cartridge still inside and measuring between the top of the cartridge and the top of your pipe. This will be helpful when inserting a new cartridge to know if it is all the way down in there or not.
•Pushing the new cartridges in was tough, too. You HAVE to line up the "on hole" in the cartridge with the hole in your pipe (mine was closest to the spout, on my three hole, two handle roman tub). So the holes for each cartridge will face each other, with the spout in the middle. Set the cartridge into the hole lined up, and push in as hard as you can. I then used that rolled up towel and set it on top of the cartridge and gave it a couple of gentle but good taps with the hammer (folded towel between hammer and cartridge). Tap until it won't go any further. Measure to make sure it's the same as before (see above comment about measuring).
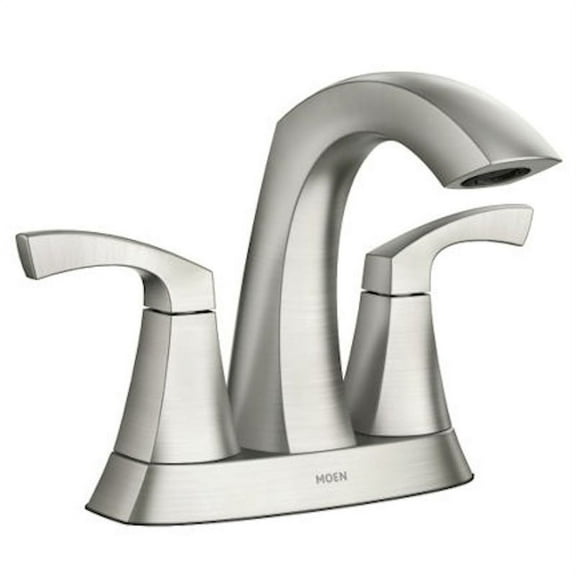
•You'll need to cut the stem pieces to fit the knobs. I had to cut 3 sections off, and if you are installing this Moen Glyde you will likely need to do the same. But cut one section at a time and assemble the handle each time to see if it will work to make sure you dont cut off too much. I used a Dremel with a disk attachment that works for metal and it cut the plastic stem perfectly - highly recommend that for cutting.
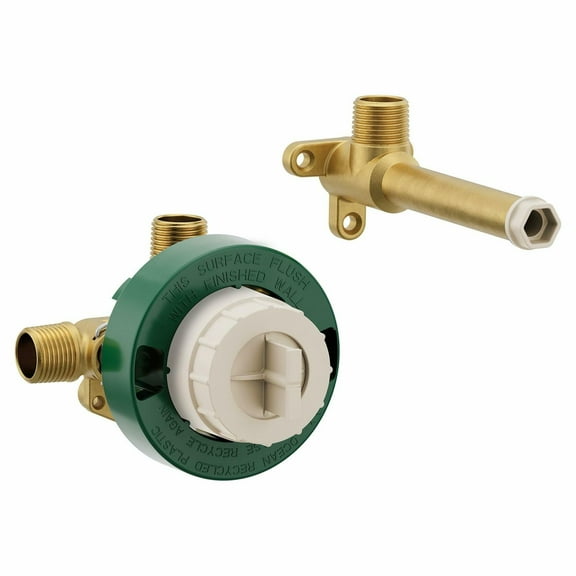
•You MIGHT not need the plastic threaded pieces from the stem extension kit. I realized I did not need them because I had about 1/2" of brass threading sticking out already. But if your plumbing is kinda "under" the tub surface you likely will need them.
•Use plumber's putty, please. Search YouTube if you need help on this step.
•Adjust the handles into position over the stem, making sure they "stop" when splayed outward and when turned in towards the tub they will turn on. The handles will "spin" infinitely until you put them on the step pieces, so line this up the way you want and take your time. Then, screw the base down and smoosh into the plumber's putty.
•Install the spout last. Use a dab of silicone on the plumbing and just set the spout right on top and screw it down with the Allen wrench. The spout was by far the easiest part.